DIY Asus ZenFone 3 Zoom Back Camera Replacement Guide
Duration: 45 minutes
Steps: 13 Steps
Ready to give your Zenfone 3 a little TLC? In this guide, we’ll walk you through the process of swapping out that back camera. If your camera has turned into a blurry mess or just won’t show a picture at all, it’s time for a change! You’ll want to have a few handy tools at your side – tweezers, a Torx T2 screwdriver, a prying tool, and a Phillips #00 screwdriver. Let’s get started and make your phone picture-perfect again!


Step 3


There’s a delicate little film connecting those two pieces. No need to worry about removing it! Just gently fold the pieces apart with the inside facing up, and you’re on your way!
– Gently slide a prying tool into the gap between the screen and the phone’s metal back at the bottom. This will help you pop off the back and give your phone a fresh start!
Step 4

– Grab your trusty Phillips #00 screwdriver and take out those two 3 mm screws sitting pretty on the silver band at the top of the battery. Once they’re free, just lift that band away and you’re one step closer to a smooth repair!
Tools Used

Step 5

– Peel back the silver tape – let’s loosen things up a bit!


Step 8

– Grab your trusty Phillips #00 screwdriver and gently unscrew the three 3 mm screws from the black plastic piece located at the top right side. You’re on the right track!
Tools Used
Step 9

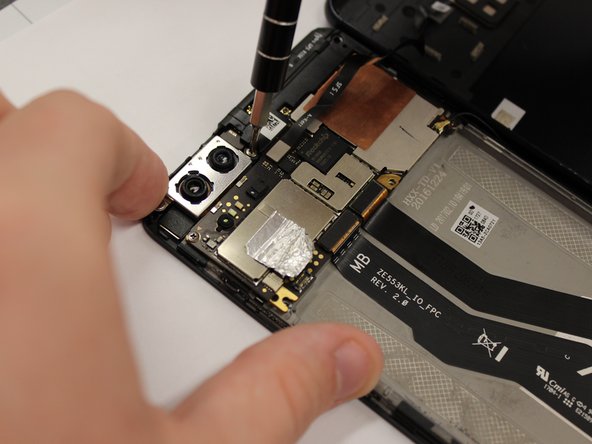
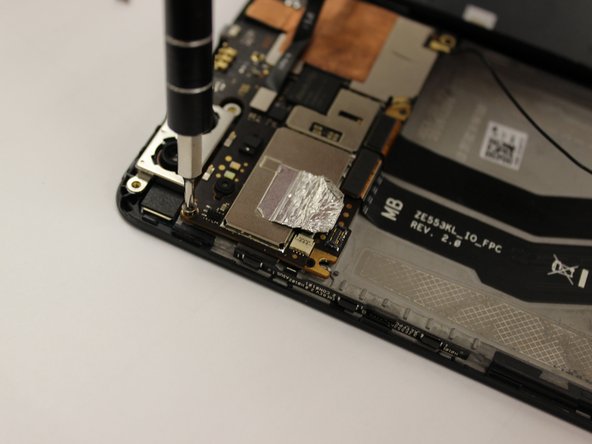
– Grab your trusty Phillips #00 screwdriver and let’s get cracking! Carefully take out those 3 mm screws surrounding the camera’s metal piece. You’ve got this!
Tools Used
Step 10

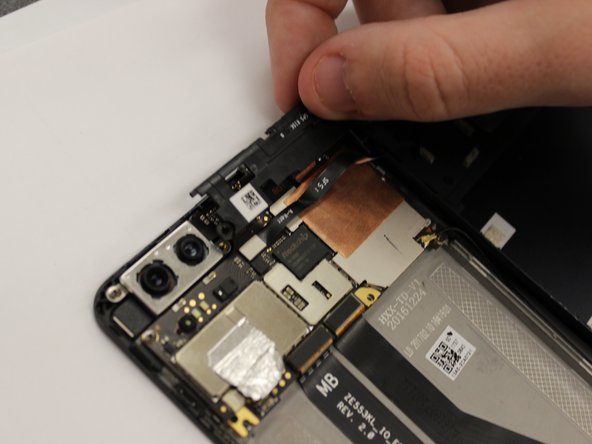
– Using your trusty Phillips #00 screwdriver, unscrew the 3 mm screws holding the circuit board in place. Let’s get those screws out so we can move on to the fun part!
Tools Used
Step 11

– Time to give those wires a little break! Gently unplug the two wires hanging out at the bottom of the circuit board. You got this!
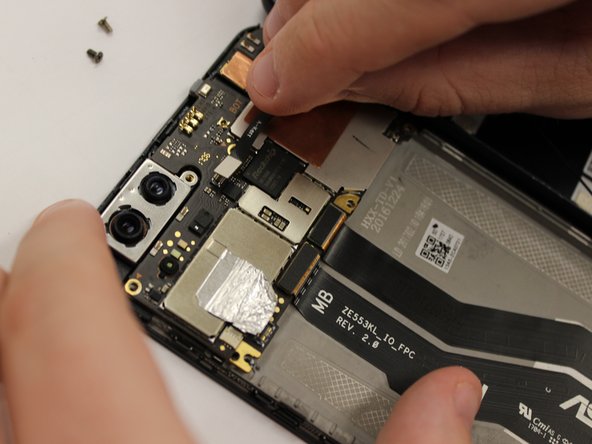
Step 12
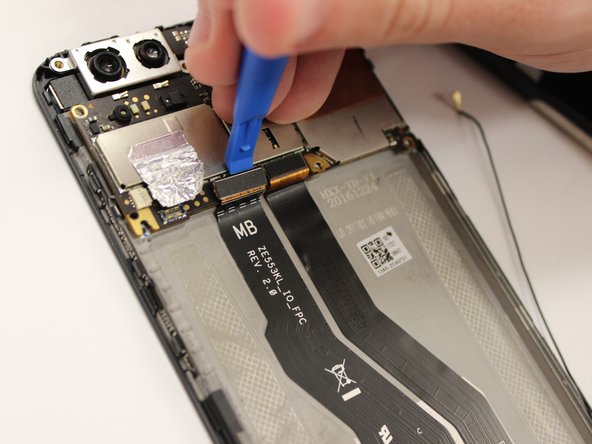
– Time to gently pop out that circuit board—you’ve got this!
Step 13


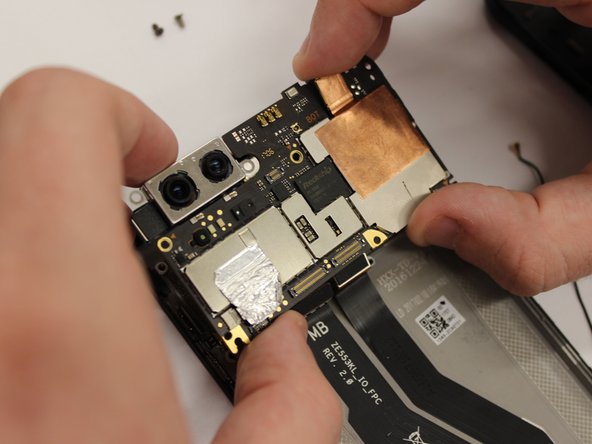
– Let’s start by giving that camera a break—unplug it!
Success!