iPad Repair Near Me: Finding the Best Fix in Hattiesburg MS
Why iPad Repair Hattiesburg MS Matters Before You Buy a New Device
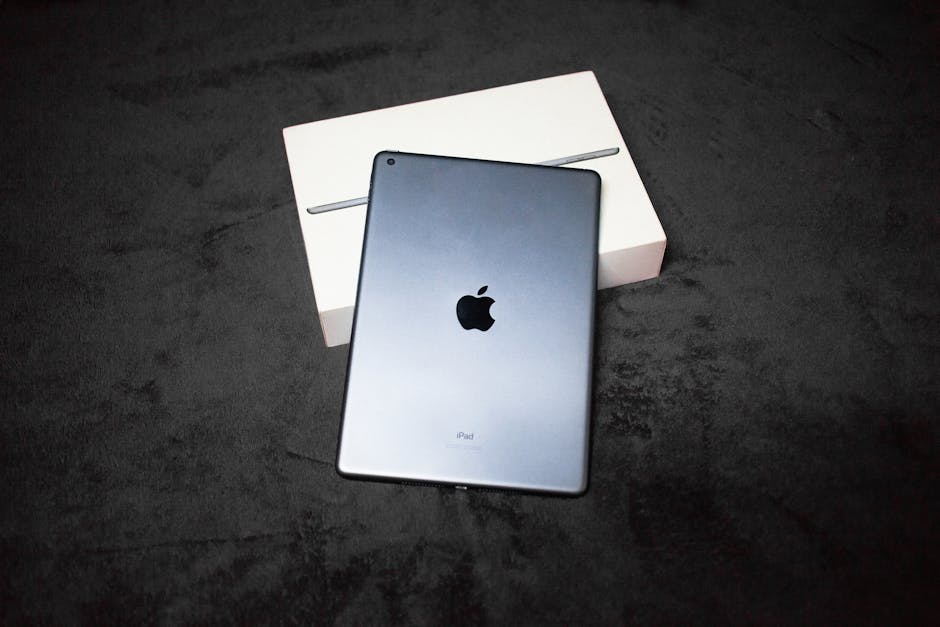
iPad repair Hattiesburg MS is faster and more affordable than most people expect – and you don’t have to replace your device just because the screen cracked or the battery died.
Quick answer – top options for iPad repair in Hattiesburg, MS:
| Shop | Location | Turnaround | Warranty |
|---|---|---|---|
| iFixandRepair | 5901 US 49 (Walmart) & 560 Weathersby Rd | Under 1 hour | Varies |
| Techy Hattiesburg | Hattiesburg, MS | As fast as 15 min | Lifetime |
| CPR Cell Phone Repair | Hattiesburg, MS | Same day | Varies |
| Geek Squad (Best Buy) | Hattiesburg, MS | By appointment | Varies |
| Salvation Repair | Laurel, MS area | Same day | Lifetime |
A cracked screen or dead battery can stop your day cold. Whether you use your iPad for work, school, or staying connected, being without it hurts. The good news? Most common iPad problems – cracked glass, worn-out batteries, busted charging ports – can be fixed the same day by a skilled local technician.
If you’re deciding between repair and replacement, it’s also worth checking Apple’s official support information on iPad service and repair options so you know what your model supports and what coverage you may have: Apple iPad Service and Repair.
I’m Ralph Harris, and with over 20 years of electronics repair experience, 500+ Apple repair certifications, and a Computer Science degree from USM, I’ve seen nearly every iPad issue imaginable – making me well-qualified to guide you through iPad repair in Hattiesburg, MS. Let’s cut through the noise and get your device back in your hands fast.
; Step 2 - Get a quote (parts and labor estimate); Step 3 - Approve the repair; Step 4 - Technician completes the fix (screen, battery, water damage, etc.); Step 5 - Device tested and returned same day with warranty - iPad repair Hattiesburg MS infographic infographic-line-5-steps-dark")
Simple iPad repair Hattiesburg MS word guide:
Top Shops for iPad Repair Hattiesburg MS

When your tablet goes dark or the glass spiderwebs across the display, you need a reliable local fix. Hattiesburg is home to several reputable shops that specialize in Apple ecosystem repairs. From national franchises to local experts, the Hub City has you covered.
Choosing the right shop for iPad repair Hattiesburg MS often comes down to three things: speed, price, and the peace of mind provided by a solid warranty. While we at Salvation Repair serve the Laurel and greater Hattiesburg area with on-site service, there are several stationary storefronts within the city limits that offer quality work.
| Feature | iFixandRepair | Techy Hattiesburg | CPR Repair | Geek Squad | Mr. FXR |
|---|---|---|---|---|---|
| Turnaround | < 1 Hour | ~15-30 Mins | Same Day | 2-5 Days* | By Appt |
| Warranty | Standard | Lifetime | Limited | Limited | High Rated |
| Location | Walmart/Weathersby | Hattiesburg | Hattiesburg | Best Buy | Local Expert |
iFixandRepair: Fast iPad Repair Hattiesburg MS
If you are looking for convenience, iFixandRepair is a major player in the local market. They operate out of two primary locations: the Walmart on US 49 and a suite on Weathersby Road.
Their “while-you-shop” model is incredibly popular. Research shows that most of their iPad repairs are completed in less than an hour. This is perfect for the busy student at USM or a parent who needs a quick fix while running errands. They handle everything from the iPhone 14 Pro to various iPad generations, ensuring that your “rebellious” device is brought back to life quickly.
Techy Hattiesburg: Comprehensive Tablet Solutions
Techy Hattiesburg positions itself as an all-in-one shop. They don’t just fix screens; they offer a full suite of services including iPad Repair, computer fixes, and even smart home installations.
One of their standout features is the speed of service—some repairs are clocked in as little as 15 minutes. They also offer a lifetime warranty on parts and labor, which is a gold standard in the industry. For those worried about the upfront Pricing, they even provide financing and leasing options for pre-owned devices.
CPR Cell Phone Repair
Located in the heart of the city, CPR (Cell Phone Repair) is known for its professional atmosphere and ability to track repairs online. They often offer promotions, such as $10 off for email signups, making them a budget-friendly choice for iPad repair Hattiesburg MS. They are a great stop if you need a quick diagnostic and a reliable turnaround.
Geek Squad
For those who prefer the Apple Authorized route or have a TotalTech membership, the Geek Squad at Best Buy Hattiesburg is the go-to. While their turnaround times can sometimes be longer if parts need to be ordered from Apple, they provide the security of using Apple-approved processes. We recommend scheduling an appointment in advance, as their slots fill up quickly, especially during the holidays.
Mr. FXR
Mr. FXR is a local favorite, often mentioned via word-of-mouth referrals. He specializes in micro-soldering—a high-level skill required for complex motherboard repairs that many “parts-swapper” shops won’t touch. If your iPad has a deep-seated hardware issue that others can’t fix, checking his Facebook page or Twitter is a smart move.
Common Services Offered by Hattiesburg Technicians
Modern iPads are marvels of engineering, but they are also fragile. Hattiesburg repair shops see a consistent rotation of the same common issues. Understanding what’s wrong with your device can help you get a more accurate quote.
Specialized iPad Repair Hattiesburg MS for Cracked Screens
A cracked screen is the most common reason people search for iPad repair Hattiesburg MS. There are actually two parts to your screen: the glass (digitizer) and the LCD (the part that shows the picture).
- Glass Repair: If the touch works and the picture is clear, you likely just need a digitizer replacement.
- LCD Replacement: If there are lines, black spots, or no picture at all, the LCD is damaged.
Check out our iPad Screen Repair Cost Guide to see what you should expect to pay for your specific model. Proper calibration of the digitizer is essential to ensure your Apple Pencil and touch gestures work perfectly after the fix.
Battery and Power Issue Troubleshooting
Does your iPad Pro die at 20%? Or does your iPad Air refuse to charge unless the cable is at a specific angle? These are classic signs that you need an iPad Battery Replacement or a charging port cleaning.
Over time, lithium-ion batteries chemically age. If your device is more than two or three years old, a new battery can make it feel like a brand-new machine. If the device isn’t taking a charge at all, read our guide on iPad Not Charging before you head to the shop—sometimes it’s just lint in the port!
Water Damage Recovery
We’ve all been there—the iPad takes a “dip” in the pool or, more commonly, the toilet. If this happens, do not put it in rice. Rice can actually introduce dust and starch into the device. Instead, power it off and bring it to a professional immediately. Local shops use ultrasonic cleaners to remove corrosion from the motherboard. You can view potential costs here: iPad Water Damage Repair Cost.
What to Do Before Your Repair Appointment
Before you hand over your digital life to a technician for iPad repair Hattiesburg MS, there are a few steps you should take to protect your data and privacy.
- Backup Your Data: This is the most important step. Use iCloud or plug your iPad into a computer to run a full backup. While screen repairs rarely affect data, motherboard work or battery swaps carry a small risk.
- Turn Off “Find My iPad”: Most shops, especially authorized ones, cannot perform certain diagnostics if “Find My” is active. It’s a security feature that needs to be disabled temporarily.
- Remove Your Passcode: If you are comfortable, removing the passcode allows the technician to test the touch sensitivity and camera after the repair. If not, be prepared to share it or stay present to unlock the device for testing.
- Check Your Warranty: If your device is less than a year old, you might still be covered by Apple’s limited warranty for hardware defects (though not for accidental damage like cracked screens).
- Clean the Device: A quick wipe-down is always appreciated by your technician!
Once you’ve checked these boxes, you can Schedule Repair with a local pro. You can also review local repair experts online to see recent customer photos and feedback.
Frequently Asked Questions about iPad Repair
How much does iPad repair cost in Hattiesburg?
The cost of iPad repair Hattiesburg MS varies wildly based on the model. A standard iPad (like the 7th or 8th gen) is much cheaper to fix than an iPad Pro with a laminated ProMotion display. Generally, screen repairs can range from $89 to over $300 for high-end models. Battery replacements usually fall between $69 and $129. For a detailed breakdown, visit our Pricing page.
Can I get my iPad fixed the same day?
In most cases, yes! Shops like iFixandRepair and Techy specialize in same-day service. As long as the parts are in stock, a screen or battery swap takes about an hour. If you have a rare model or a specialized motherboard issue, it might take a few days to source the components. We always recommend calling your chosen Hattiesburg Repair Shop ahead of time to verify part availability.
Do local shops offer warranties on repairs?
Yes, but they vary significantly. Some shops offer a 30-day or 90-day limited warranty. Premium services, including Techy and our team at Salvation Repair, offer a Lifetime Warranty on parts and labor. This means if the part we installed fails due to a manufacturer defect, we replace it for free. Always ask for a written Warranty receipt before leaving the shop.
Conclusion
Finding the right iPad repair Hattiesburg MS doesn’t have to be a headache. Whether you choose the “while-you-shop” convenience of iFixandRepair or the specialized micro-soldering expertise of Mr. FXR, Hattiesburg has the talent to fix your tech.
At Salvation Repair, we take pride in serving the Laurel, MS area and the surrounding Pine Belt (including Hattiesburg, Ellisville, and Soso). We understand that your time is valuable, which is why we specialize in same-day, on-site repairs. We don’t just fix iPads; we repair “any device with a power button,” from Samsung phones to laptops. Plus, with our lifetime warranty and price matching, you know you’re getting the best value in South Mississippi.
Ready to get your iPad back in top shape? Contact us today or check out our Apple iPad Repair Guides for more DIY tips and professional insights. Don’t let a broken screen slow you down—get the fix you deserve!