DIY ASUS ZenFone 2 Laser ZE550KL Display Replacement Guide
Duration: 45 minutes
Steps: 13 Steps
Ready to give your Asus ZenFone 2 Laser 5″ Model ZE550KL a shiny new display? This guide will walk you through the process step by step. Let’s get that screen looking fabulous again! If things get tricky, remember, you can always schedule a repair.
Step 1

– First, let’s pop off that back cover like it’s a lid on a jar!
– Next up, gently disconnect the battery—just like unplugging a nightlight!
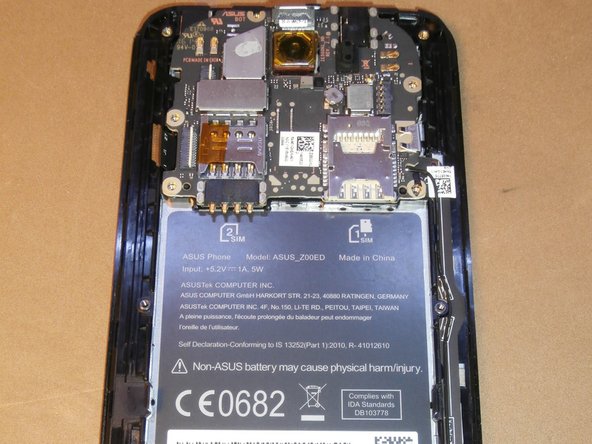
– Now, it’s time to take out the SIM card and the micro SD card. Think of it as giving your device a little break!
Step 2

– Loosen and remove those 15 little screws! You’ve got this!
Step 3


– Carefully pop off the plastic back using your trusty opening picks, taking care not to snap the clips that are holding it tight. You’ve got this!
Step 4


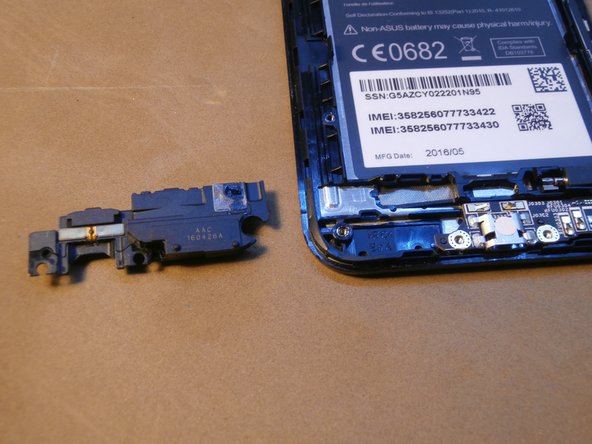
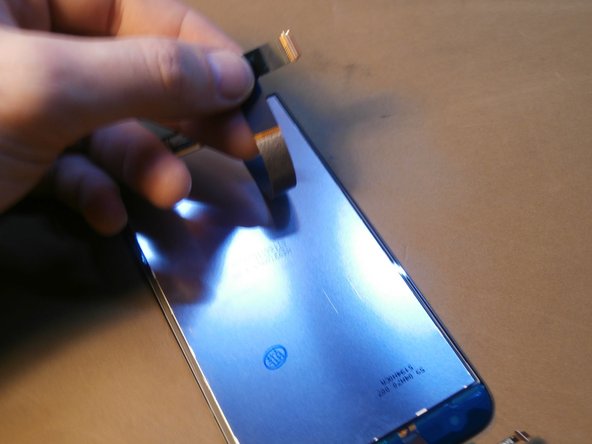
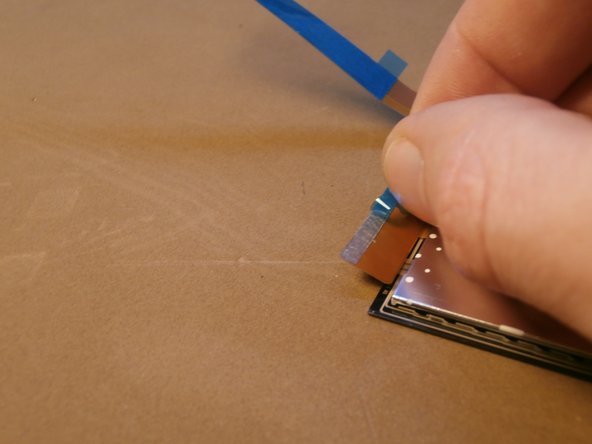
– Let’s disconnect those flat cables! Gently lift the white bracket and pop those cables right out.
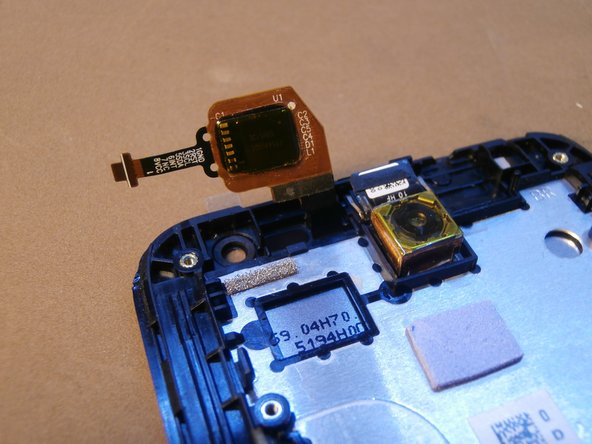
– Now, it’s time to unplug the camera. It’s like giving it a little break.


Step 7
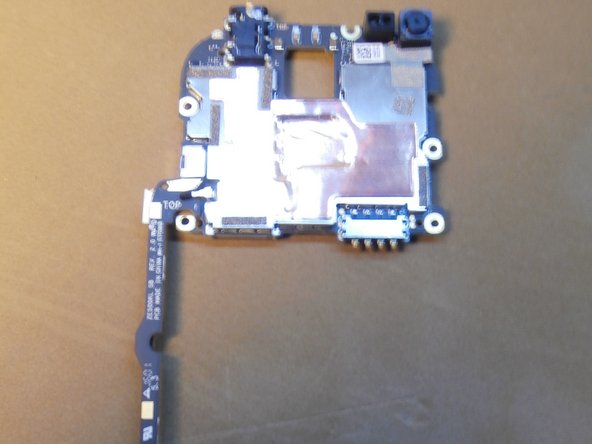
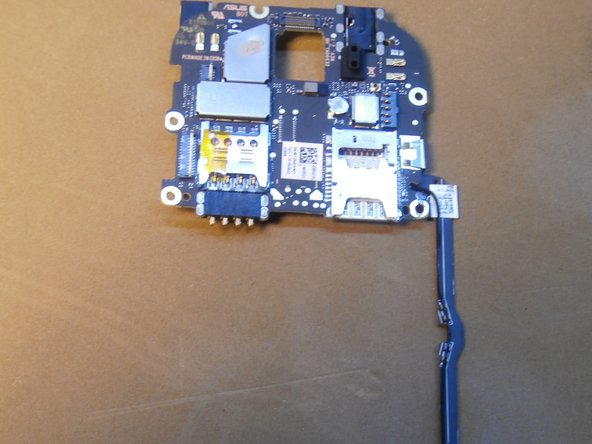

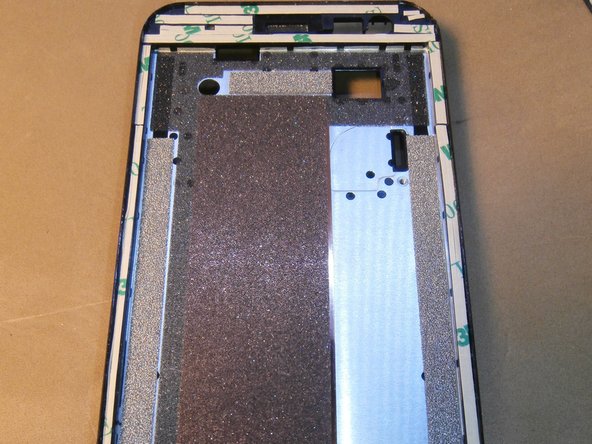
– Let’s dive into the heart of the device—the motherboard. This is where the magic happens, so handle with care! If you’re feeling stuck, you can always schedule a repair for some expert assistance.


Step 9


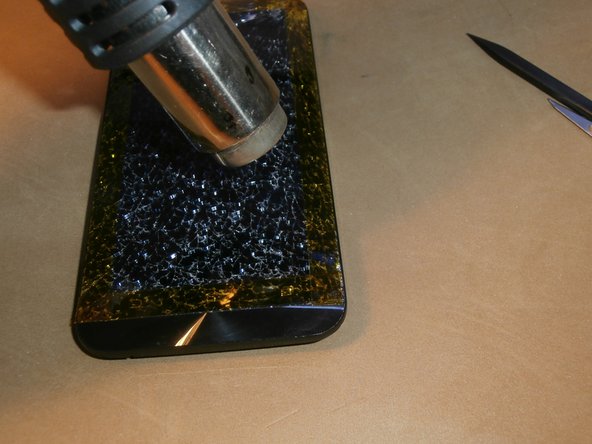
– Grab your trusty hair dryer, heat gun, or iOpener, and let’s get that screen off the phone’s frame with a bit of warmth and care!
Step 10

– Let’s keep it groovy and get this frame looking fresh again! First, scrub away any glue residues around the frame’s perimeter, then stick the display back on with style. For any hiccup, throw us a wink schedule a repair and we’ll get ya back in the groove!


Step 12


– First things first, give the dust gasket around the front camera a little love! Either replace it or nudge it into position before you pop that shiny new screen in.
– Now, slide the new screen into its cozy spot by fitting the flat edge into the designated grooves. It’s like a puzzle piece finding its home!
Step 13


– Time to put everything back together! Just retrace your steps, and you’ll be all set in no time.
– Oops! I decided to hit the pause button on this guide.
– If you need help, you can always schedule a repair.
Success!

