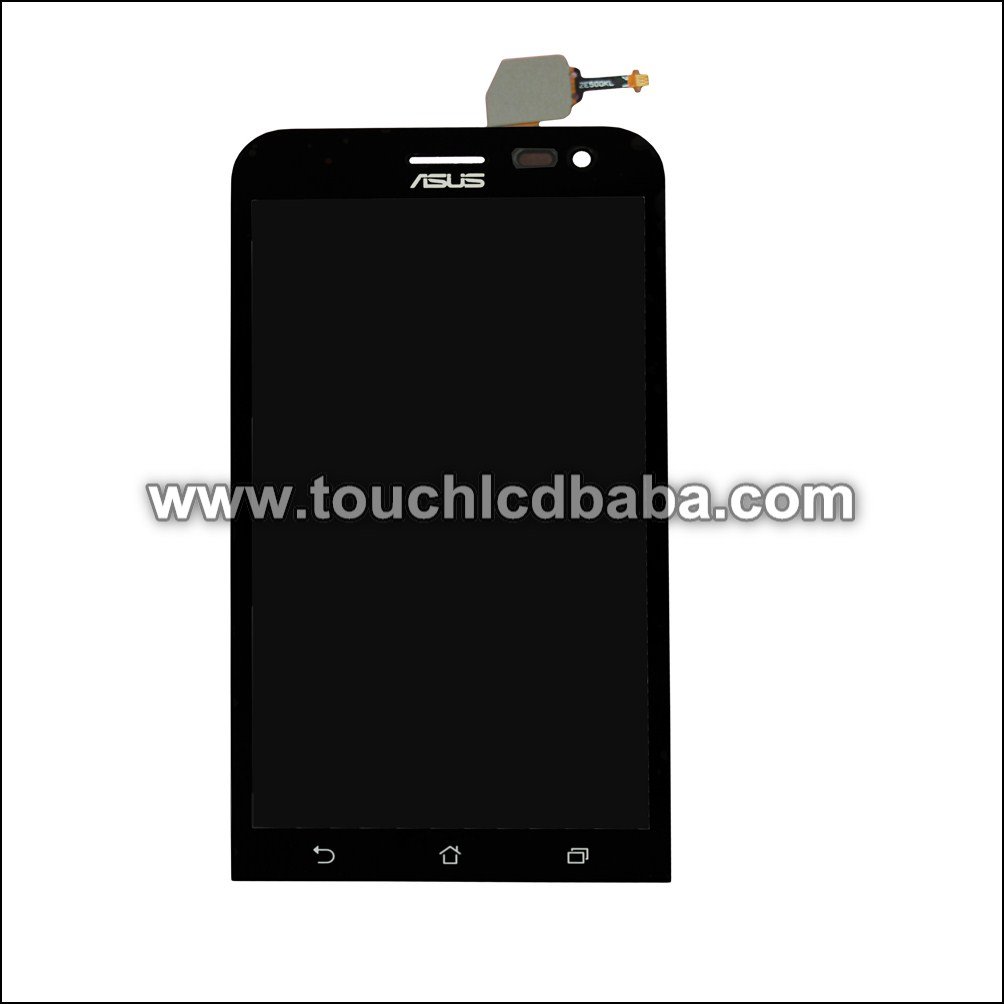
DIY Asus ZenFone 2 Display Assembly Replacement Guide
Duration: 45 minutes
Steps: 18 Steps
Step 1
– Alright, cool cats and kittens! Let’s talk about the screen code. You’ll find a code on the back of the original screen, something like ‘TL055VDXP34-00’.
– Now, let’s say you got a new screen, and it had a code like ‘TLD55VVXP31-00’. That screen probably wasn’t the right one. Just a hunch.
– Then, the second screen you got, with the code ‘TL055VDXP34-00’, that’s the one you want! Yeah, it matches the original screen’s code. Sweet! So, it seems like that first screen was an older model, not meant for your device. You’re better off sticking with the ‘TL055VDXP34-00’ screen.
– Need some help? You can always schedule a repair.
Step 2
– It’s time to get your hands dirty! Carefully remove the back cover, and carefully take out the SIM card(s) and memory card. If you’re feeling stuck, don’t fret! You can always schedule a repair to get some extra help.
Step 3
– Heads up! Don’t forget to pop off the one next to the camera (it might be sneaky and hiding behind a tiny sticker).
– This cover should come off pretty smoothly—if it’s putting up a fight, take a moment to count those screws! You should find 14 of them in total. And keep an eye out for that elusive one near the camera; it loves to play hide-and-seek.
– Just a little reminder: these screws are the only things keeping the phone together. Once you’ve unscrewed them and lifted the cover, the speaker unit will gracefully fall away from the phone.
Step 4
– To get that plastic panel off, just give one end a little pry-up love, and then use a sharp blade to gently slice through the double-sided tape that’s sticking the battery to the panel. Easy peasy!
– NOTE: When I reassembled everything, I decided to ditch the double-sided tape completely. Turns out, it’s not really a must-have!
Step 5
– Let’s get this party started by gently detaching the antenna cable, the vibrate motor, and four other sneaky connections.
– The three connections hiding above the battery are ready to pop up and away from the phone like they’re on a little adventure!
Step 6
– To disconnect the flat cable at the bottom of the battery, first peel off that yellow plastic sticker like you’re unwrapping a gift. Then, flip up the white tab to release the cable, and gently tug it out towards the phone’s base.
Step 7
So, here’s the scoop on the battery adhesive situation! You’ve got two contenders in the ring: the easygoing double-sided foam tape that plays nice when you’re removing it, and the clingy self-amalgamating tape that just doesn’t want to let go. So, when you’re getting ready to pop that battery out, take a deep breath and be super careful! It’s all about keeping things smooth and stress-free.
Heads up! Those little metal tabs holding the battery? Treat ’em with kid gloves. They’re kind of delicate and can bend if you’re not careful. You can totally ditch the double-sided tape if you want, but we won’t judge if you decide to put it back.
– Before diving into this step, it’s a smart move to warm up the front of the screen a bit (the battery tape is snugly tucked behind the back of the screen).
– Now, the adhesive holding the battery down is hanging out near the side where the antennas are (that’s the right side when you’re looking down). To free the battery, give it a gentle heat-up with a hairdryer, then carefully pull it away from the phone on the opposite side (the left side).
Step 8
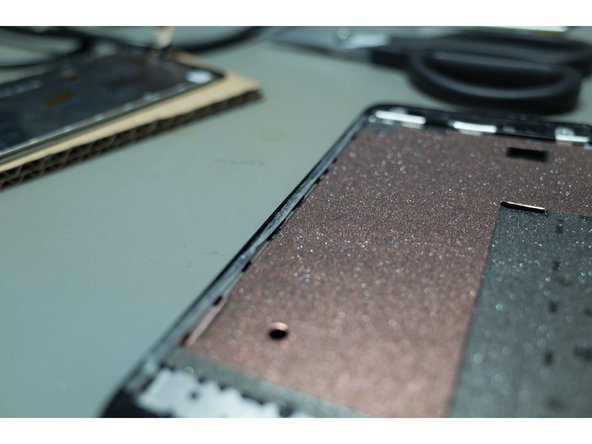
– Alright, now that the battery’s taken a vacation, it’s time to gently coax the copper sheet from the phone’s body. It’s held down with a little adhesive, so grab those tweezers and start lifting from one corner. Take your time as you glide across this shiny surface, and before you know it, you’ll have it off without a hitch!
Tools Used
Step 9
– Time to peel back that yellow plastic sticker and give that screen plug a gentle disconnect. You’ll see it in the picture!
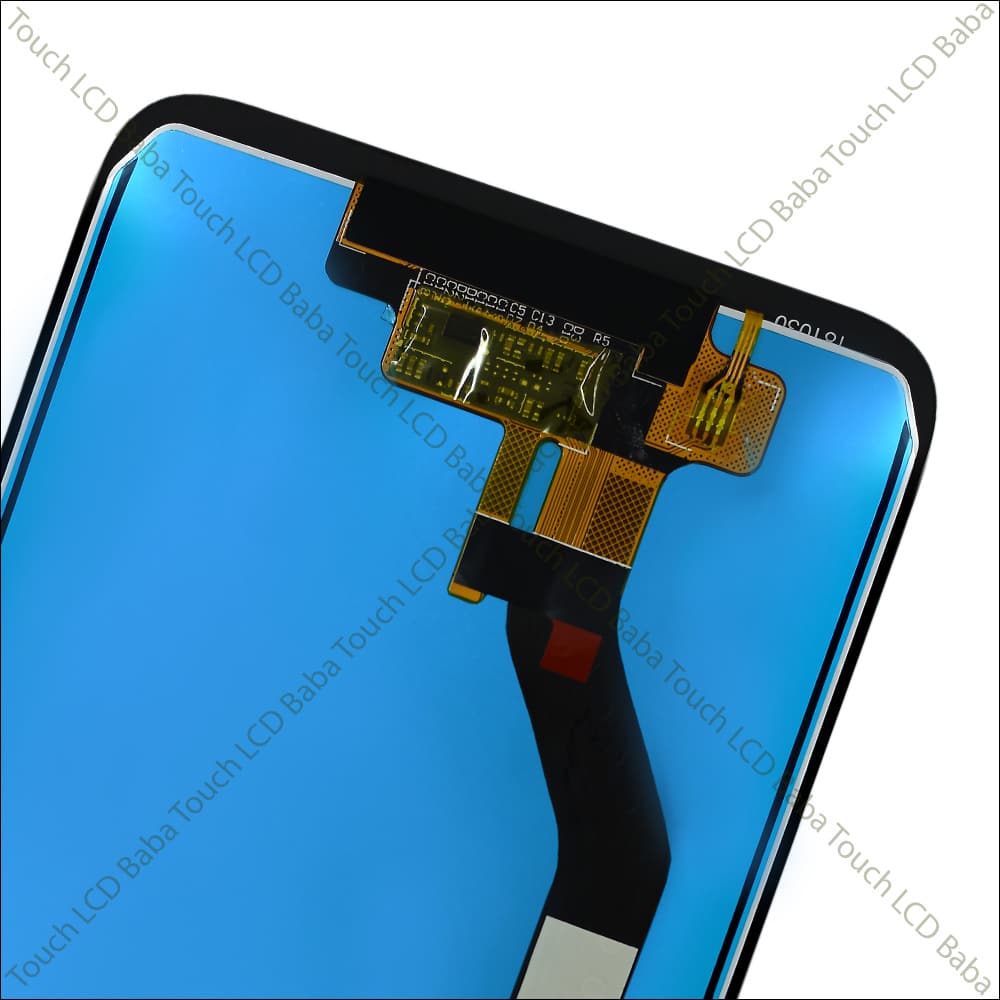
– Hey, this plug for the display does a little dance. It goes under the main unit at a right angle, then makes its way up and out through a tiny slit at the top of the phone. Check out the picture for step 17 to see what I mean.
– This cable is part of the whole display assembly, so we’re replacing the entire thing. If you’re feeling adventurous, you can totally snip this cable. No judgment here!
Step 10
– There are four plastic retainers holding the rest of the unit snugly to the phone’s body. Give a gentle push on one side to free this part. Once it’s popped out, removing it entirely should be a breeze!
Step 11
– OK, awesome! Now it’s time for the next part of our phone-fixing adventure. Let’s detach the display cable. Hold on – there’s some adhesive holding it in place, but don’t worry, it’s no biggie. Just give it a little pry up, and bam – you’re doing great! Like a true phone detective, you’re on the case. And guess what? Your new display assembly comes with some adhesive too. Woot woot! It’s self-explanatory and super easy once you’re ready to put it back on. You’re a natural at this. If you need a little help, we’ve got your back. You can always schedule a repair with our amazing team to get you back to your phone-fixing groove.
Step 12
– Ready to tackle that display removal? First up, let’s add a little warmth! A heat gun works wonders (you can snag one for $20-$30 on eBay), but if that’s not in your toolkit, a hair dryer will do the trick—just takes a bit longer. With a heat gun, you’ll be in and out in about 30 seconds, but with a hair dryer, you might be waiting 3-5 minutes. Patience is key!
– Once you’ve warmed up the adhesive behind the screen, grab your trusty opening pick or a thin, rigid guitar pick and start working your way around the edges. You’ll feel that satisfying separation as the display starts to break free from the housing.
– Almost there! Gently lift the display cable through the hole at the top of the phone body. Remember, you’re swapping this cable out entirely, so no need to stress about it—you’re doing great!
Tools Used
Step 13
– Time to give that speaker grill a little TLC! Detach it from the old display, clean off any sticky residue, and get it ready for its new home on the fresh screen. Pro tip: attaching it to the phone body first can make things a breeze. If you hit a snag, remember you can always schedule a repair for some extra help.
Step 14
– Given the state of the adhesive on the screen assembly, I opted to swap it out entirely. You could totally skip this part, but I thought it would be nice to tidy things up a bit.
– To tackle the existing adhesive, I simply grabbed a sharp razor blade and carefully worked my way around, peeling it off like a pro.
– TIP: Now’s a perfect time to ‘test fit’ that shiny new screen (without the adhesive) to figure out where the cables go. One cable runs behind the screen and through the middle, while the other pops through the top hole. Just a heads up, the top one is a bit quirky and needs to slide in sideways first.
Step 15
– I wrapped the edges of the new screen assembly with some trusty 3M double-sided adhesive tape.
– Just a heads up: the tape I went with is 3M double-sided adhesive tape (2mm) and cost me about $10 from a mobile phone repair supply shop. It turned out to be a bit wider and not quite thick enough, so I decided to double it over for extra stickiness.
– Once I did that, it fit just right! If you can’t find a thicker double-sided tape that’s closer to the original adhesive, I’d say this method is definitely the way to go.
Step 16
– Alright, now that you’ve got that adhesive laid down, let’s get this screen assembly in place. Start at the top and gently guide that cable through the opening. Then, smoothly work your way down to the bottom of the screen.
– Just a friendly tip: Hold off on pressing down too hard until you’re sure both cables are connected on the back and the screen is sitting perfectly in its spot. You don’t want to accidentally snag anything! If you need help, you can always schedule a repair
Step 18
– Once you’ve secured that shiny new screen, it’s time to put everything back together! Think of it like a puzzle, but this time you’re reversing the disassembly magic. Here are a few tips to keep in mind:
– a) Watch out for that display cable sneaking in from the top. Mine had a little chat with the double-sided tape and needed a gentle nudge to get through.
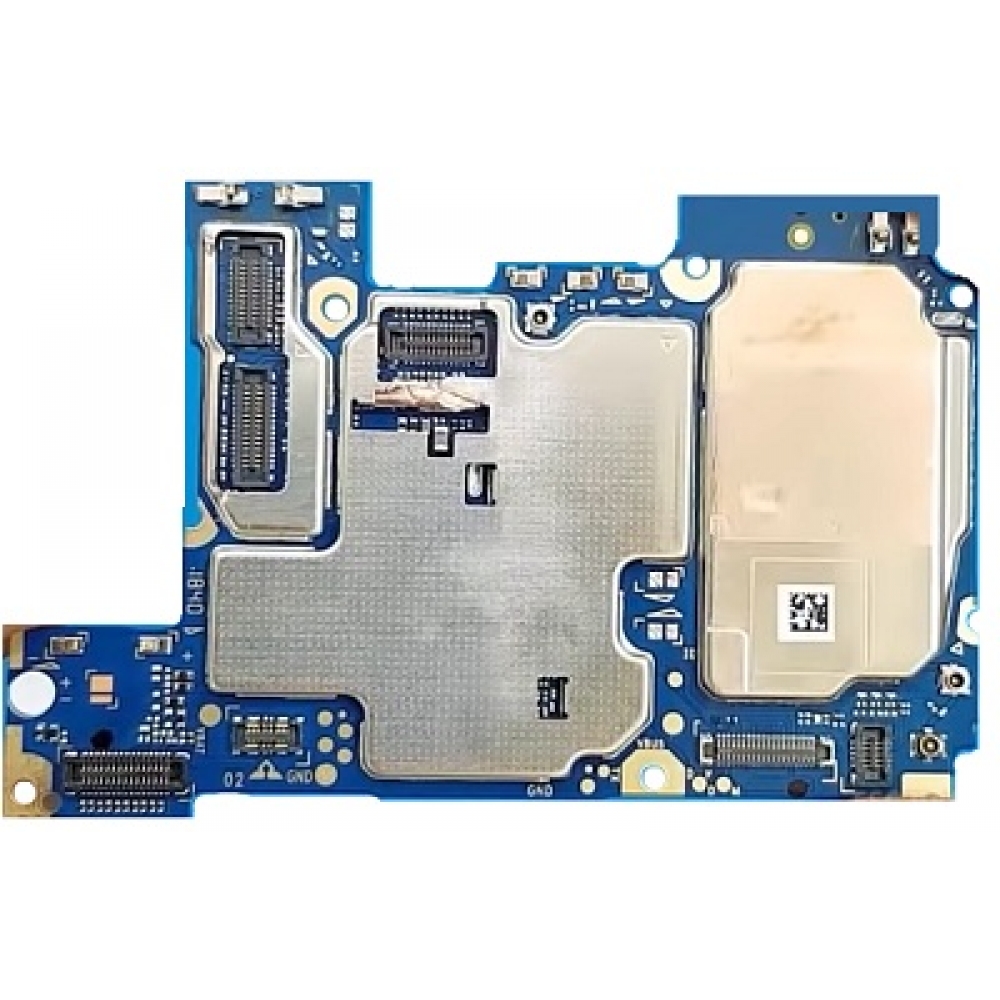
– b) Don’t be shy when it comes to fitting the processor unit between those four plastic clips; it may require a little muscle. Just remember to be gentle! (check out step 10 for a visual guide)
– c) I opted to ditch the double-sided tape under the battery and plastic case. If I ever have to dive back in, I wanted to skip the sticky situation. Smart move, especially since my first screen didn’t make the cut!
– d) In case those yellow plastic cable stickers go MIA, feel free to snag one from your old display assembly. They’re like best friends, always ready to help out!
Success!


