Asus ZenFone 2 Display Replacement Guide – DIY Tutorial
Duration: 45 minutes
Steps: 21 Steps
Ready to tackle that display replacement? It’ll require a sprinkle of patience and a dash of time! First, you’ll need to warm up the display to loosen it from the sticky adhesive holding it down—think of it as helping it feel a little more at home. Next, you’ll have to unplug the antenna, remove the battery, and take out the motherboard, before you can finally reach that display. Just breathe, take your time, and remember, if you need help, you can always schedule a repair.
Step 1
– With a gentle touch, use your fingernail to carefully lift off the phone’s back cover at the spot we’ve marked for you. As your nail gets under the cover, glide your finger along the edges of your phone until the cover pops off like a charm!
Step 2
There’s a black screw hanging out next to the camera and flash, but wait—it’s got a sticker on it! No worries though, this little guy can be popped out just like it’s not even there. Just let the tip of your screwdriver do its magic and pierce right through that sticker like a boss!
– Let’s start by taking out those screws! Use your trusty JIS size 00 screwdriver to remove the thirteen black screws and the single silver screw from the back of the phone. Those black screws are 2.8 mm long, and that silver screw is a bit longer at 5.5 mm. Don’t worry if you get a bit nervous, we’re here for you. If you need help, you can always schedule a repair.
Step 3
Those inner backing parts are held down by double-sided tape. You can loosen them by sliding your plastic opening tool underneath and gently lifting them up. It’s a cinch! You got this!
– Let’s get this party started! Carefully use a plastic opening tool to pop off the back of your phone. Think of it like a gentle massage for your device.
Step 4
Keep track of where the speaker unit goes so you can pop it back in just right when it’s time to reassemble. You’ve got this!
– Gently lift the speaker out from the back of the phone. Once you’ve removed the inner back, it should pop right out since it’s just hanging out there without anything holding it back. No stress, you got this!
Step 5
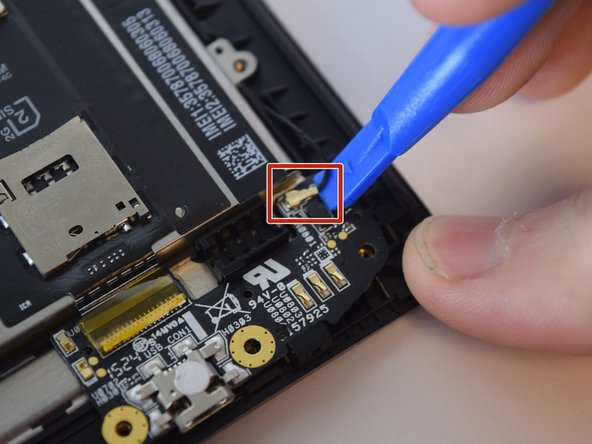
Antenna connections are pretty delicate. You might bend ’em out of shape if you’re not careful. Lift those cables from the bottom, just like in the pic. You got this!
– Grab your trusty plastic opening tool and gently pop up both ends of the antenna—easy does it!
– Now for a little finesse: carefully detach the antenna wire from the plastic keepers along the side. Make a mental note of where they go for reassembly later!
Step 6
– Grab your trusty plastic opening tool and gently lift the yellow tab to unlock the ribbon cable connecting the battery to the circuit board. Easy peasy!
Step 7
– With a gentle touch using your trusty plastic opening tool, nudge the vibration motor loose from its cozy little home.
Step 8
– Carefully slide the circuit board out of the phone, starting from the bottom—no rush, it’s not going anywhere! If you need help, you can always schedule a repair.
Step 9
– Time to get those ribbon cables out of the way! Gently use your trusty plastic opening tool to pry up those ribbon cables and disconnect them from their connectors. You’re doing great! Keep going!
Step 10
Handle with care! The battery has delicate tabs on both the left and right sides. Let’s make sure they stay intact while you’re working your magic.
– Time to give that battery a little freedom! Grab it with your hand and gently pull it out. It’s held in place with some adhesive, so you might need to give it a little extra encouragement. Don’t worry, it’s all part of the fun! If you need help, you can always schedule a repair
Step 11
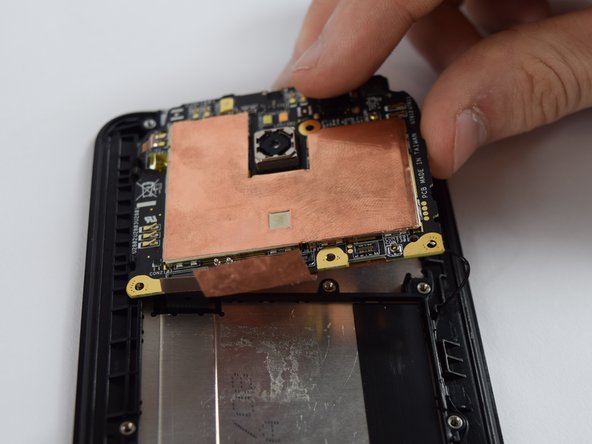
Handle the copper sheet with care—it’s not a napkin!
– Grab your trusty plastic opening tool and let’s gently coax that copper sheet heat strip away from your phone’s body! Start by nudging the tool into one of the upper corners of the copper sheet, then with a smooth motion, glide it along the edges. Easy as pie!
Step 12
– Grab your trusty plastic opening tool and gently disconnect the ribbon cable shown in the picture. Easy peasy!
Step 13
– With a trusty plastic opening tool in hand, gently slip the tool under the display cable that’s cozy next to the motherboard. Give it a light tug outward, and voila, you’ve just disconnected that display cable like a pro!
Step 14
Watch out for those sleek black plastic retainers – they’re the unsung heroes of getting your motherboard back in the game!
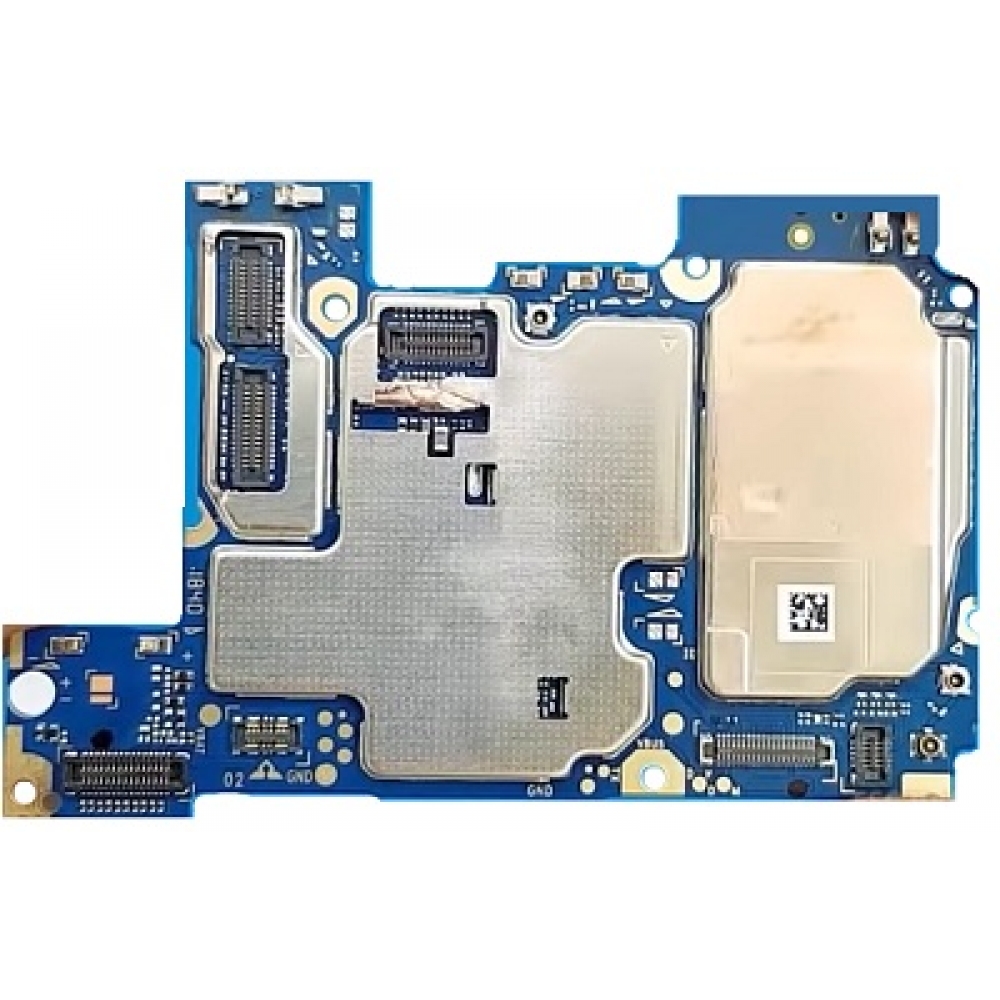
– To free the motherboard, there are four black plastic retainers—two on each side—keeping it snug in place. Grab a trusty plastic opening tool, slide it under one of the top corners of the motherboard, and gently lift upward. You’ll need just a touch of force to pop this side out of the retainers. Keep at it; you’re almost there!
Step 15
Once you manage to free one side of the motherboard from those pesky black plastic retainers, it should glide right out like it’s ready for a vacation!
– Once you’ve coaxed one side of the motherboard free from those sneaky black plastic retainers, gently lift the entire motherboard out of the phone. You’re doing great!
Step 16
– With a trusty plastic opening tool in hand, gently work your way around and pop that display cable free from the phone’s body. You’ve got this!
Step 17
Grab that heat gun! It’ll get that adhesive melting in about 30 seconds flat. If you’re using a hair dryer, just be ready to wait around 3-5 minutes for the same magic to happen. Patience is a virtue, but why not speed things up a bit?
– Grab your trusty hair dryer or heat gun, and let’s warm up that adhesive holding the display in place! You’ll find that sticky stuff snugly wrapped around the edges of the display, just waiting to be loosened up.
Tools Used
Step 18
Just a friendly tip: Don’t bend the screen too much—or else it might just snap!
– Grab your trusty plastic opening tool and get ready to work a little magic! Insert the tool at the edges of the phone, right between the display and the housing, and gently pry it off.
– Once the screen starts to budge, keep that groove going! Slide the opening tool around the edges, carefully prying the rest of the screen away like a pro.
Step 19
Step 20
It’s best to connect the speaker grill to the phone’s body instead of the display. Trust us, it’ll work out much better that way!
– Grab your trusty plastic opening tool and gently pry off the speaker grill from the display. It’s like giving your device a little spa treatment!
– Now, find the perfect spot on the body of the phone and place the speaker grill right there. It’s all about that cozy fit!
Step 21
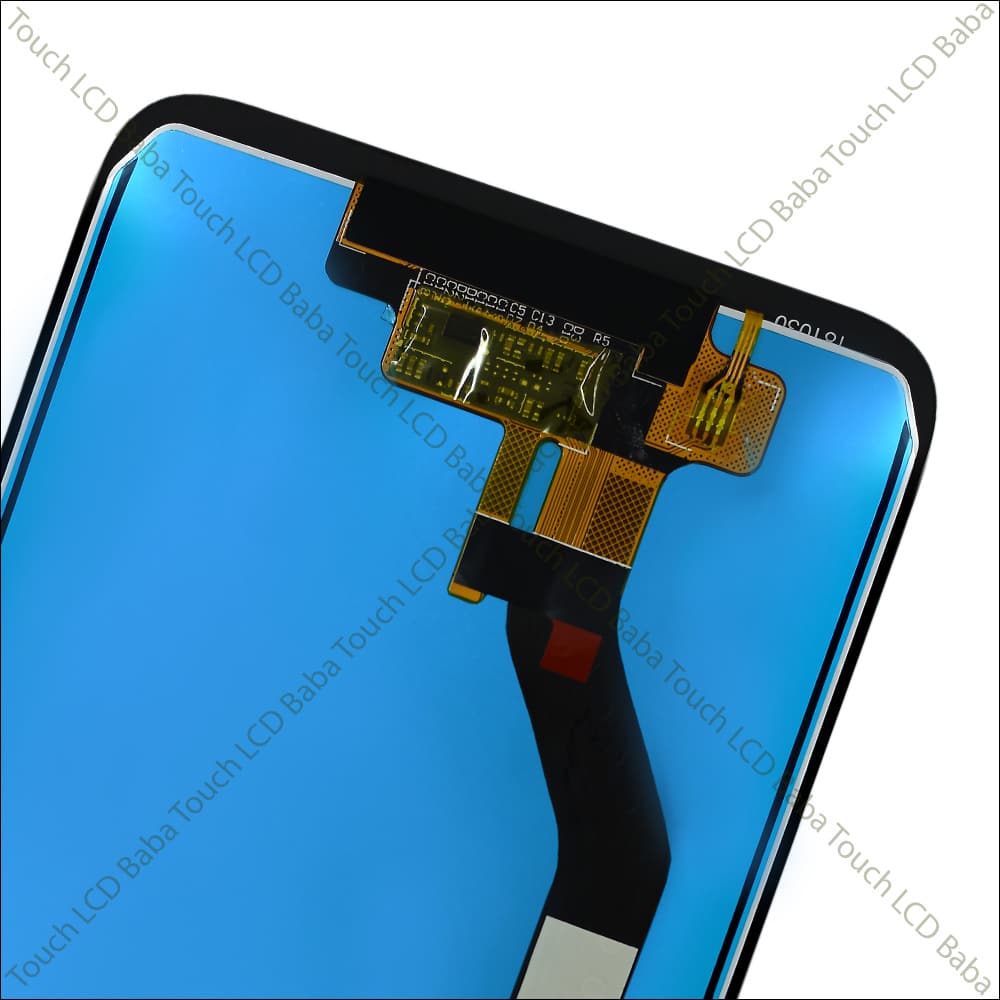
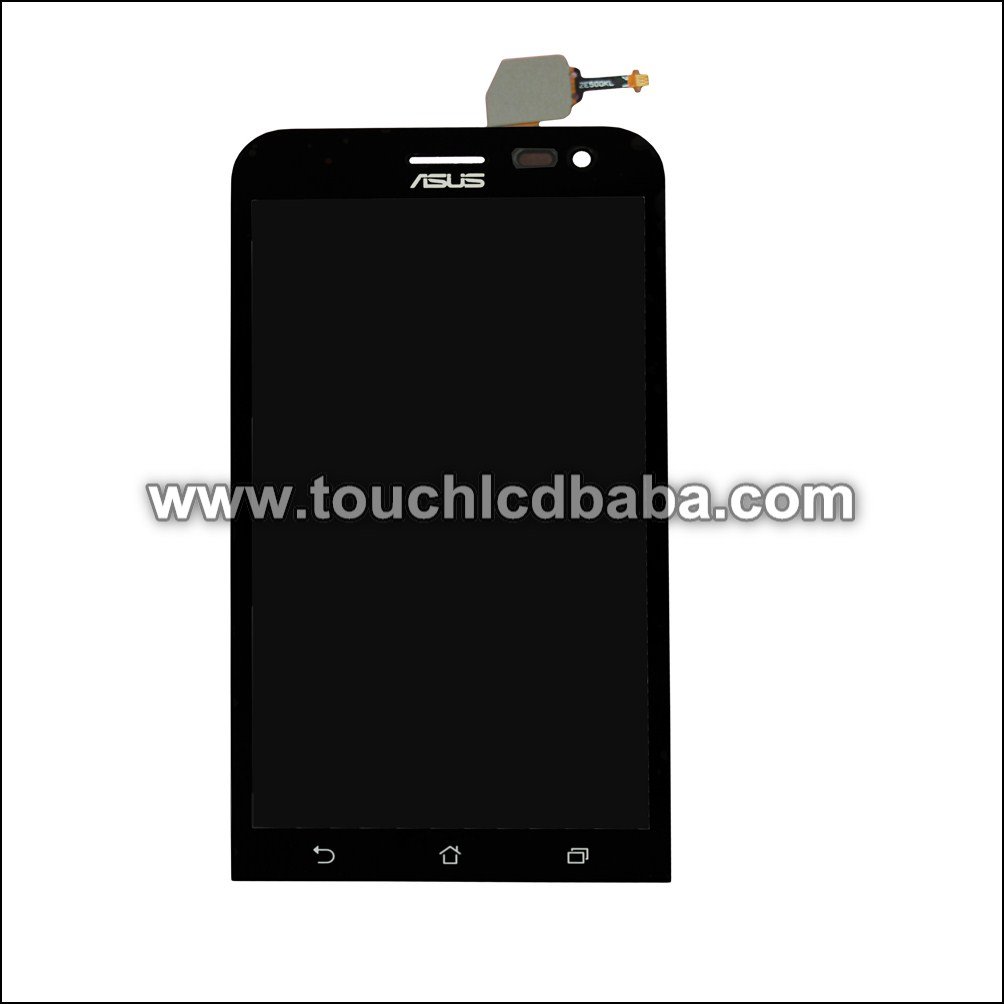
– Gently guide the antenna cables of your shiny new display through the right holes in the housing—easy peasy!
– Stick that phone display back on with some adhesive magic! You can either reuse the old adhesive if it’s looking good, or go for some fresh 2 mm thick double-sided adhesive. You’re doing great!
Success!
