Asus ZenFone 2 Battery Replacement Guide: Step-by-Step DIY Tutorial
Duration: 45 minutes
Steps: 11 Steps
Ready to bring your Asus ZenFone 2 back to life by swapping out that battery? You’re in the right place! Just keep in mind that this little adventure will take some time and effort. First things first, you’ll need to tackle the bottom antennae before you can get to that battery. Let’s jump in and get your phone powered up again!
Step 1
– Gently use your fingernail to lift the back cover of the phone at the spot shown. Once your fingernail is snugly under the cover, slide your finger along the edges to help it pop off smoothly.
Step 2
Look out for that sneaky black screw sitting next to the camera and flash—it’s hiding under a sticker! But don’t worry, you can pop that screw out just like it had no sticker at all. A sharp screwdriver will slide right through the sticker like it’s butter.
– Let’s get those screws out! Start by removing the thirteen black screws and the one silver screw from the back of the phone. You’ll need a JIS size 00 screwdriver for this step.
– Those black screws are 2.8 mm long, and that silver one is 5.5 mm. You got this!
Step 3
Gently coax the inner backing up and away by slipping a plastic opening tool beneath the two strips of double-sided tape holding it down. A little lift here and there, and you’ll be well on your way to getting things opened up!
– Grab a trusty plastic opening tool and gently pry off the inner phone backing. It’s easier than it sounds, and soon you’ll be diving into the heart of your device!
Step 4
Keep an eye on where the speaker unit is sitting. This way, you’ll have no trouble putting it back exactly where it belongs when you’re reassembling your device. You’ve got this!
– Alright, let’s pop that speaker out of the back of the phone! It should be a breeze to remove once the inner back is gone, since there’s nothing holding it down anymore.
Step 5
The antenna is a bit of a diva and loves to get a little twisted! Just remember to gently lift from beneath the cable as shown to keep it happy and in shape.
– Grab a plastic prying tool and gently ease off the lower section of the antenna. You’re on the right track!
Step 6
– Grab that trusty plastic opening tool and pop the ribbon cable loose by lifting the yellow tab, just like in the picture.
Step 7
– Grab your trusty plastic opening tool and gently wiggle out the vibration motor from its snug little home. You’ve got this!
Step 8
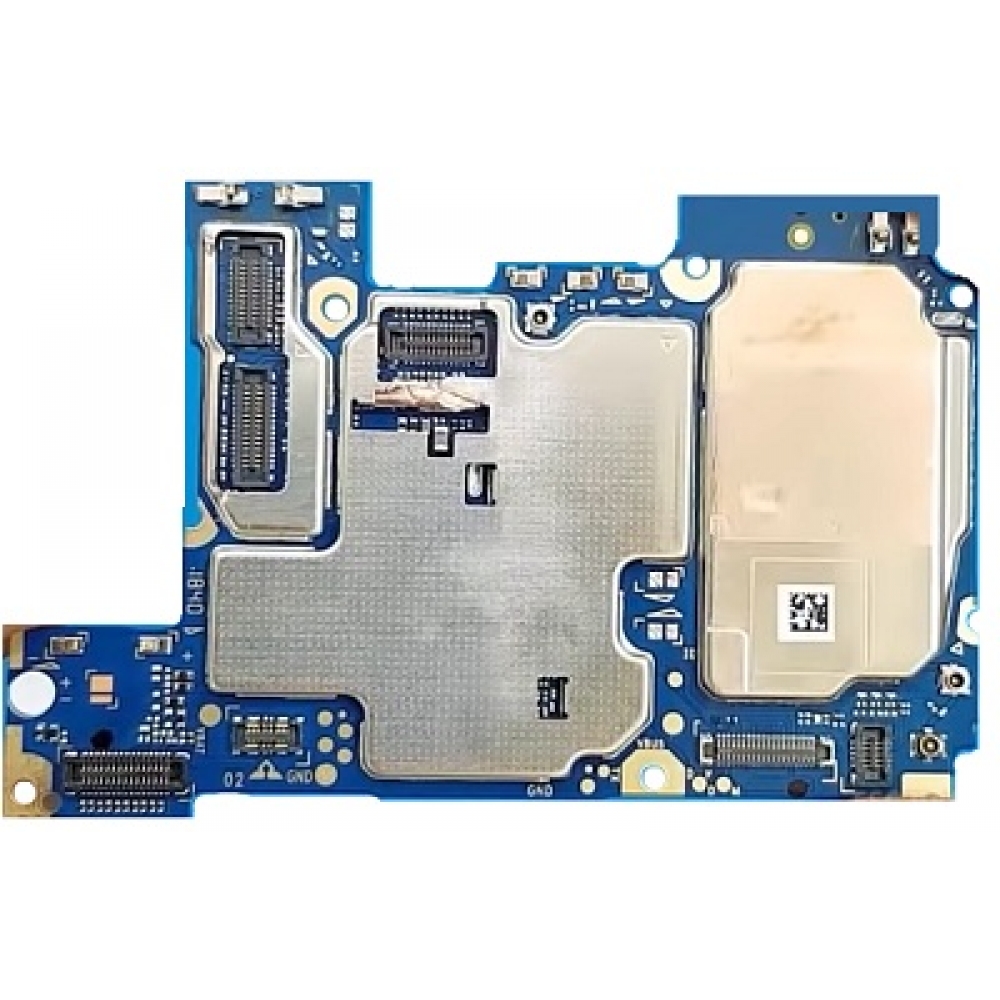
– Carefully lift the board out of the phone with your hand, like you’re cradling a tiny treasure.
Step 9
– Grab your trusty plastic opening tool and gently lift those ribbon cables up, just like the pictures show. You’ve got this!
Step 11
Gently separate the pieces, being careful not to bend the metal edges—trust me, you’ll save yourself some future hassle putting it all back together!
– Gently slide the metal spudger between the battery and its metal casing, and with a bit of finesse, pry them apart slowly. You’ve got this!
Tools Used
Success!


