Asus PadFone S Motherboard Replacement Guide: Step-by-Step Tutorial
Duration: 45 minutes
Steps: 5 Steps
Ready to tackle a little project? This guide is your go-to for swapping out the logic board on your Asus PadFone S! Before you dive in, gather up some essential tools—trust us, you’ll want them handy. While this project does require a bit of skill, just follow the steps carefully and you’ll be golden! Plus, once you’ve got this down, you’ll be better equipped for other replacement tasks on your Asus PadFone S. And hey, if the going gets tough, you can always schedule a repair.
Step 1
– Ready to give that phone a little TLC? Alright, let’s pop that back cover off! Just place your thumb on the charging port and gently pry the back cover away. No need to be a superhero, just a little pressure will do the trick.
Step 2
– Unscrew all those pesky screws with your trusty T5 Torx screwdriver.
– Gently lift the back panel off the phone like you’re unveiling a surprise!
Tools Used
Step 3
Get ready to unleash your inner gadget hero! Gently but firmly lift the battery from its slot while making sure not to give it a nasty boo-boo. If you need any help, you can always schedule a repair!
– Gently detach the battery from the logic board using your trusty tweezers.
– Now, grab those plastic opening tools and carefully lift the battery out of its cozy little home!
Tools Used
Step 4
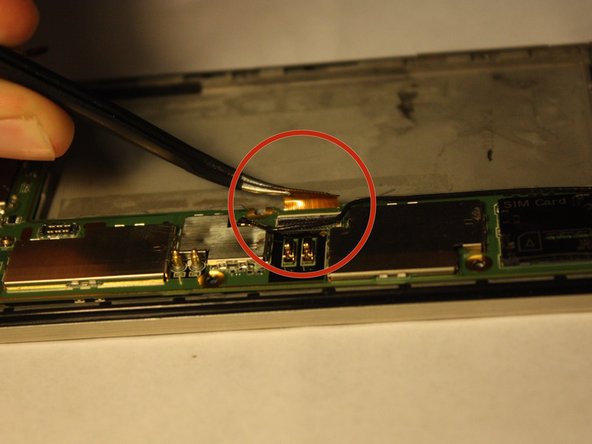
– Gently detach all the wires and bands connecting to the microphone, SIM card slot, and those handy side buttons!
Step 5
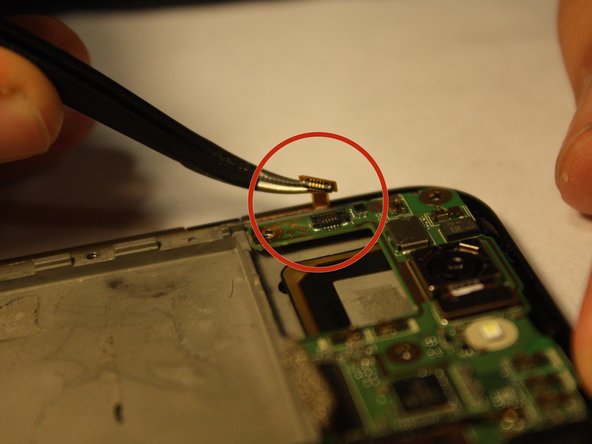
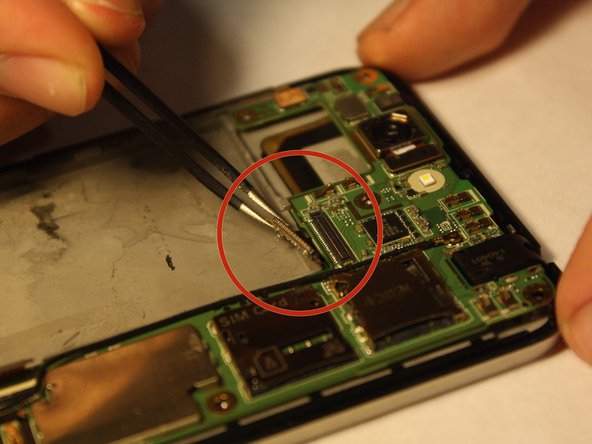
– Hey there, buddy! Time to unplug that pesky band and give your logic board a little break, alright?
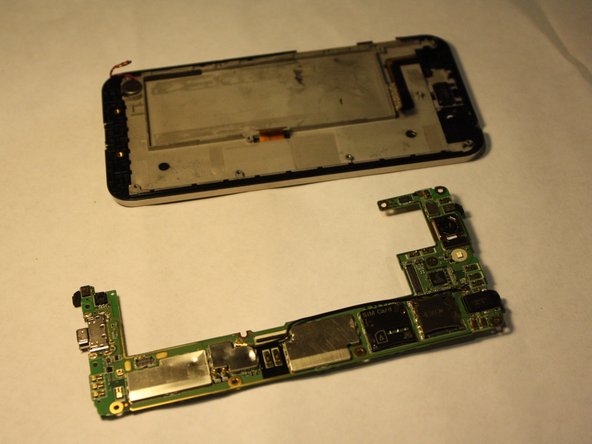
– Now that the band’s unplugged, it’s time to gently lift your logic board out of the phone and give it some space — almost like letting your friend take a breather when things get too wild. Soak up those sweet, sweet sounds of success!
Success!


