DIY Google Pixel 9 Pro Fold Outer Front Camera Replacement
Duration: 45 minutes
Steps: 52 Steps
This repair guide was crafted by our amazing team and is not officially backed by any big names. Want to dive deeper into our repair guides? Check them out right here!
This handy guide is here to help you swap out the outer front camera on your Pixel 9 Pro Fold. It’s crafted with care by the team at Salvation Repair. For more tips and tricks, check out our repair guides! If you find yourself in a pinch, you can always schedule a repair.
Step 1

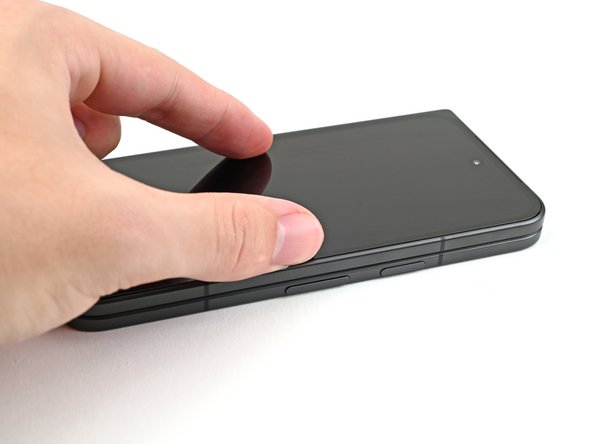
– First things first, let’s get your phone ready for some serious TLC! Go ahead and unplug all those pesky cables and give it a little nap by powering it completely down.
Step 2

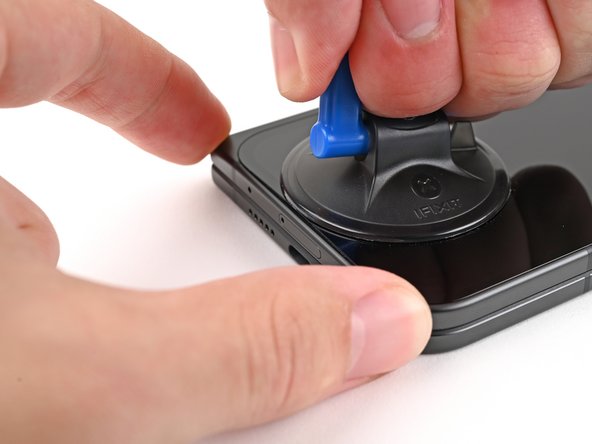
Got a screen that’s more cracked than a jigsaw puzzle? No worries! Try slapping on a layer of clear packing tape to help that suction cup stick. If tape isn’t your jam, some heavy-duty tape can step in as a substitute for the suction cup. And if you’re feeling adventurous, you could even superglue that suction cup right onto the screen. Just remember, if things get tricky, you can always schedule a repair!
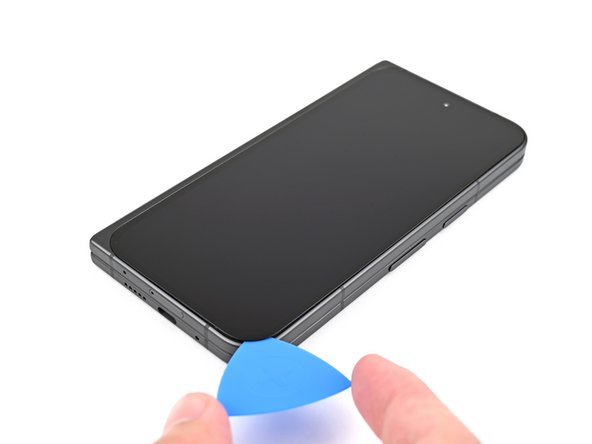
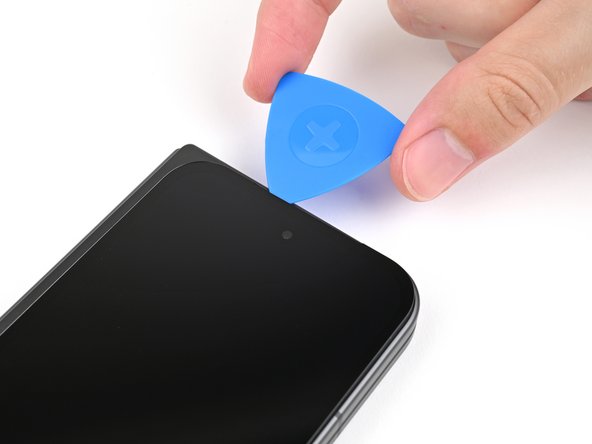
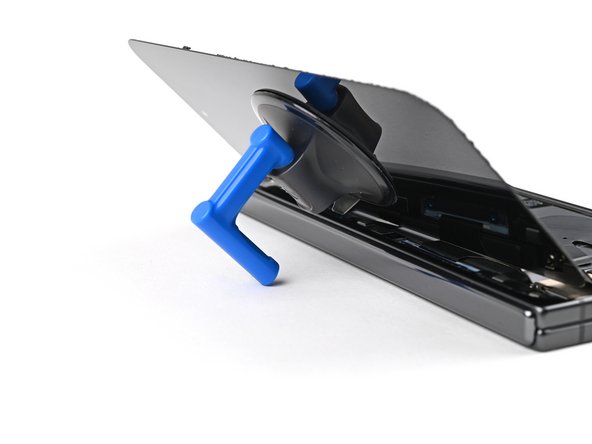
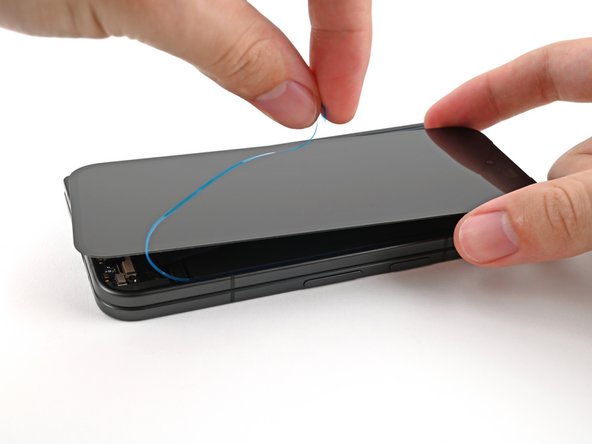
– Grab a suction cup and stick it right near the center at the bottom of the screen. You’re doing great!
– Now, give that suction cup a good pull with steady strength to open up a little space between the screen and the frame.
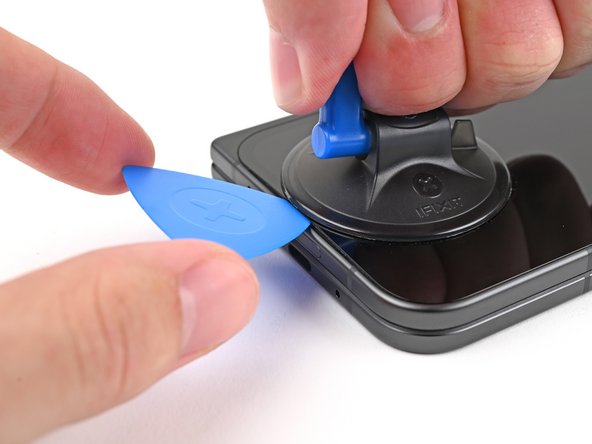
– Time to slide in an opening pick and pop that gap open a bit more. Keep it up!
Step 3

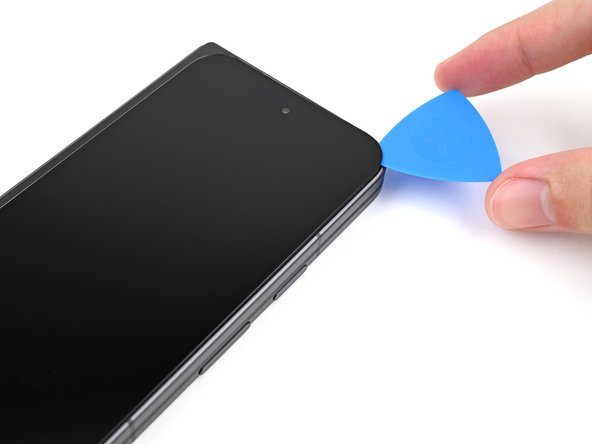
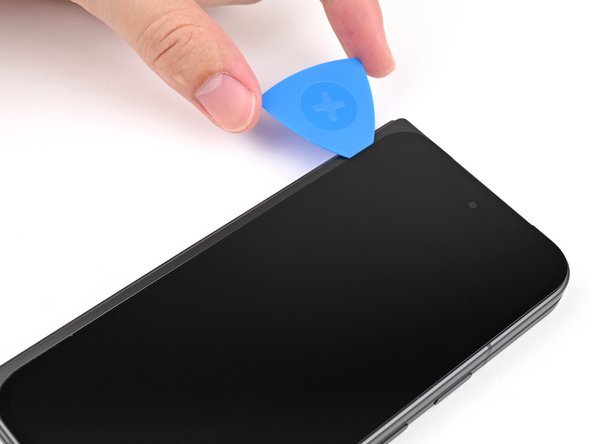
Alright, cool cat! For the next four steps, don’t jam your opening pick past 3mm – you don’t want to go digging around in there and accidentally bump into anything sensitive, right? Just chill out, be gentle, and we’ll be rocking this repair in no time!
If you’re feeling a bit lost, why not grab your trusty opening pick and measure out 3 mm from the tip? It’ll give you a handy visual cue for the length you need to work with!
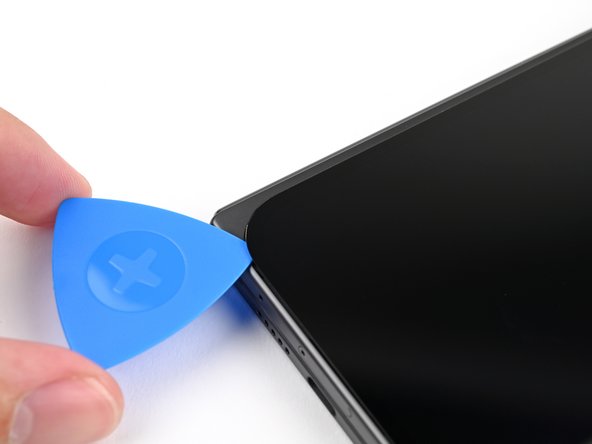
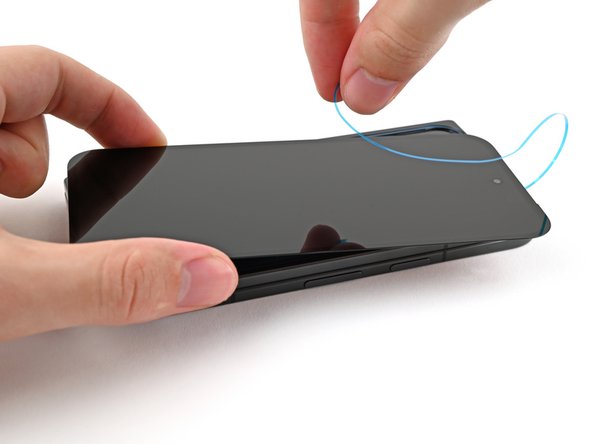
– Gently glide the opening pick around the bottom right corner and up the right edge of the screen to free that pesky adhesive!
Step 4

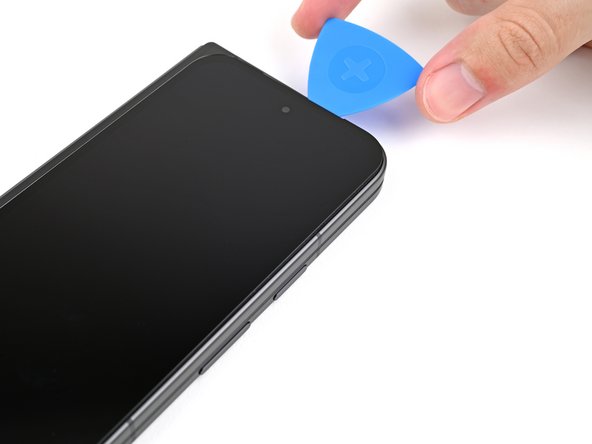
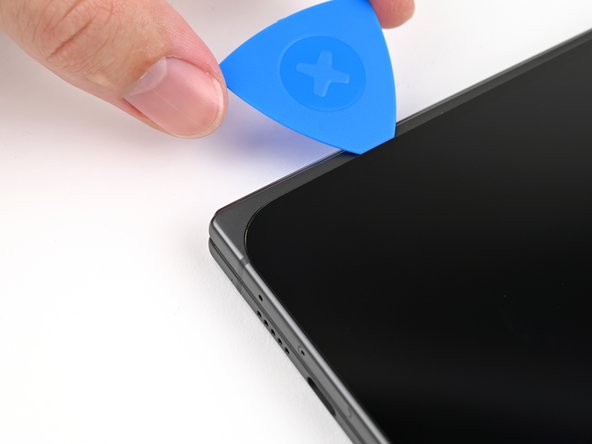
– Gently slide the pick around the top right corner, but make sure to pause just before reaching the front camera. You’ve got this!
Step 5
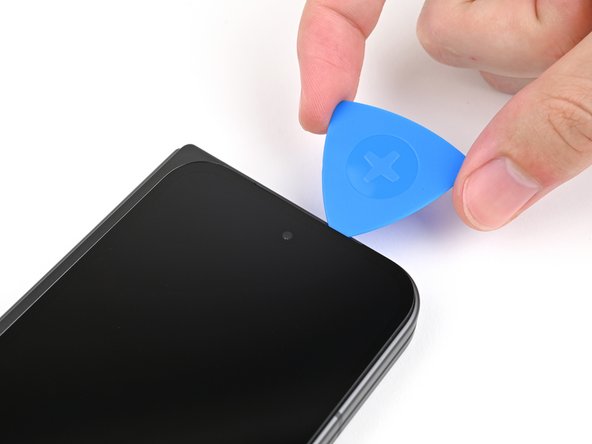

– Carefully wiggle the opening pick out until just the tip is snugly tucked under the screen.
– Gently glide the opening pick along the top edge of the screen, keeping it steady until you’ve zipped past the front camera.
– Once you’re there, push your pick back to its original depth, then carry on with confidence!
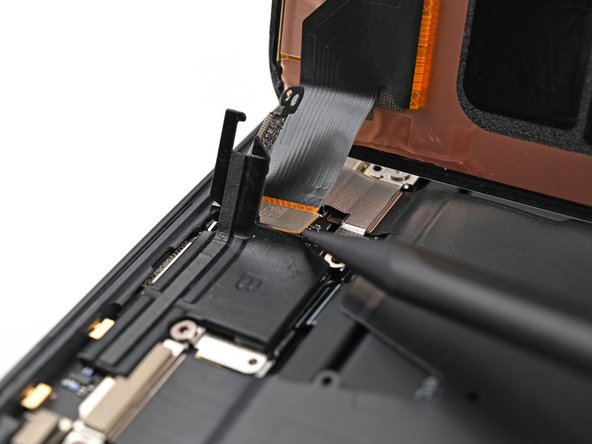
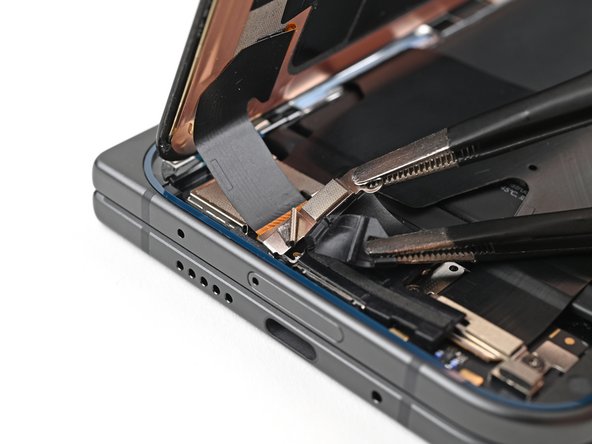
Step 6


Be careful not to push the pick too far, or you might end up giving the display cable a surprise it doesn’t want!
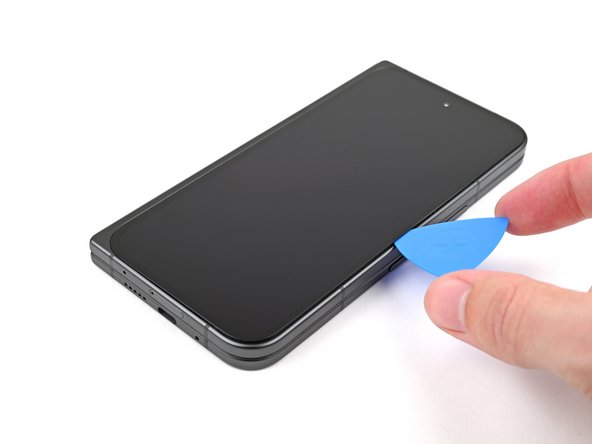
– Gently glide the opening pick around the top left corner, and pause when you’re about two-thirds of the way down the left edge of the screen. You’ve got this!
Step 7

– Now, get that opening pick and slide it in about 2mm deep. Then, give it a little twirl around the bottom left corner to break up that sticky stuff holding everything together.
Step 8

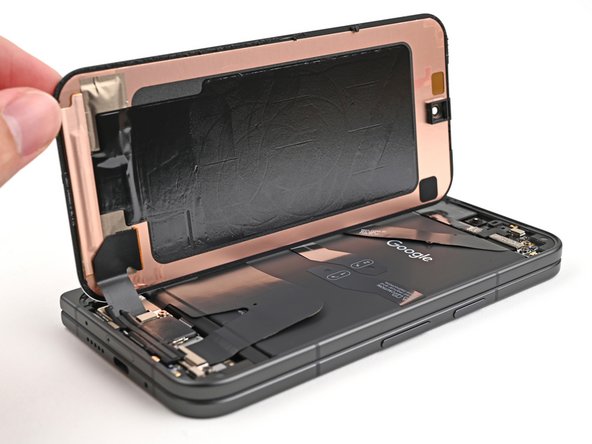
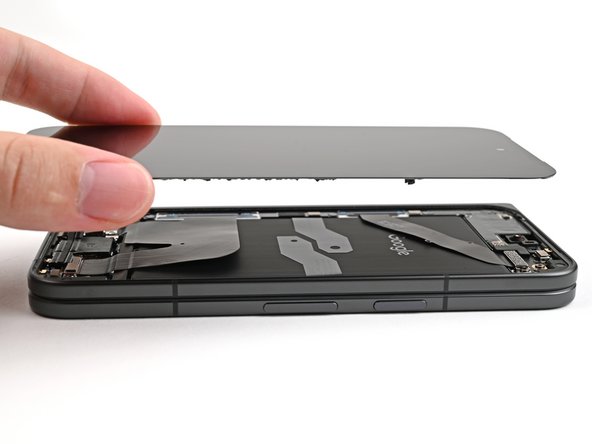
Hold on there! Don’t take the screen off just yet—it’s still hanging on by a cable, so let’s keep it connected for now.
Alright, your screen should now be unchained from the frame! If it’s still putting up a bit of a fight around the edges, grab an opening pick and gently nudge away any stubborn adhesive that’s hanging on.
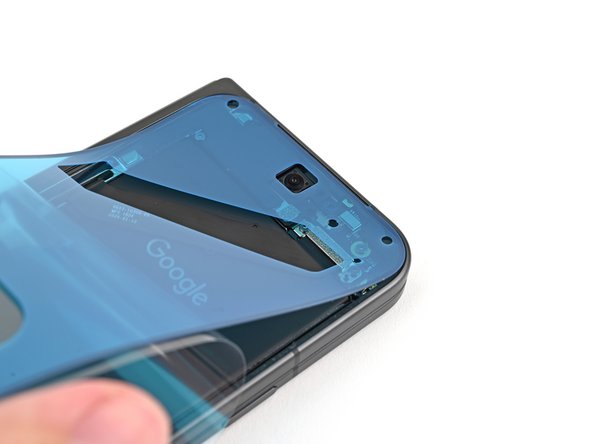
– Gently lift the right edge of the screen and swing it over to the left side of the phone, just like you’re opening a book with a fun twist!
– Support the screen using your trusty suction handle or a clean, sturdy object—think of it as giving your device a little lift!
Tools Used

Step 9

As you dive into this repair adventure, keep a close eye on each screw and remember to return it to its original home. They get lonely if left behind!
The Pixel 9 Pro Fold may be rocking Torx Plus screws, but don’t sweat it—standard Torx bits can step in just fine. Just grab the same size or one size up (T3 or T4 Torx bits for those 3IP Torx Plus screws) and apply steady, downward pressure to keep things from getting stripped. You’ve got this!
– Let’s loosen things up! Grab your Torx Plus 3IP driver and give that 2.2 mm screw holding the display cable bracket in place a gentle twist to the left. You got this!


Step 13


– Grab your trusty Torx Plus 3IP driver and gently unscrew the 2.0 mm-long screw that’s holding the battery bracket in place. You’ve got this!


Step 16

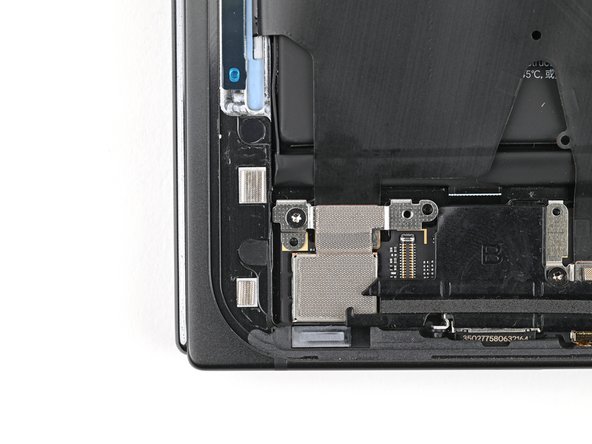
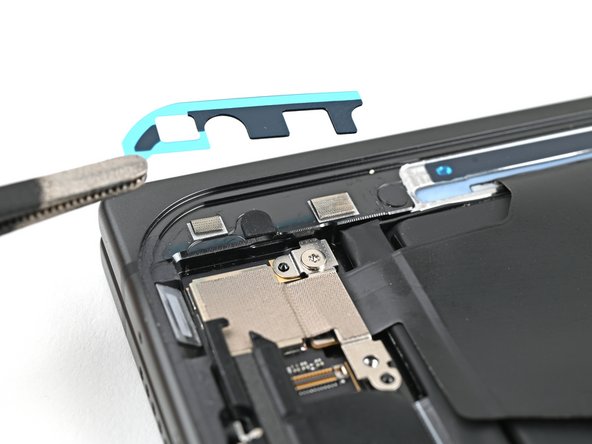
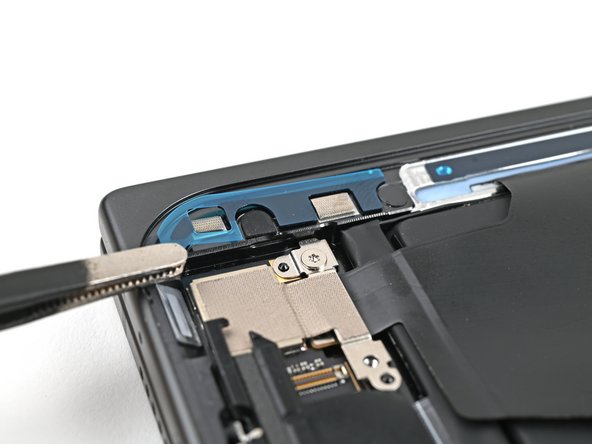
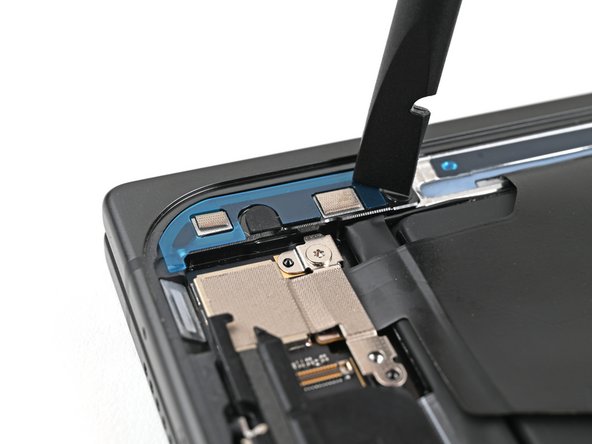
– Grab your trusty tweezers or just your fingers and gently lift off that rubber block hiding the screw on the top board. You’ve got this!
Step 17


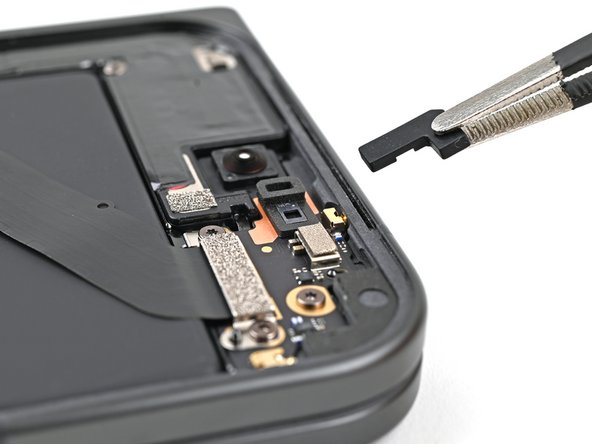
– Grab your trusty Torx Plus 3IP driver and let’s get to work! Carefully unscrew the two tiny 2.2 mm-long screws that are holding down the top interconnect cable bracket. You’ve got this!
Step 18
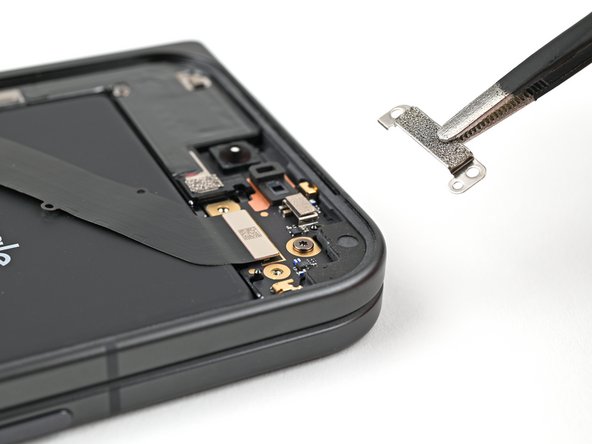

– Now, let’s get that top interconnect cable bracket outta there! You can use tweezers or your fingers to gently remove it.

Step 20

– Grab your trusty Torx Plus 3IP driver and get ready to tackle that little 2.2 mm screw holding the top board in place! It’s time to show that screw who’s boss!
Step 21

Hey, be super careful with that battery! Don’t poke or squeeze it too hard, you wouldn’t want to make it grumpy, would you?
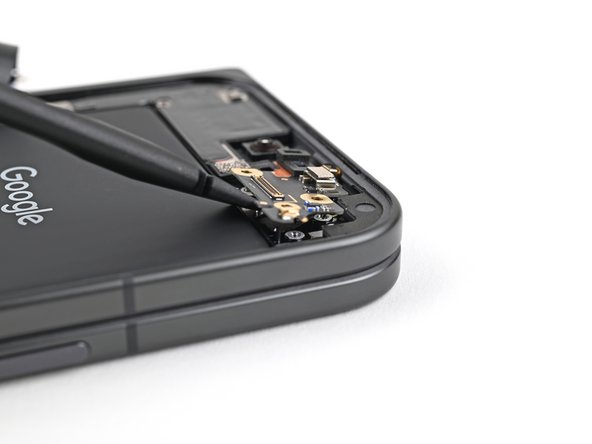
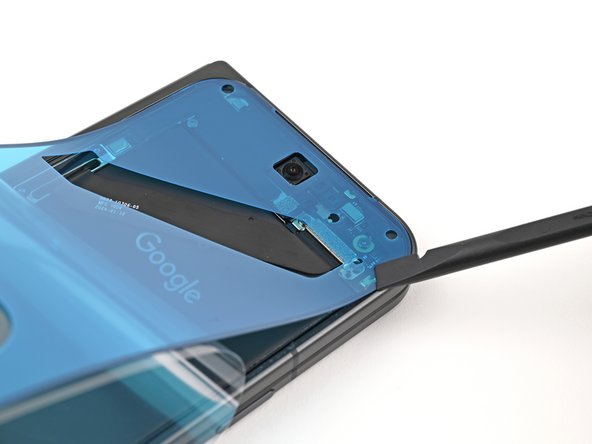
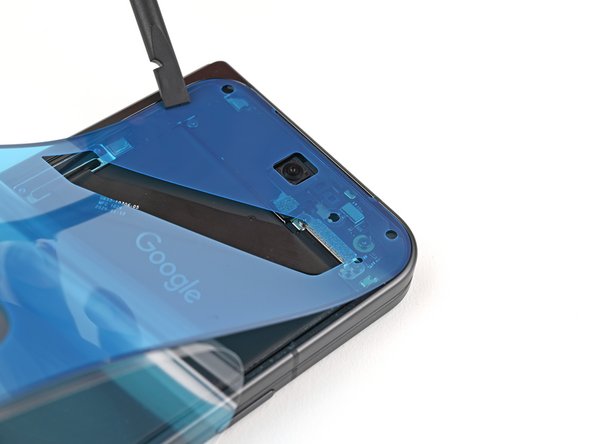
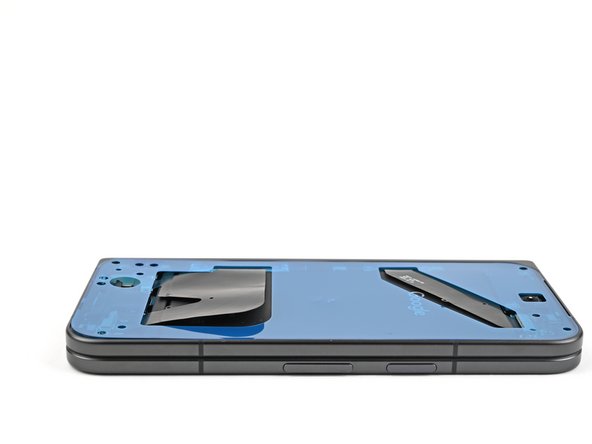
– Slide the flat end of your trusty spudger under the bottom edge of the top board.
– Give that spudger a little twist to pop the top board up and release it from the frame.
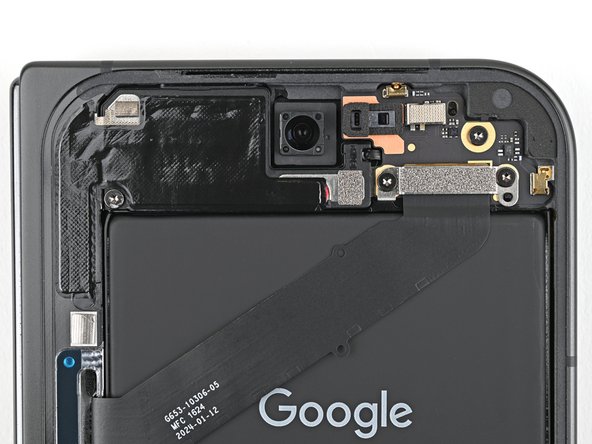
– Now, gently lift off the top board and set it aside.
Tools Used
Step 22

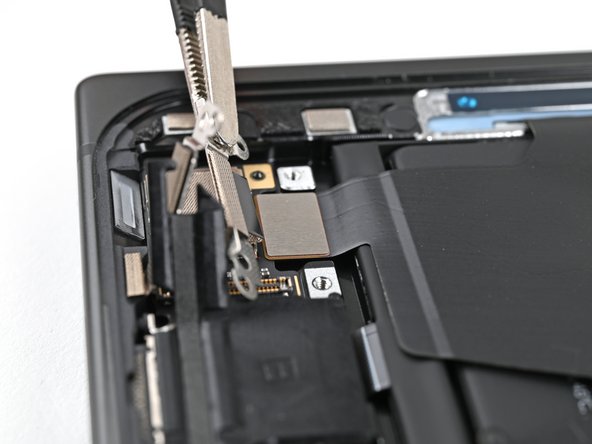
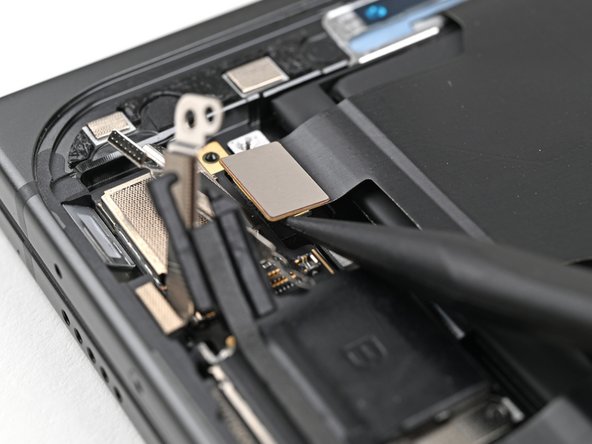
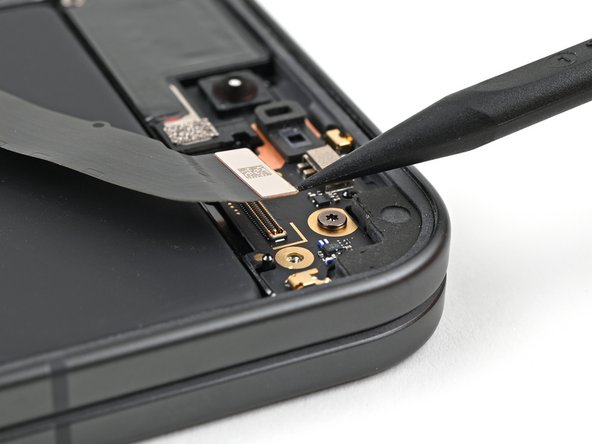
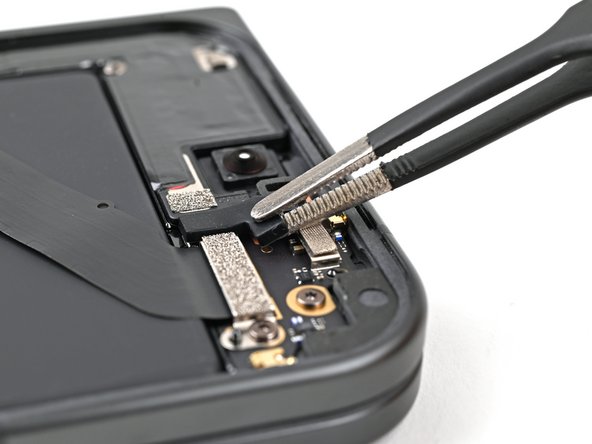
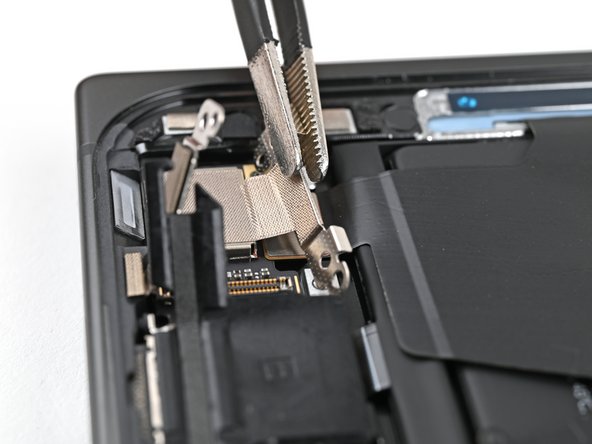
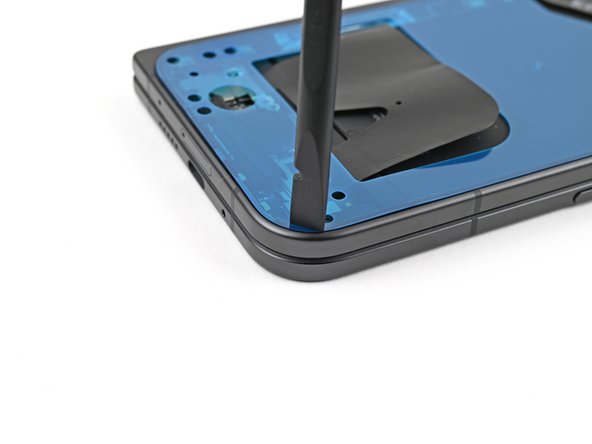
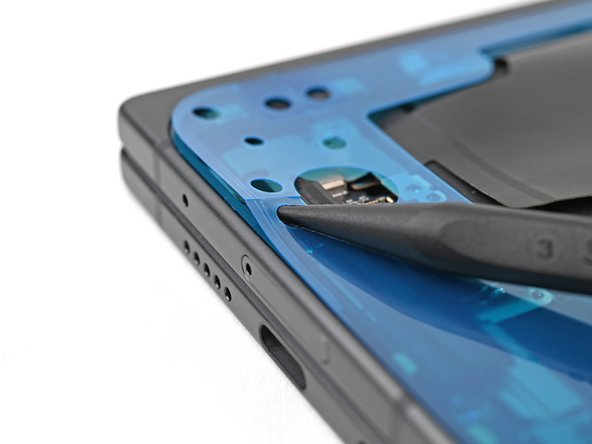
Go easy on that top board, you don’t want to bend those delicate metal springs and pins, right?
Keep your spudger in its lane, you don’t want to bump into any surface-mounted components.
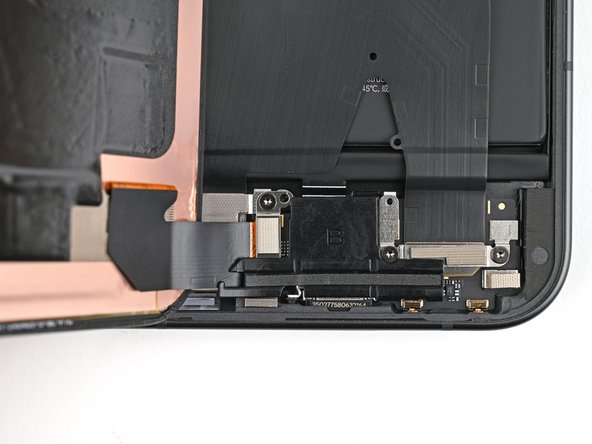
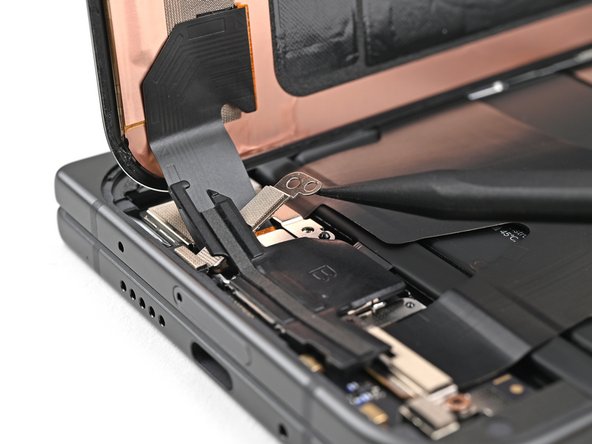
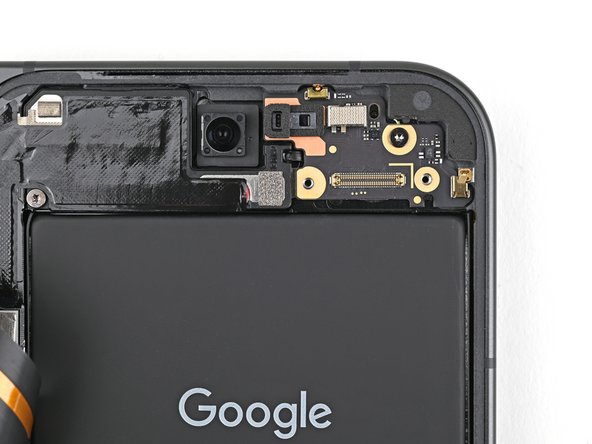
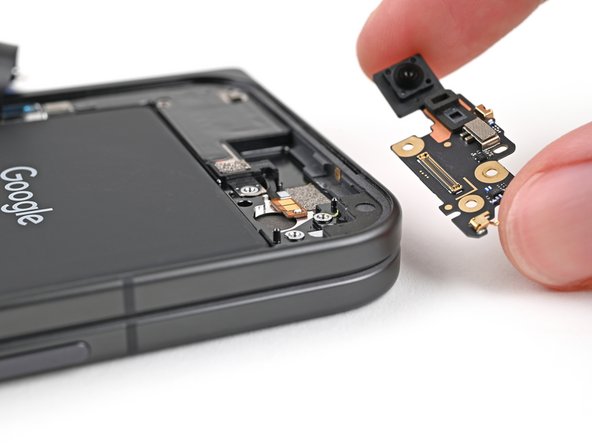
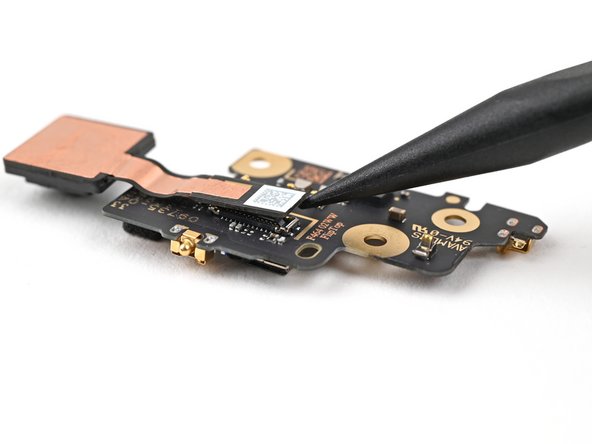
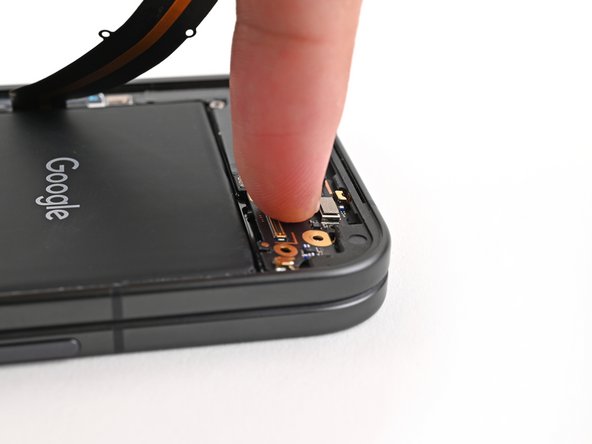
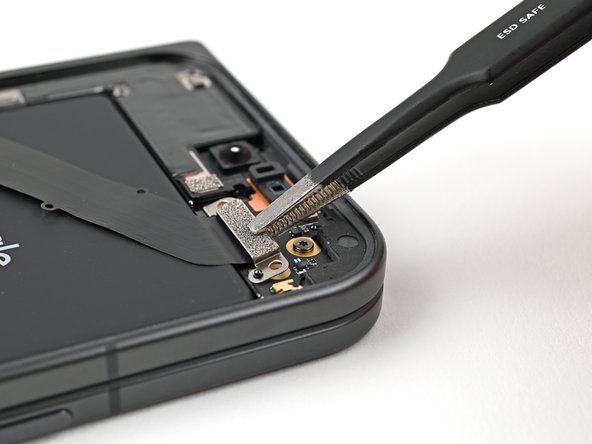
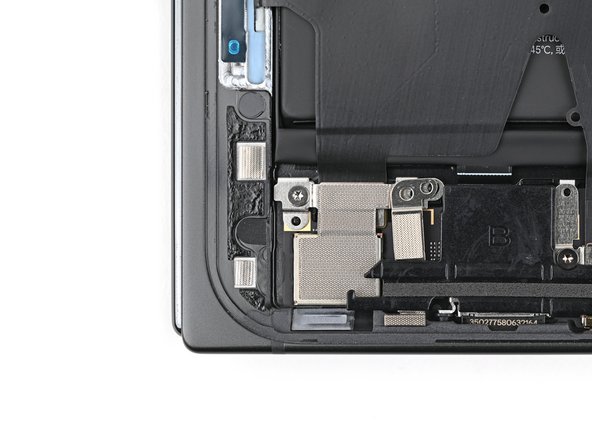
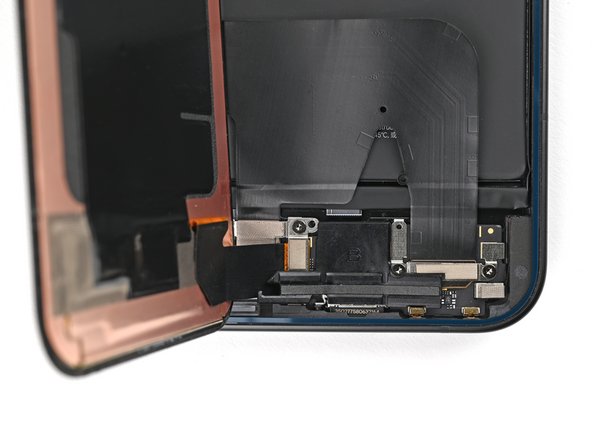
– Gently slide the tip of your spudger under the top right corner of the front camera press connector, right next to that shiny golden marker on the top board.
– With a little finesse, pry up and disconnect the outer front camera. You’re doing great!
Tools Used
Step 23

– Well done on navigating through disassembly! Now, let’s dive into the fun part—putting your device back together. Follow these steps, and you’ll have it humming along in no time!
Step 24


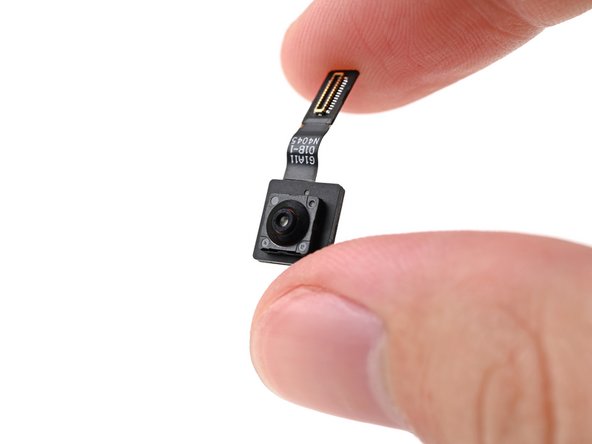
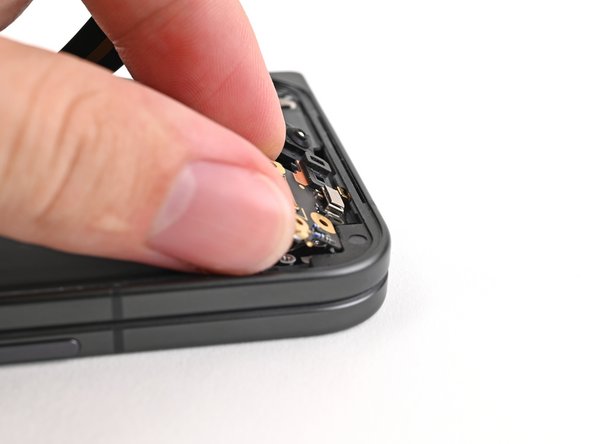
– Gently pinch the outer front camera press connector with your fingers and snug it back into its socket on the top board to make that connection again.

Step 26


– Grab your trusty Torx Plus 3IP driver and get ready to secure that top board with a 2.2 mm-long screw. You’ve got this!
Step 27

– Now, let’s reconnect that top interconnect cable press connector. It’s like giving your device a friendly hug!
Step 28

– Get that top interconnect cable bracket in place on the top board, making sure those screw holes line up perfectly. You got this!
Step 29

– Grab your trusty Torx Plus 3IP driver and let’s get those two 2.2 mm-long screws into place, securing that top interconnect cable bracket like a pro!
Step 30

– Position the rubber block right where it belongs on the top board and give it a gentle press down.
Step 31

– Now, it’s time to plug that flip battery press connector back in. Go ahead and reconnect it – you’ve got this!
Step 32

– Position the flip battery bracket over the press connector and make sure the screw holes are lined up just right.
Step 33

– Grab your trusty Torx Plus 3IP driver and get ready to secure that battery bracket with a 2.0 mm-long screw. You’ve got this!
Step 34
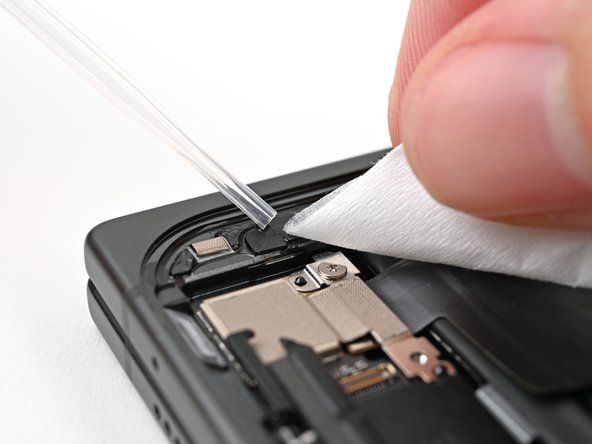

– Grab a spudger or just your trusty fingers and gently peel away that old, tired bottom left outer screen adhesive. You’ve got this!
– Next up, let’s tidy things up! Dampen a coffee filter or a microfiber cloth with some isopropyl alcohol (aim for over 90%) and wipe away any lingering adhesive residue. A clean slate is all you need!
Tools Used
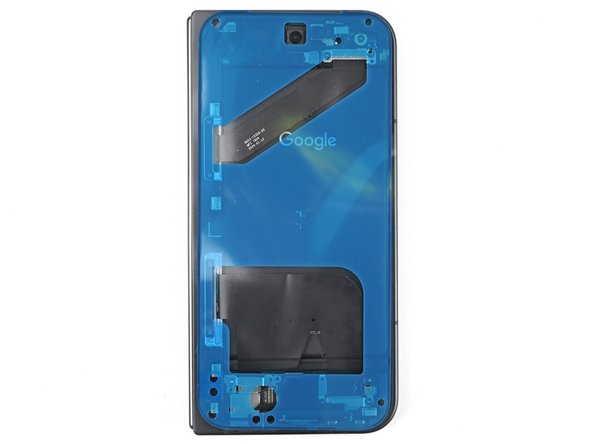
Step 35

Make sure the clear liner is positioned towards the frame, just like a cozy blanket snugly wrapping around you!


Step 42


– Now, peel off the rest of that clear liner. You’re doing great! As you peel, slowly lay the adhesive along the edge of your phone – you’re like an artist, creating a perfect seal!


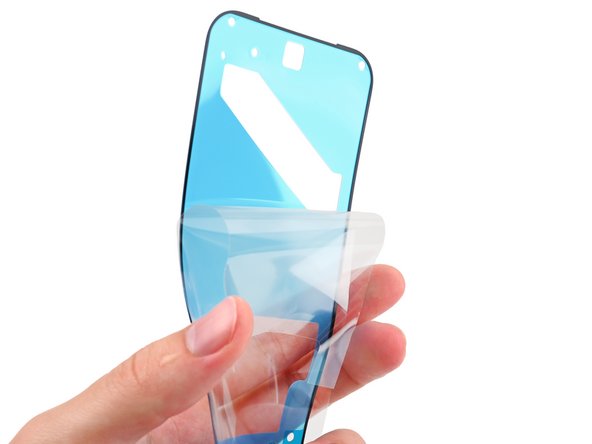
Step 45

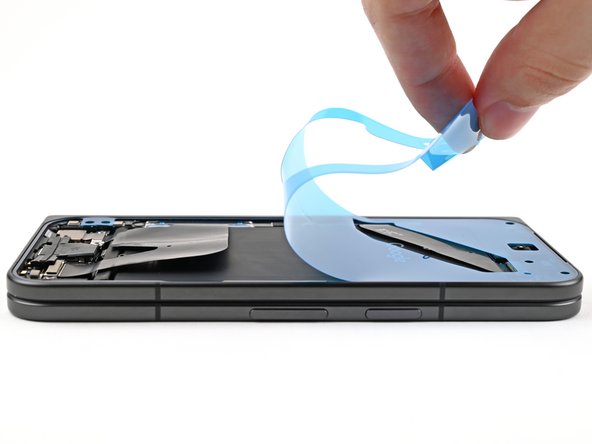
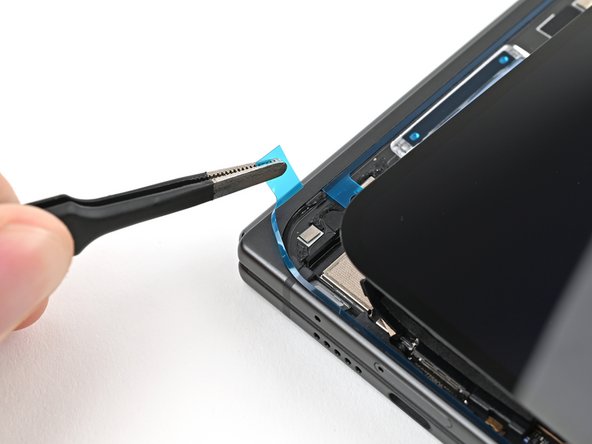
– Gently lift the tab and peel away that big blue liner to reveal the hidden secondary liner underneath. You’ve got this!
Tools Used


Step 48

– Grab your trusty Torx Plus 3IP driver and get ready to secure that display cable bracket with a 2.2 mm-long screw. You’ve got this!


Step 52

If you’re feeling a little adventurous, grab a hair dryer or heat gun and give the edges of the back cover a gentle warm-up. This will help create a snugger fit, just like a cozy blanket on a chilly night!
– Way to go on finishing your repair!
– Don’t forget to drop off your e-waste at an R2 or e-Stewards certified recycler.
– If things didn’t go quite as you hoped, give some basic troubleshooting a shot, or feel free to reach out to our community for a helping hand.
– Oops: I didn’t wrap up this guide.
–
Success!