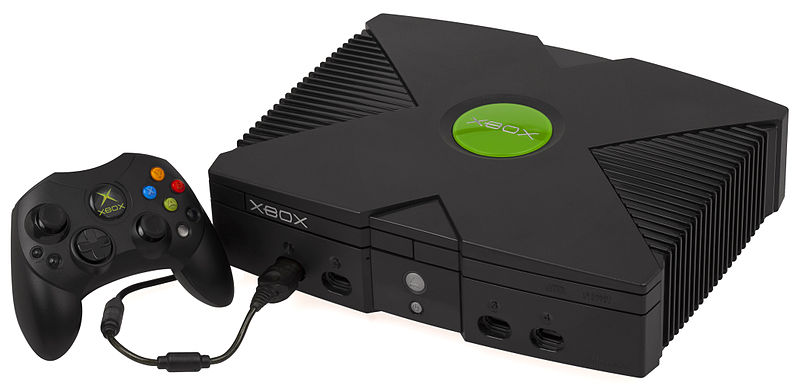
Xbox 360 Teardown
Duration: 45 minutes
Steps: 15 Steps
Ready to take apart your Xbox? Don’t worry, you’ll just need a few simple tools and a little bit of patience. Let’s get into it and break down this process step by step.
Step 1

– Usually, you’d find a hard drive here, but my Xbox doesn’t have one. To remove it, just press down on the button and gently lift it out.
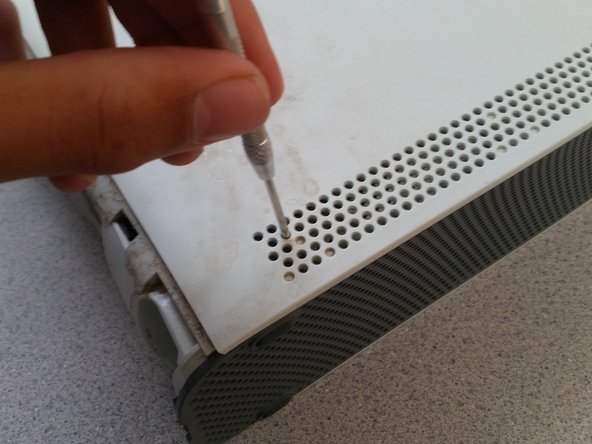
Step 2


– Slip a flathead screwdriver between the plastic pieces as shown and gently pop the front open—easy does it!
– Or, hook your finger inside the USB port and give the cover a gentle tug to remove it.
Step 3


– Grab a small pry tool and gently slide it in to nudge those pins free.
– Keep steady pressure outward—think of it like giving those pins a friendly tug to encourage them to come out.
– Make sure to pop out the pins on both sides so everything stays nice and secure.
Step 4


There are six buttons holding this together, so don’t stress if one or two end up casualties along the way—it’s totally normal!
– Just like with the bottom plate, gently push in the buttons to secure everything in place.
Step 5

Heads up: you’ll have to peel off a warranty sticker to open up the console. Just so you know, this will void your warranty.
I used flat head screwdriver bits to gently keep the connectors open while I worked. It’s a simple little trick to avoid any surprises, but you’ve got this! Just make sure you’re being gentle, and you’re all set.
– Carefully unplug all four connectors one by one, making sure they’re totally free so you can proceed smoothly. Take your time—gentle and steady wins the race!
Step 6


Using a screwdriver on plastic can be a little tricky, so you might want to try an x-acto knife for better precision.
This one’s a bit of a challenge. Press the button in until you hear it click, and then give it a little extra push to get it just right.
– Press down on these seven buttons all at once—think of it as a little handshake for your device.
– Keep your fingers applying gentle outward pressure to prevent those locks from snapping back into place.
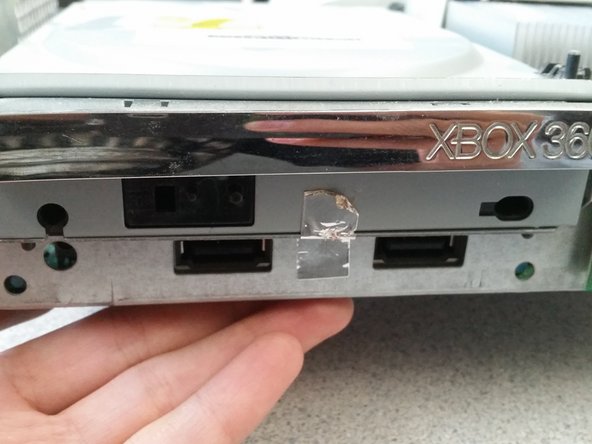
Step 7
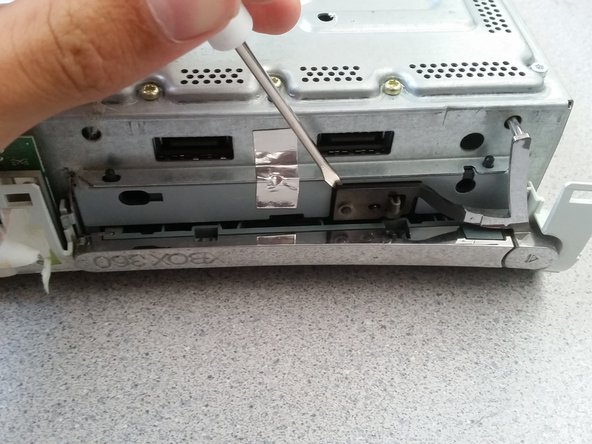
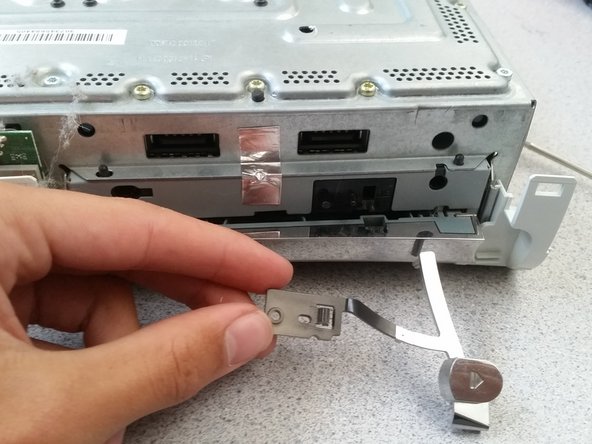

– To remove this button, gently pry it off using the flat end of a spudger or a flat-head screwdriver. Take it slow, and you’ll have it off in no time!
Tools Used

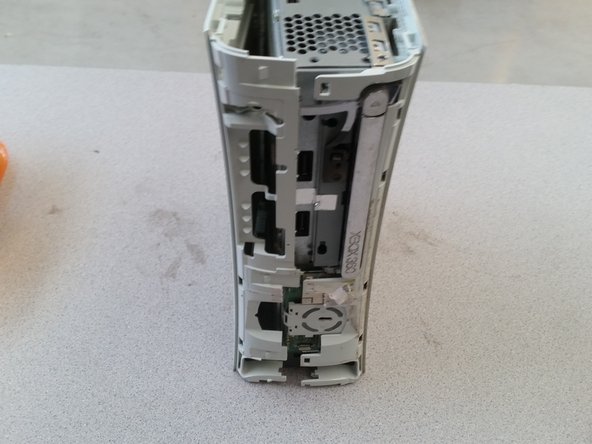
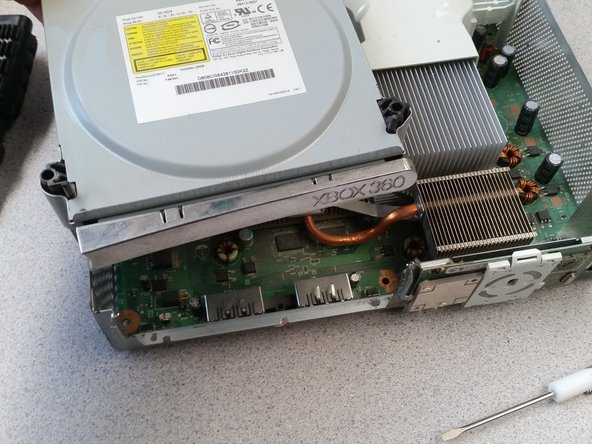
Step 8
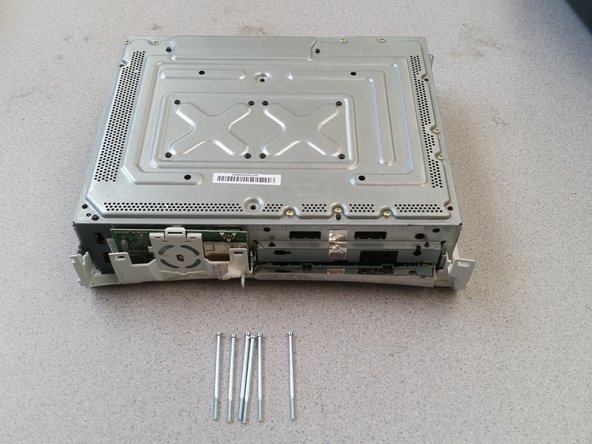

– Unscrew the six shiny silver screws with a steady hand.
– Now, carefully flip the whole Xbox, holding both the plastic and metal parts, and gently remove the casing.
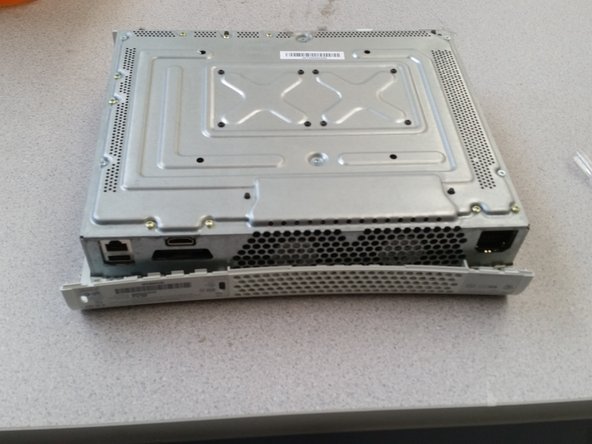
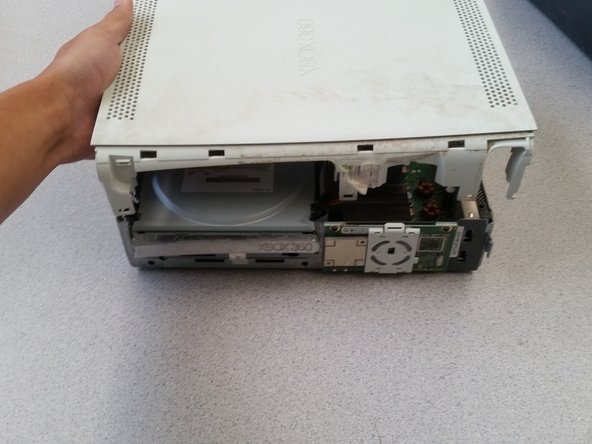
Step 9

Check if there’s some tape up front holding the disc drive—just peel it off and keep moving!
– Gently disconnect the two connectors with care and a steady hand. If you’re feeling stuck, remember you can always schedule a repair for extra help.
Step 10

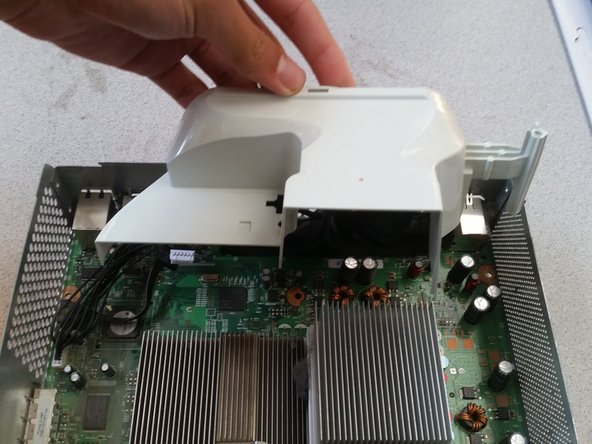

– Grab a flat head screwdriver and gently pop off the fan cover, just like you’re opening a can of your favorite drink. Easy does it—no need to rush!
Step 11

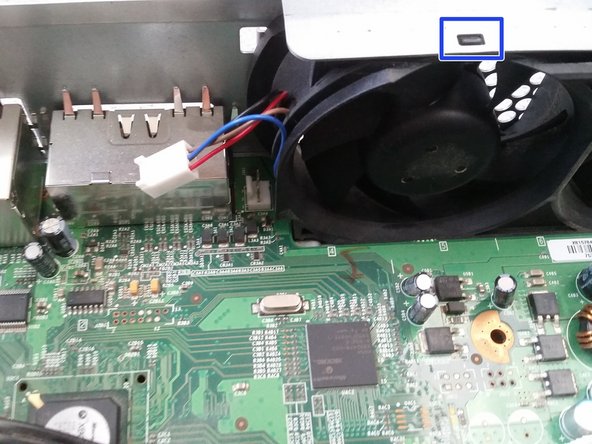
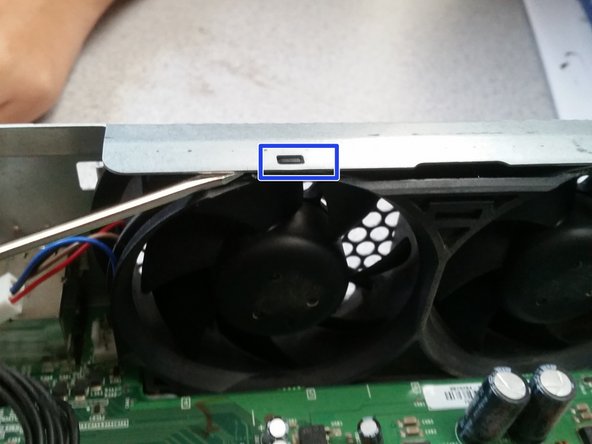
– Grab a small flathead screwdriver and gently twist open the locking tab—no muscle needed! Then, ease the fan connector out, nice and smooth.
– Take your screwdriver or a trusty spudger and carefully pop the fan free from the casing. Slow and steady wins this race.
Step 12


– Pop off the ‘On’ button by gently unplugging the plastic clip—easy does it!
– Take out the three black screws, then slide the chip straight out so the connector stays happy.
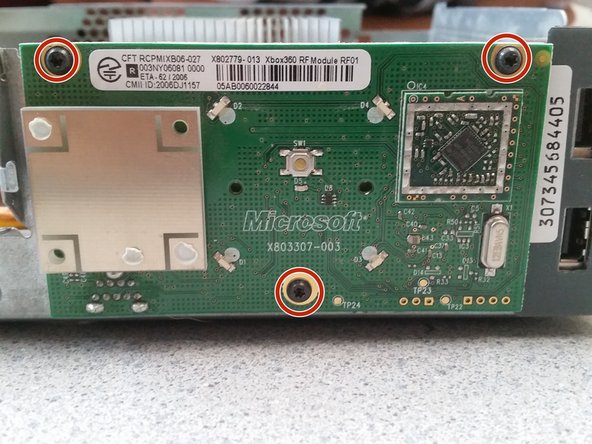
Step 13


– Start by removing the nine shiny gold screws securing the component.
– Next, unscrew the eight black screws holding things in place.
– Gently and carefully lift out the motherboard, taking care not to snag or damage any of the delicate connectors along the way.
Step 14


– Slot for your memory card—think of it as the device’s secret snack drawer.
– Custom ATi graphics muscle, boosted with 10MB of RAM for those crisp visuals.
– Three IBM PowerPC cores, all flexing at 3.2GHz, plus 512MB of system RAM—speed central!
– Plug in your hard drive here. Extra storage, anyone?
– This is where your device gets its juice—power port in plain sight.
– HDMI and video connections for all your screen-sharing glory.
Step 15

– That’s a wrap! Just retrace these steps in reverse order to put your Xbox 360 back together. If you hit any snags or want a hand, you can always schedule a repair.
Success!