Xbox 360 Teardown
Duration: 45 minutes
Steps: 15 Steps
Let’s dive into the fun world of Xbox disassembly using just a few handy tools!
Step 1

– Usually, you’d find a hard drive here, but not in this Xbox. To remove it, press the release button and lift it out gently. If you need a hand along the way, you can always schedule a repair.
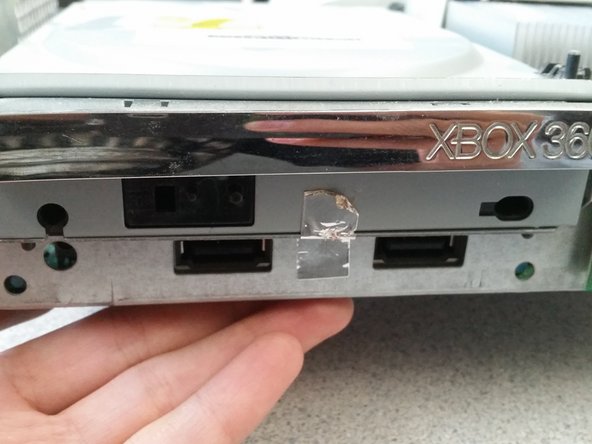
Step 2


– Slip a flathead screwdriver between the plastic pieces as shown and gently pop the front open. No need to rush—it’s not a race!
– Another option: hook your finger inside the USB port and give the cover a steady pull.
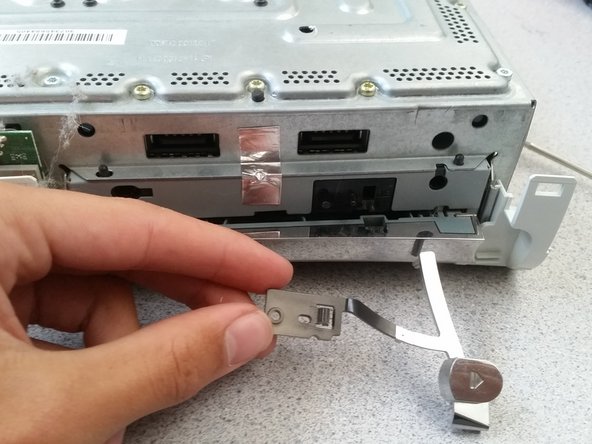
Step 3
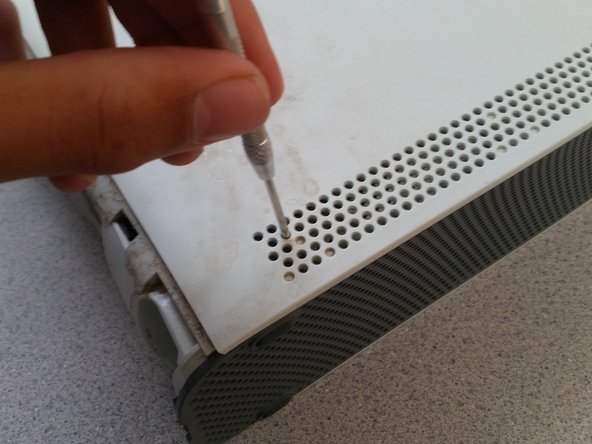


– Grab a small tool and gently press in to pop those pins out.
– Keep a bit of outward pressure as you pull, it’ll make things go smoothly.
– Make sure both sides are popped out before moving on!
Step 4


Just a heads up, there are six buttons keeping this all together, so if you happen to break one or two, no worries!
– Just like with the bottom plate, now it’s time to gently push in the buttons while keeping everything in place. Take your time, make sure everything clicks right into position, and you’re good to go!
Step 5

You’ll need to peel off that warranty sticker to get inside the console. Just a heads up, doing this will mean saying goodbye to your warranty.
I grabbed some flat-head screwdriver bits to gently hold the connectors open, making it easier to work without them snapping back. Keep at it—your device will thank you!
– Gently pop off each of these four connectors—take your time and don’t rush it, you want to keep everything nice and even.
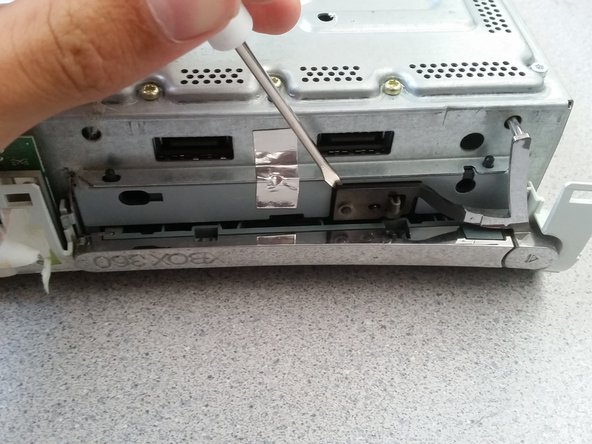
Step 6


Using a screwdriver on plastic can be a tricky move, so I’d suggest grabbing an x-acto knife instead.
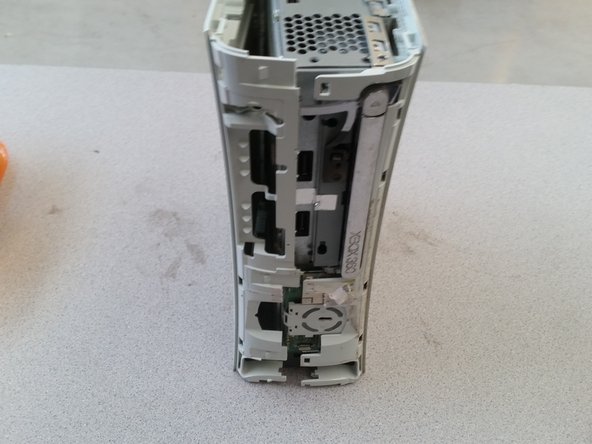
This step is a bit tricky! You’ll need to push the button in until it clicks, then keep going just a little further.
– Press each of the 7 buttons in—yep, all of them.
– Keep steady outward pressure so those sneaky locks don’t snap back into place.
Step 7

– Use the flat end of a spudger or a flat-head screwdriver to gently pry off the button. A little patience goes a long way here—don’t rush it!
Tools Used

Step 8
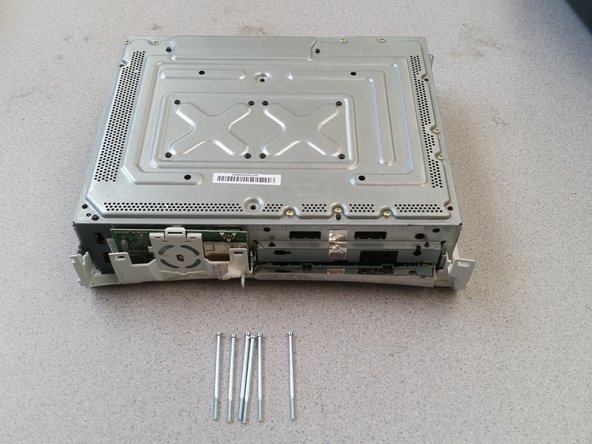

– Let’s get those six shiny silver screws out of the way!
– Now, gently flip your Xbox over, balancing both the plastic and metal parts, and carefully remove the casing.
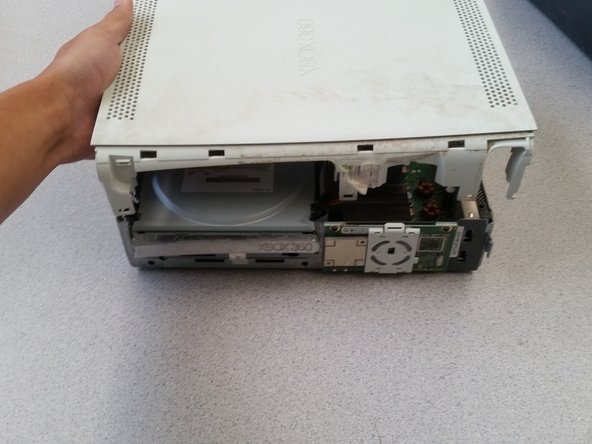
Step 9

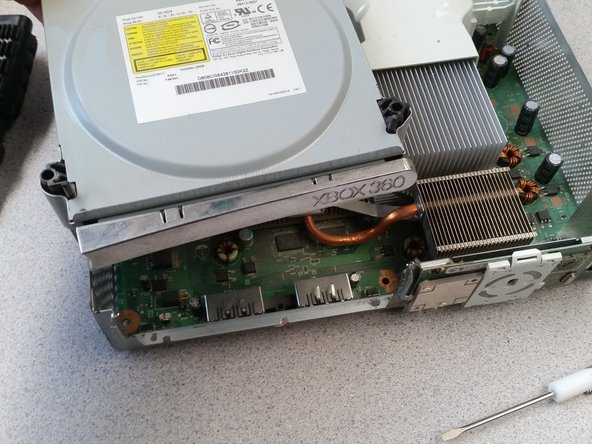
The tape holding the disc drive in place at the front is probably still stuck there. Just peel it off gently and you’re good to go.
– Gently pop off those two connectors—no wrestling moves needed!
Step 10


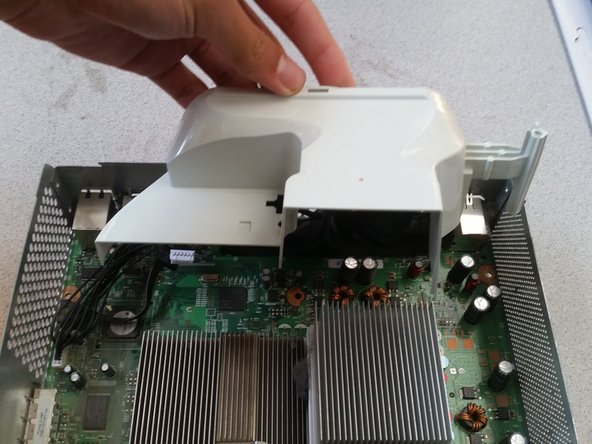
– Take your flat head screwdriver and gently pop off the fan cover—just a little nudge should do the trick!
Step 11
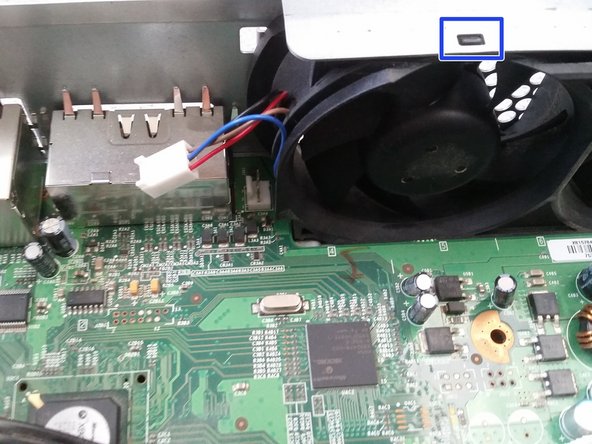

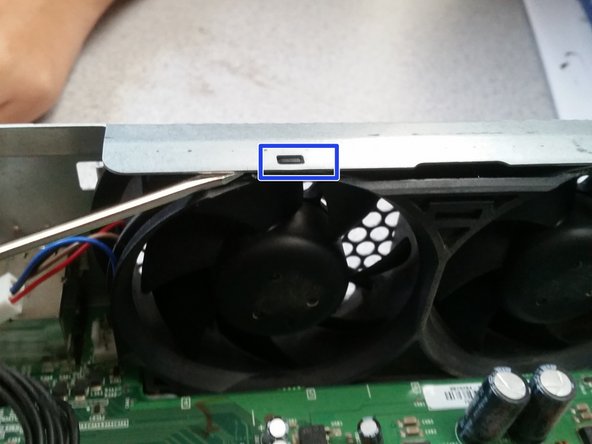
– Grab a small flat head screwdriver and gently unlock that mechanism to set the fan connector free.
– Now, with a trusty screwdriver or a handy spudger, carefully pry the fan out from its cozy casing.
Step 12
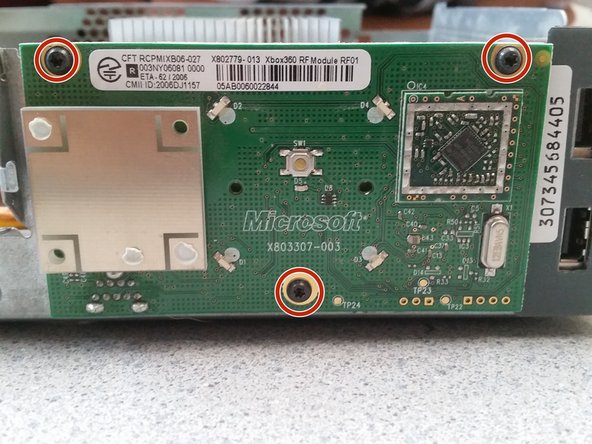


– Pop off the power button by detaching the plastic clip—no wrestling required.
– Take out the three black screws, then pull the chip straight out. Keep it smooth so the connector stays happy!
Step 13


– Take out the 9 shiny gold screws—keep them somewhere safe!
– Now, remove the 8 black screws. Yep, those too.
– Gently slide out the motherboard, making sure to keep all the connectors happy and intact.
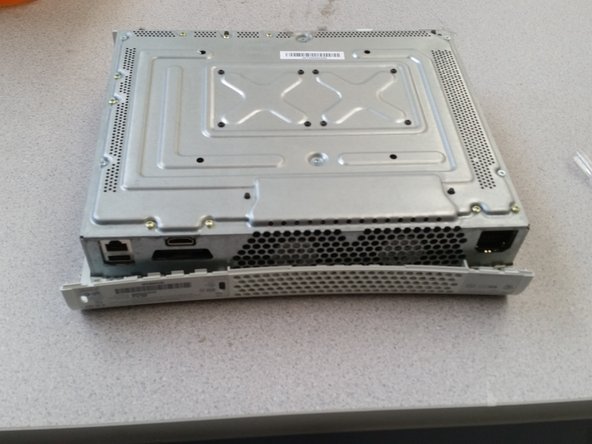
Step 14


– Slots for your memory cards
– A snazzy Custom ATi Graphics Processor packing 10Mb of RAM
– Three powerful IBM PowerPC Cores, each zipping along at 3.2GHz with 512Mb of system RAM
– The hard drive connection point
– Your trusty power port
– Ports for HDMI and video connections
Step 15

– Alright, you’re almost there! Just follow these steps in reverse to put your Xbox 360 back together. Piece by piece, you’ll have it looking brand new in no time!
Success!