DIY Google Pixel 9 5G mmWave Antenna Replacement: Step-by-Step Guide
Duration: 45 minutes
Steps: 16 Steps
Heads up! This repair guide comes straight from the pros at Salvation Repair. It’s packed with tips, but it’s all on you to make it happen. Want to see more awesome guides? Check them out here!
Get ready to roll up your sleeves! This guide will help you swap out the 5G mmWave antenna in your Pixel 9. If you’re experiencing issues with cellular service but still enjoying your Wi-Fi, it’s time for a new antenna. Make sure you grab some replacement back glass adhesive for this project! Just a heads up: any repair might affect your phone’s water resistance. So, be sure to seal that rear cover tightly for the best chance at keeping those water barriers intact. Ready? Let’s dive in!
Step 1


Before diving into this repair, let that battery of yours dip below 25%! A fully charged lithium-ion battery can be a little too fiery if it gets damaged, and we want to keep things cool and safe.
Hold down the power button and volume up button at the same time. This will bring up the shutdown menu, so you can turn off your device.
– First things first, give your phone a little breathing room by unplugging all those pesky cables.
– Then, let’s tuck your phone in for a nap and power it down completely.
Step 2

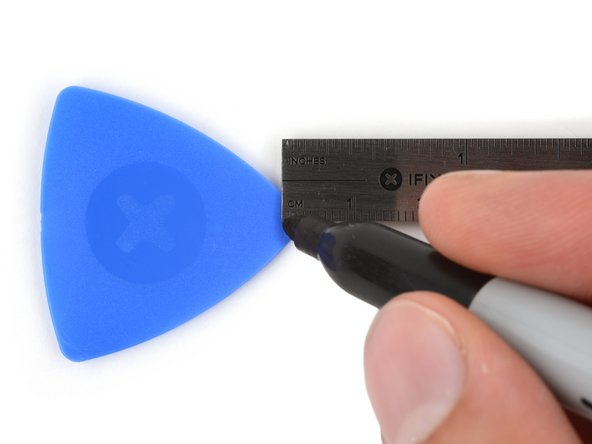

Don’t go crazy with that tool! Keep it under 3mm deep to avoid messing up those delicate innards. You got this!
If your screen or back glass is super cracked, a suction cup might not stick perfectly.
To help, measure and mark 3 mm from the tip of an opening pick with a permanent marker. It’s like adding a little extra grip for your suction cup friend!
– The adhesive is doing its job by holding the back glass snugly against the frame! Let’s keep it secure.
– Now, grab some packing tape and lay it over the glass in overlapping strips. This will keep you safe and make it a breeze to take everything apart. Just make sure there’s a nice smooth spot near the bottom edge that’s big enough for a suction cup to grab onto!
Step 3
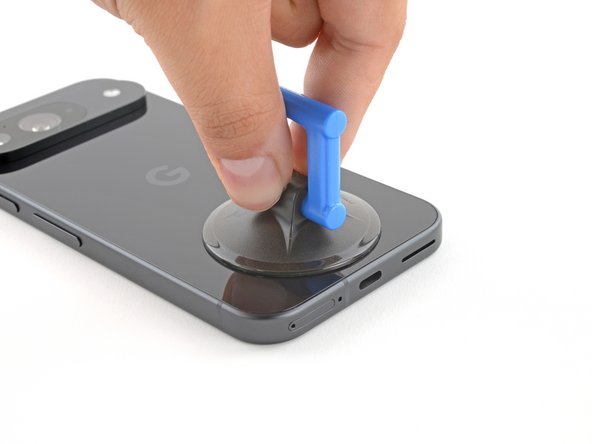

– Grab that trusty suction handle and place it firmly at the bottom edge of the back glass, getting as close to the edge as you can.
– Press down with confidence to make sure the suction cup sticks like a champ!
Tools Used

Step 4
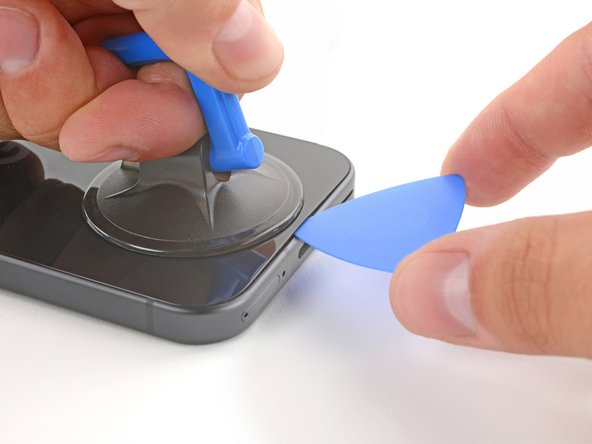

– Grab that suction handle and give it a good pull! Use strong, steady force to help create a sneaky little gap under the back glass.
– Now, slide the tip of your trusty opening pick right into that gap. You’re doing great!
Tools Used
Step 5
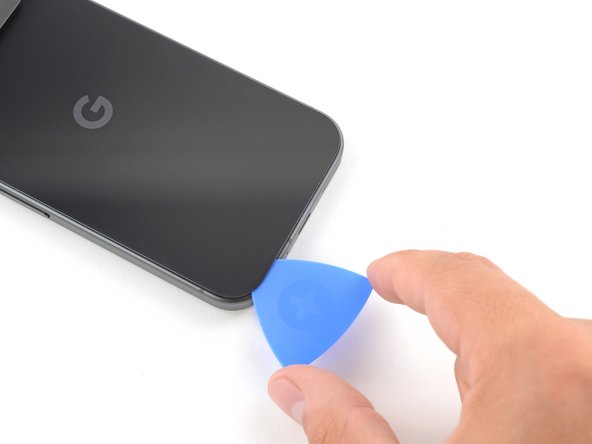

Hey, keep that pick party to just 3 mm deep, ya dig?
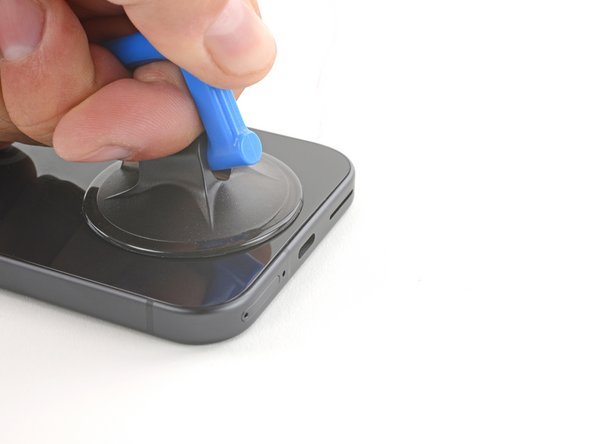
– Now, let’s gently wiggle that opening pick back and forth along the bottom edge. This will help loosen the adhesive holding things in place. Don’t worry, it’s just a little dance.
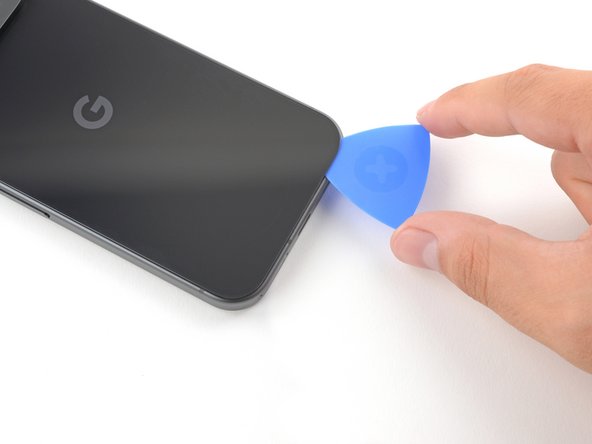
Step 6


– Guide the opening pick around the edges of the phone, smoothly slicing through the remaining adhesive.
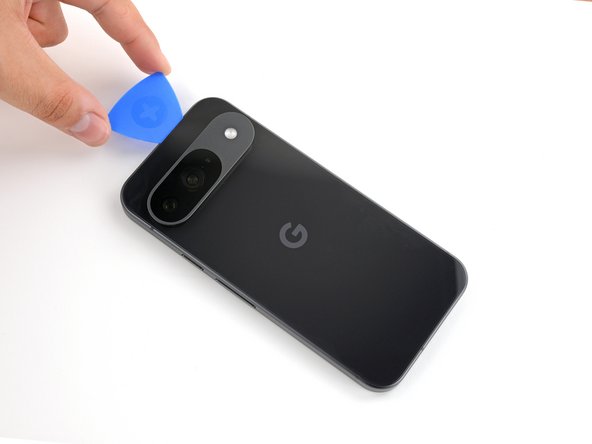
Step 7
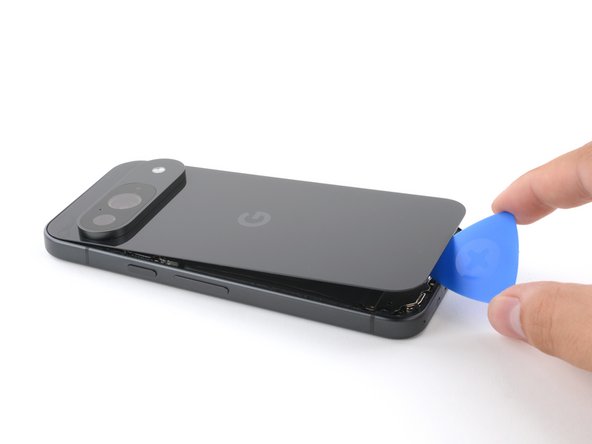


– Alrighty, let’s get that back glass off! First, use that opening pick to loosen up the adhesive. With most of it separated, give it a little twist at the bottom until you can just barely lift it with your fingers. Then, go ahead and pry up any of those stubborn spots. You’re totally crushing it! If all of this seems a little tricky, you can always schedule a repair.
Step 8

– Hey there! Time to strut that stuff and take off that back glass. Yo, check it – now’s a great moment to turn that phone on and make sure it’s still got the funk. Just give it a little pow, er, power on and see it do its thing. Whew! That’s hot! Power it back down before you start snapping it back together. Next stop, fresh adhesive and our homeboy glass – ‘member to schedule a repair if that’s your jam!
Step 9

Keep an eye on every single screw throughout this repair. Make sure each one finds its way back to its original home!
The Pixel 9 uses Torx Plus screws, but standard Torx bits will do the trick. Apply constant, downward force to avoid stripping.
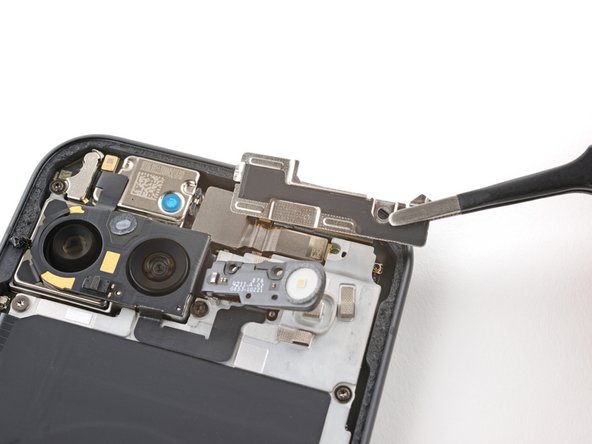
– Grab your trusty 3IP Torx Plus driver and carefully take out the single 5.4 mm long screw that’s holding down the upper board cover. You’re on your way to a successful repair!


Step 11

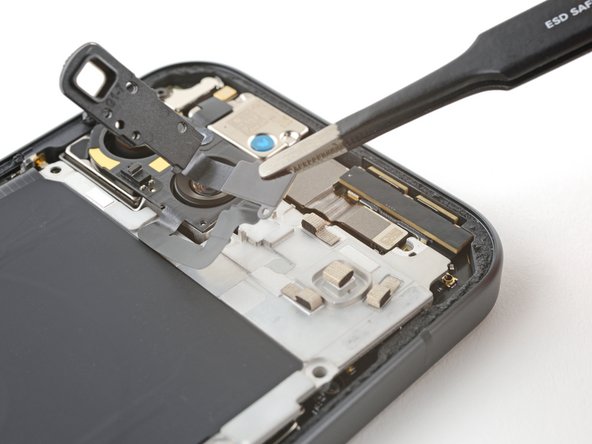
– Grab your trusty 3IP Torx driver and let’s get those screws out! We’ve got five little champions holding down the midframe and the wireless charging coil:
– Four screws measuring 5.4 mm long – these are the smallest ones in the bunch!
– And one sneaky 2.2 mm long screw – don’t let it escape your notice!

Step 13
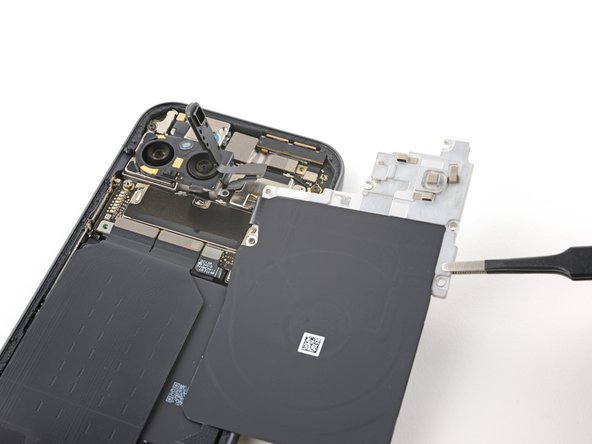

– Alright, let’s get this party started! We’re going to remove the midframe, wireless charging coil, and NFC assembly. It’s like a little dance, but with tools! Don’t worry, it’s easier than it looks. Take your time and follow along. If you need help, you can always schedule a repair.


Step 16


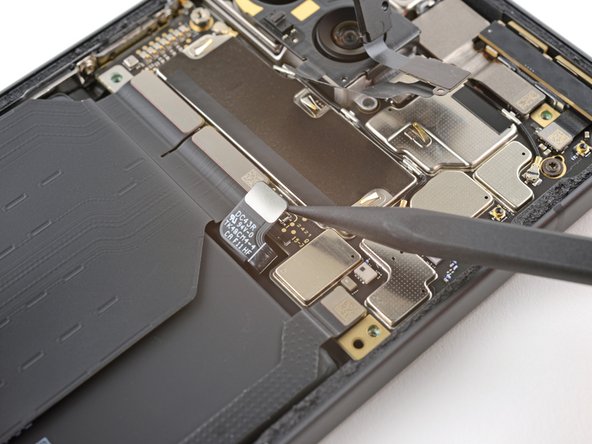
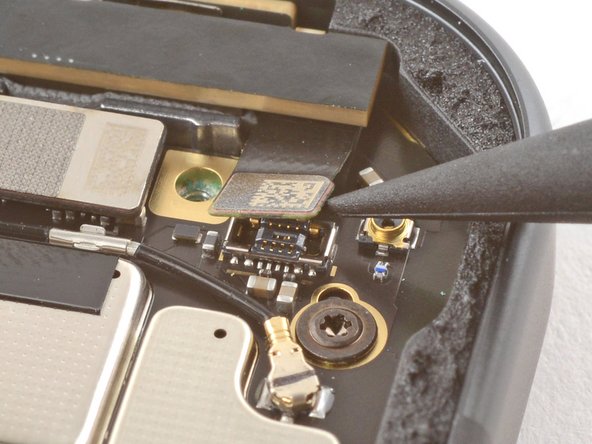
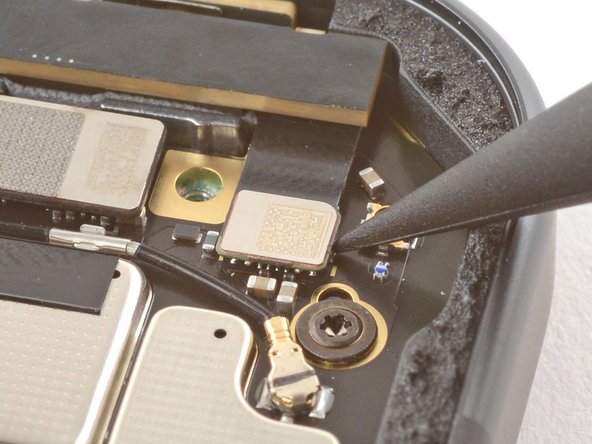
A little flex cable connects to the back of the antenna with a press connector. If it pops off, just snap it back in place.
– Time to put your device back together? Just follow these steps in reverse.
– Want to run a diagnostics check? Use the built-in Pixel Diagnostic tool, click here.
– Recycle your e-waste responsibly at an R2 or e-Stewards certified recycler.
– Having trouble? Try some basic troubleshooting or hop onto our Pixel 9 Answers Community for help.
– Cancel: I didn’t finish this guide.
–
Success!

