How To Replace Google Pixel 8a Adhesive: Step-by-Step Guide
Duration: 45 minutes
Steps: 16 Steps
Hey there! Just a friendly heads-up: this repair guide has been put together by our amazing team at Salvation Repair. While it’s jam-packed with great info, it’s not officially endorsed by any big tech companies. For more cool repair guides, check out what we have to offer!
This step-by-step guide is here to help you get your Google Pixel 8a back in tip-top shape! We’ll walk you through the process of applying new back cover adhesive after a repair. If you haven’t already, this guide will also show you how to remove the back cover. Need a hand? You can always schedule a repair.


Step 2


If you need to, get that adhesive nice and loose by warming it up with a hairdryer or a heated iOpener.
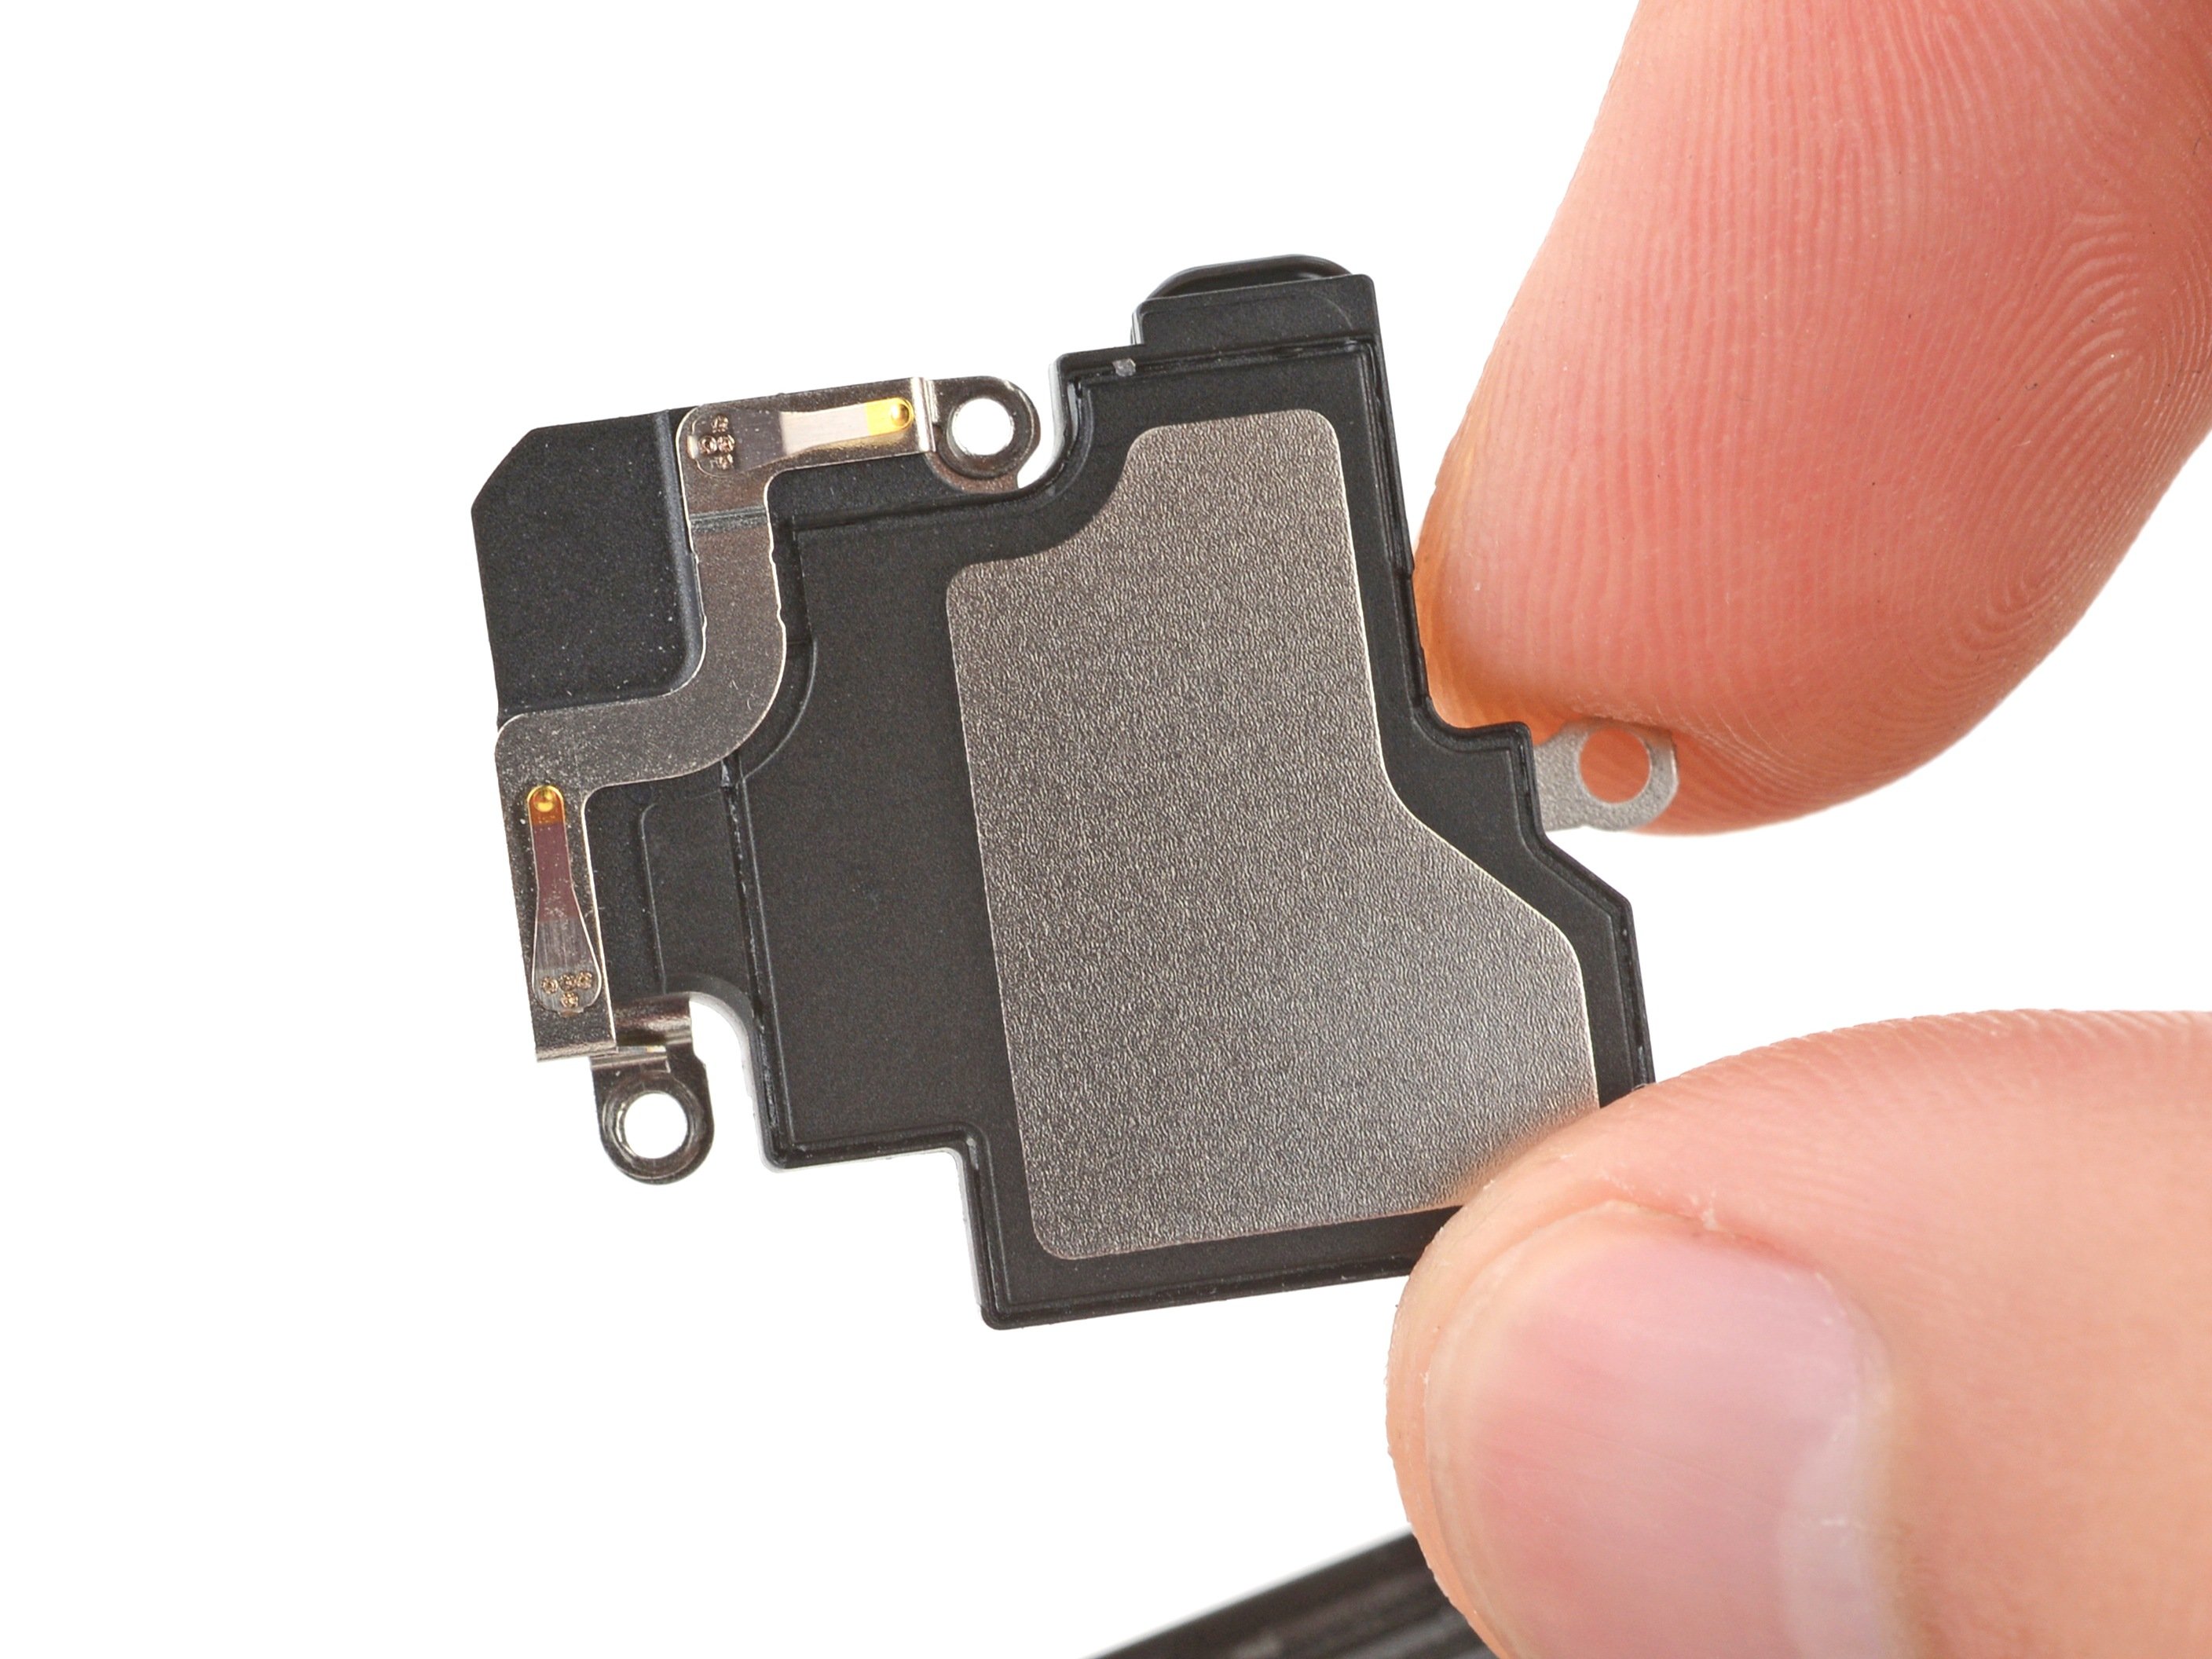
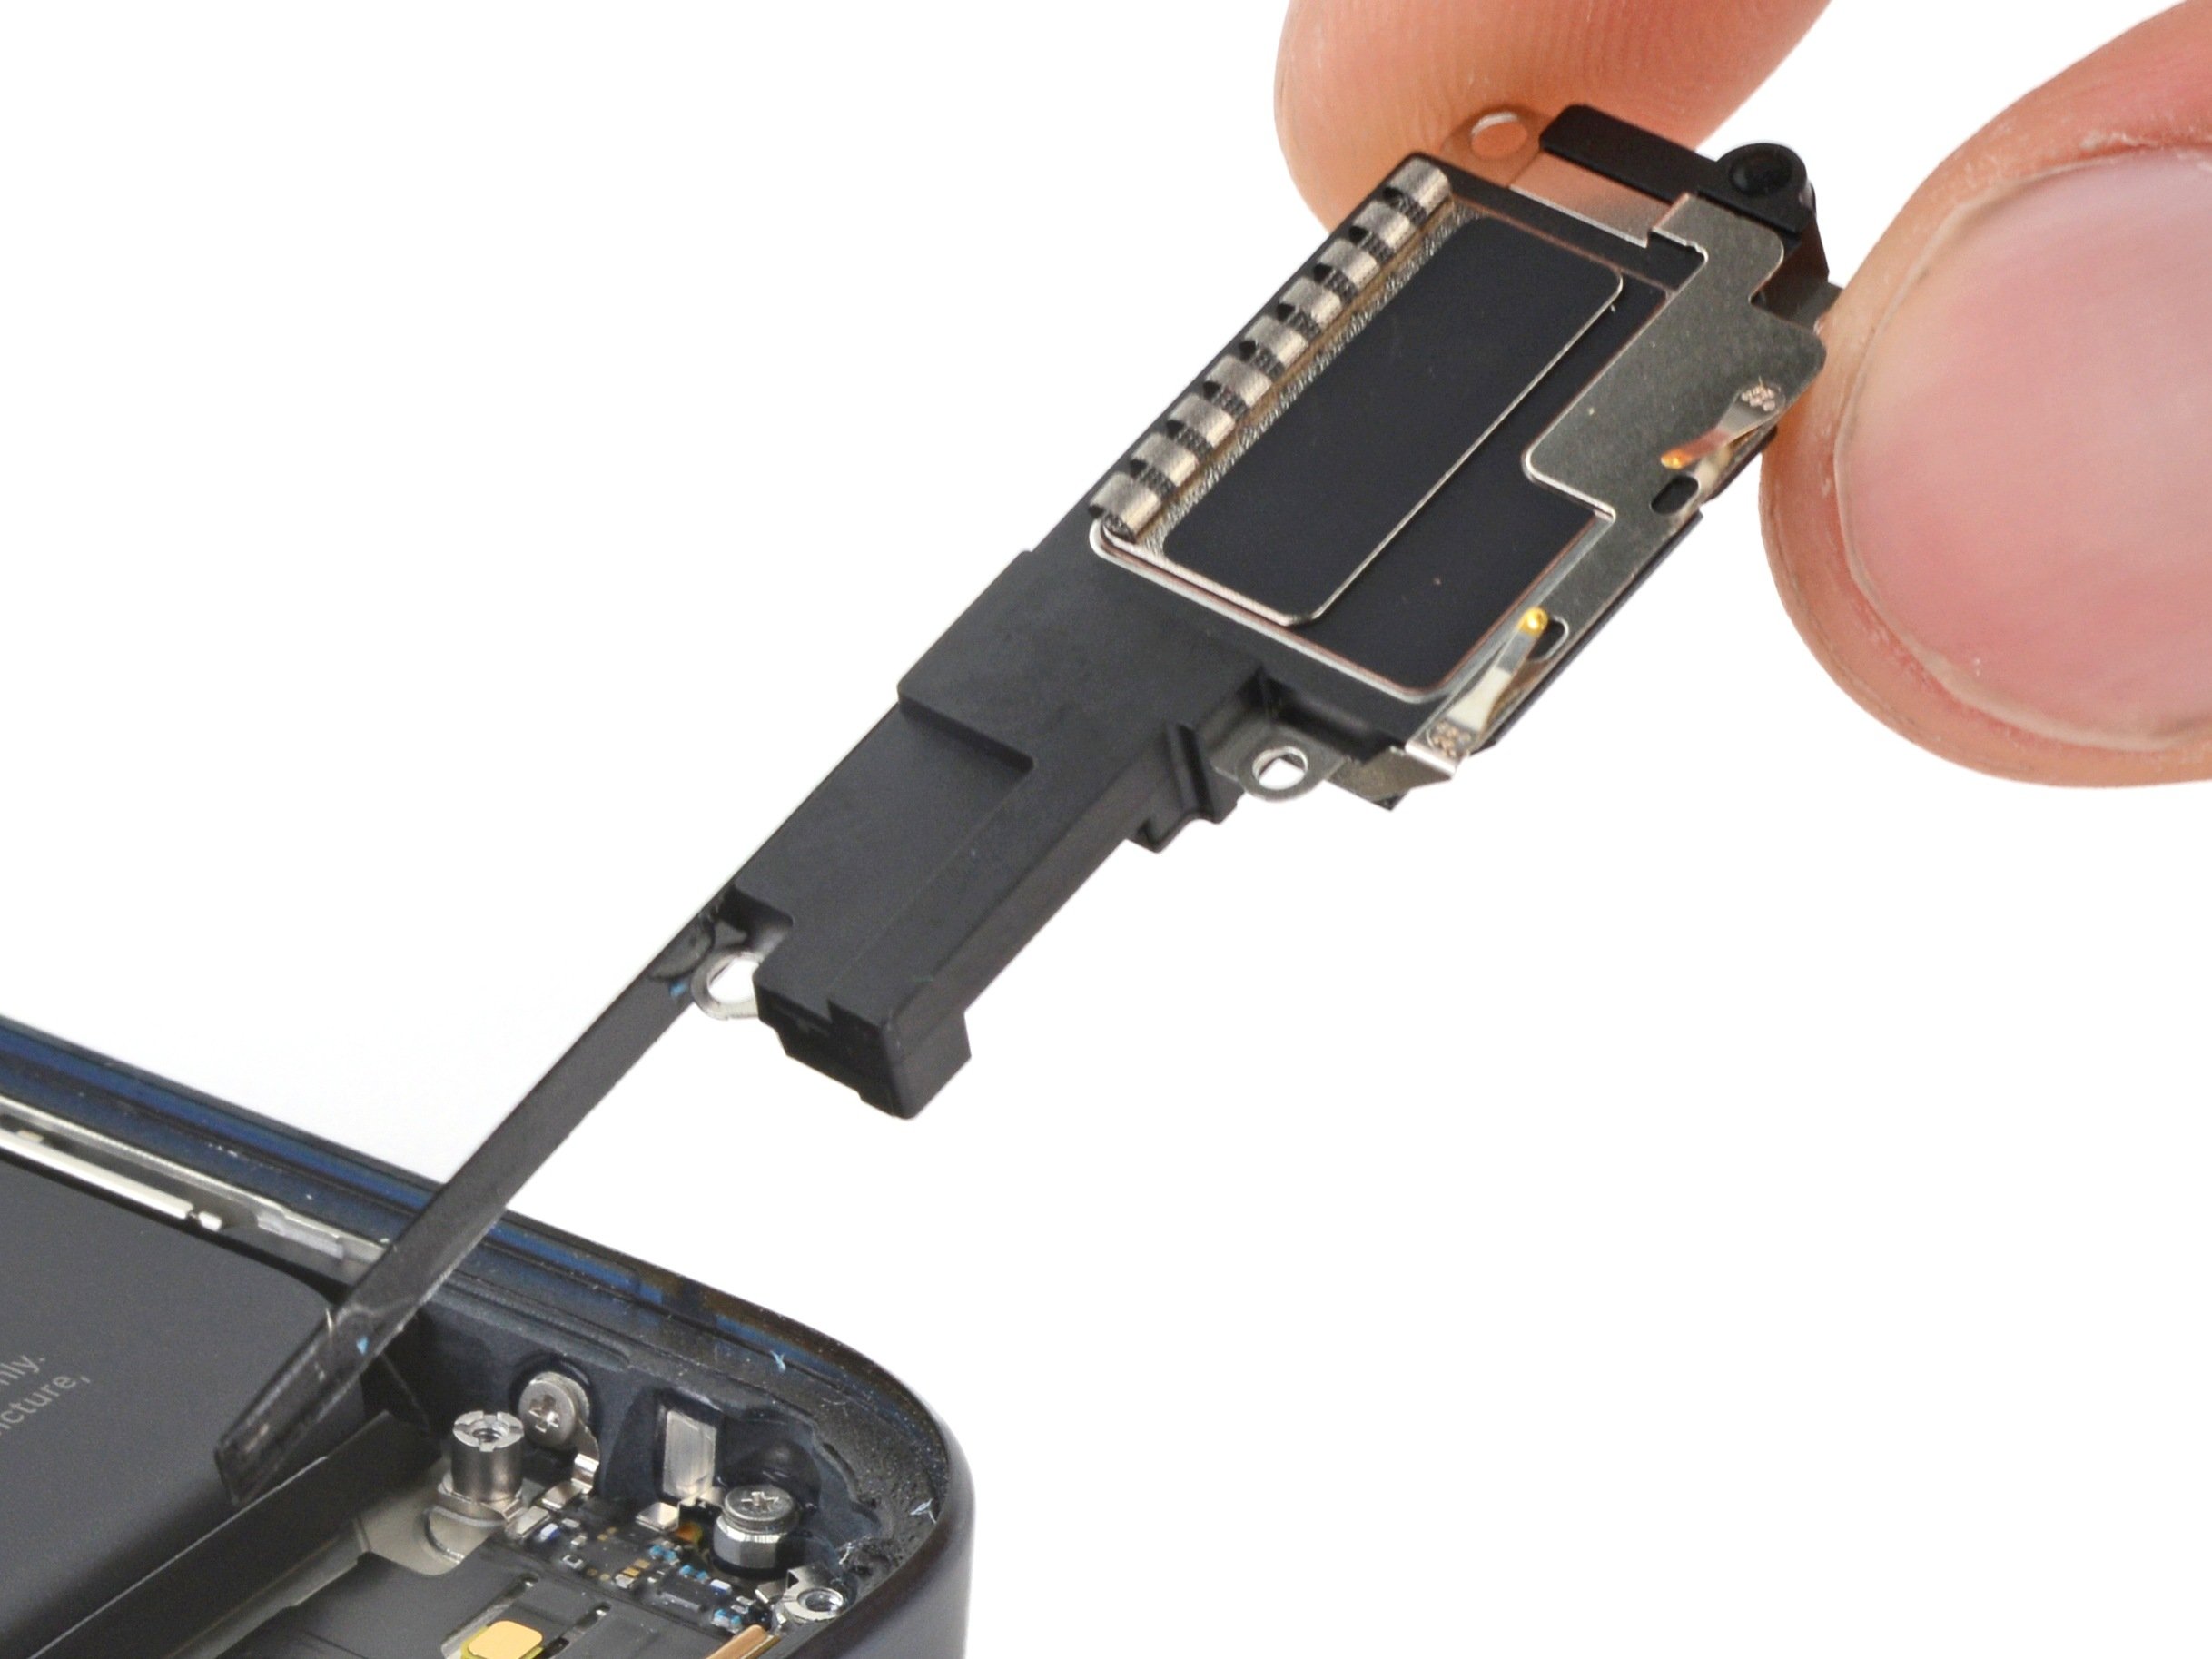
– Use a spudger and tweezers to gently lift and remove any adhesive from above and below the rear cameras. Take your time and be careful not to damage the delicate cameras. If you’re feeling a little overwhelmed, you can always schedule a repair.
Tools Used


Step 3


Those lens covers on your back cover are delicate! Treat them with care! If they need a little TLC, use a clean microfiber cloth to give them a gentle wipe. You’re doing great!
– If you’re reusing your back cover, let’s give it a good clean! Repeat the previous two steps to remove all the old adhesive from the cover.
Step 4


– Grab a pipette or syringe and let a few drops of super-concentrated isopropyl alcohol (over 90%) flow around the edges of the frame and the spots where those two smaller