DIY Google Pixel 8a Back Cover Replacement Guide – Step-by-Step
Duration: 45 minutes
Steps: 11 Steps
This guide is created by the awesome team at Salvation Repair. While it’s not officially recognized by any big tech companies, it’s packed with all the info you need to tackle your repair with confidence! For any tricky steps, remember, if you need help, you can always schedule a repair.
Yo! Let’s get this back cover swap done! This clear and concise guide will walk you through replacing that cracked back cover on your Pixel 8a. You’ll need some replacement back cover adhesive to make this happen. Heads up, any repair can mess with your phone’s water resistance. If you want to keep that waterproof seal, make sure to get that back cover adhesive on right. If you hit a snag, no worries, you can always schedule a repair. Let’s do this!
Step 1
Before diving into this repair adventure, make sure your Pixel’s battery is below 25%. A fully charged lithium-ion battery can be a bit feisty if it gets damaged! Stay safe and have fun.
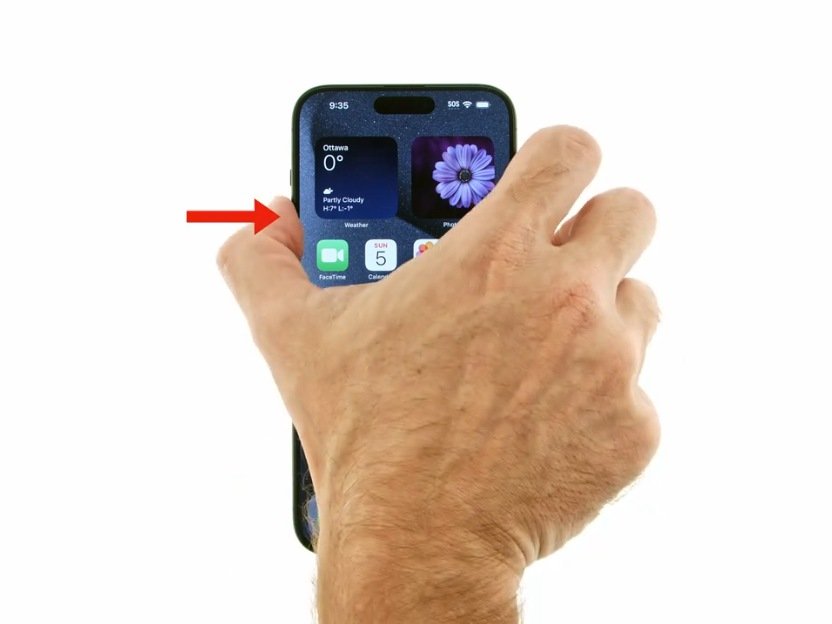
Ready to power down your device? Hold the power and volume up buttons at the same time to bring up the shutdown menu. It’s like a secret handshake for your device! You got this.
– First things first, let’s say goodbye to all those pesky cables connected to your phone.
– Now, it’s time to give your phone a little nap – make sure to power it down completely.
Step 2
The back cover is held in place with some sticky stuff around the edges and close to the cameras. To keep your phone’s insides safe and sound, keep these tips in mind:
– Keep it cool, repair champ! When you’re working around the edges, try to avoid shoving your tool in more than 3 mm (that’s the width of those nifty flat edges on your opening tool).
– And hey, let’s treat the camera bump with respect—no need to go poking your tool under there!
Step 3
Your opening tool comes equipped with both a flat end and a curved end, like a trusty sidekick duo! As you embark on the opening adventure, grab the flat end and tilt it so that the sharp edge is pointing skyward. You’ve got this!
– Slide the sharp edge of your trusty opening tool between the back cover and the frame, starting with a corner to gently nudge free that stubborn adhesive. You’ve got this!
Step 4
– Let’s get this party started! Slide your opening tool along the bottom edge to gently separate the adhesive holding the back cover in place. Easy peasy, right?
Step 5
– Gently glide your opening tool around the bottom right corner and up along the right edge, pausing just at the base of the camera bump.
– Carefully lift your opening tool away from under the back cover.
Step 6
– Gently slide your trusty opening tool into the upper right corner of the back cover, right above that camera bump looking for attention.
– Smoothly glide your tool along the top edge, and give a little wave as you stop at the top left corner by the camera bump’s sidekick.
– Now, kindly slide your opening tool out from beneath the back cover—it’s had its fun!
Step 7
– Gently slide your opening tool under the left edge of the back cover, right under that camera bump, and give it a little wiggle.
– Now, run your opening tool down the left edge to break free that pesky adhesive.
Step 8
A strip of adhesive above the camera bump holds the top edge of the back cover in place. Nice and secure!
You can slide the opening pick a little over 3 millimeters along the top edge. Don’t be shy, you got this!
– Gently slide an opening pick into the top left corner of the back cover, getting that tip nice and cozy near the top edge of the camera bump.
– Now, glide that pick to the right, and stop right when you hit the edge of the cameras. You’ve got this!
Step 9
A last little strip of adhesive right under the camera bump keeps the back cover snugly in place.
– Slide the flat edge of your opening pick under the back cover, just below the camera bump. You got this!
– Pop in a second opening pick in the same spot on the other side. Look at you go!
Step 10
Hey there! Just a friendly reminder to handle that back cover with care—no bending allowed! If the adhesive isn’t being cooperative, give the cover a little wiggle from side to side to help loosen things up.
If the adhesive is playing hard to get, try giving the back cover a gentle warm-up just below the camera bump using a hair dryer or iOpener. A little heat can help loosen things up and make it easier to separate.
– Carefully lift both picks at the same time while keeping steady pressure to break free that last stubborn bit of adhesive holding the back cover in place!
Tools Used
Step 11
– Great job on your repair journey! Ready to put your device back together? Just follow this guide.
– Want to check if everything’s working smoothly? Click here to run a diagnostics test with the built-in diagnostic tool.
– If things didn’t go quite as planned, don’t worry! Give some basic troubleshooting a shot, or feel free to reach out to our community for support.
– If you’ve decided to take a break, just hit cancel: I did not complete this guide.
– And remember, you’re not alone in this!
Success!
