Google Pixel Fold Flip Front Camera Replacement Guide – DIY Tutorial
Duration: 45 minutes
Steps: 32 Steps
Hey there! This step-by-step guide was put together by the Salvation Repair crew. If you need any extra help, you can always schedule a repair.
Crafted with care by our talented team, this guide will help you navigate the ins and outs of replacing the flip front camera in your Pixel Fold. Ready to tackle this? Let’s jump in! If you find yourself needing a hand, you can always schedule a repair.


Step 3


Keep your pick shallow, my friend! Going too deep could lead to some unintentional damage to the screen and those tricky internal parts.
When you’re tackling the screen removal, just slide that opening pick in nice and easy, but only as deep as the edge. You’ve got this!
Step 4


If your screen is looking rough with some cracks, don’t worry! A little bit of clear packing tape might help that suction cup stick. If you’re feeling extra strong, you can use some super strong tape instead of the suction cup. And if all else fails, we’ve got your back – just stick that suction cup to the screen with a little superglue.
Now, depending on how old your phone is, this part might take a little extra love. If you’re having trouble, just add a little more heat to the edge and try again. You got this!
– Dig in, brave repairer! Time to create that sweet, sweet gap with an opening pick and make some magic happen. Go ahead, show that phone who’s boss! Once you have that gap, put that pick in and start working on your next step.
Step 5


– Gently glide that trusty opening pick along the bottom edge to break free from that sticky adhesive.
– Keep the opening pick snugly in the bottom right corner while you move on to the next steps.

Step 7


– Swing that opening pick around the bottom right corner like a pro to break free the adhesive. You’ve got this!
Step 8


– Let’s get this party started! Insert a new opening pick in the bottom right corner.
– Now slide that opening pick up towards the top right corner to separate the adhesive. It’s like a little dance for your device!
– Leave the opening pick in the top right corner for now. We’ll be back to it soon!

Step 10


– Now, let’s give that top right corner a little love! Gently wiggle that opening pick around to loosen up the adhesive. It’s like a tiny dance party for your phone.
Step 11


– Pop a fresh opening pick into that top right corner, nice and easy.
– Gently glide the pick over to the top left corner to break free that adhesive. You’ve got this!

Step 13


Hey there! That sharp corner is like a delicate flower, so treat it with care. Make sure to use plenty of heat and be super gentle around that area during this step. You’ve got this!
– Set your pick at a nice, cozy angle—just flat enough to keep things smooth with the screen.
– Twist that opening pick around the top left corner like you’re gracefully separating two dance partners to break free of that stubborn adhesive.
Step 14


– Pop a brand new opening pick into that top left corner.
– Gently glide the pick down towards the bottom left corner to break free from the adhesive.
Step 15


Watch out for that sharp corner! It’s a bit of a delicate diva. Be sure to warm it up nicely and treat it with care as you navigate this step.


Step 18


– Slide an opening pick gently under the right edge of the screen, just a tad shy of the top right corner.
– Carefully push that pick beneath the screen as far as you can go while keeping a steady grip.
Step 19


Buddy! Slow and steady wins the race here. Double-check you’re doing it right and if needed, heat it up a little more, to make it perfect. Nailed it!
Don’t worry if you’re not feeling the adhesive give yet. Just crank up the heat or try wiggling that pick from a different angle. You got this!
– Wiggle that opening pick like you’re trying to get a stubborn key out of a lock! That’ll help loosen up the adhesive.
Step 20


Hold your horses! The screen is still hanging on by a cable, so let’s not rush into removing it just yet.
At this point, the screen should be all set to break free from the frame. If you’re still feeling some tugging around the edges, grab that trusty opening pick and gently coax away any stubborn adhesive that’s holding on. You’ve got this!
Step 21

As you dive into this repair adventure, keep a close eye on those screws! They each have their special place, so make sure they return home after the job is done.
The Pixel Fold features Torx Plus screws, but don’t worry—regular Torx bits are also on the guest list. Stick with the same size or try one size up (T3 Torx or T4 bits for those 3IP Torx Plus screws) and remember to apply steady, downward pressure to keep things from getting stripped. You got this!
– Grab your trusty Torx Plus 3IP screwdriver and let’s get to work! Remove those five 2.5 mm-long screws holding down the bottom bracket. You’ve got this!


Step 23


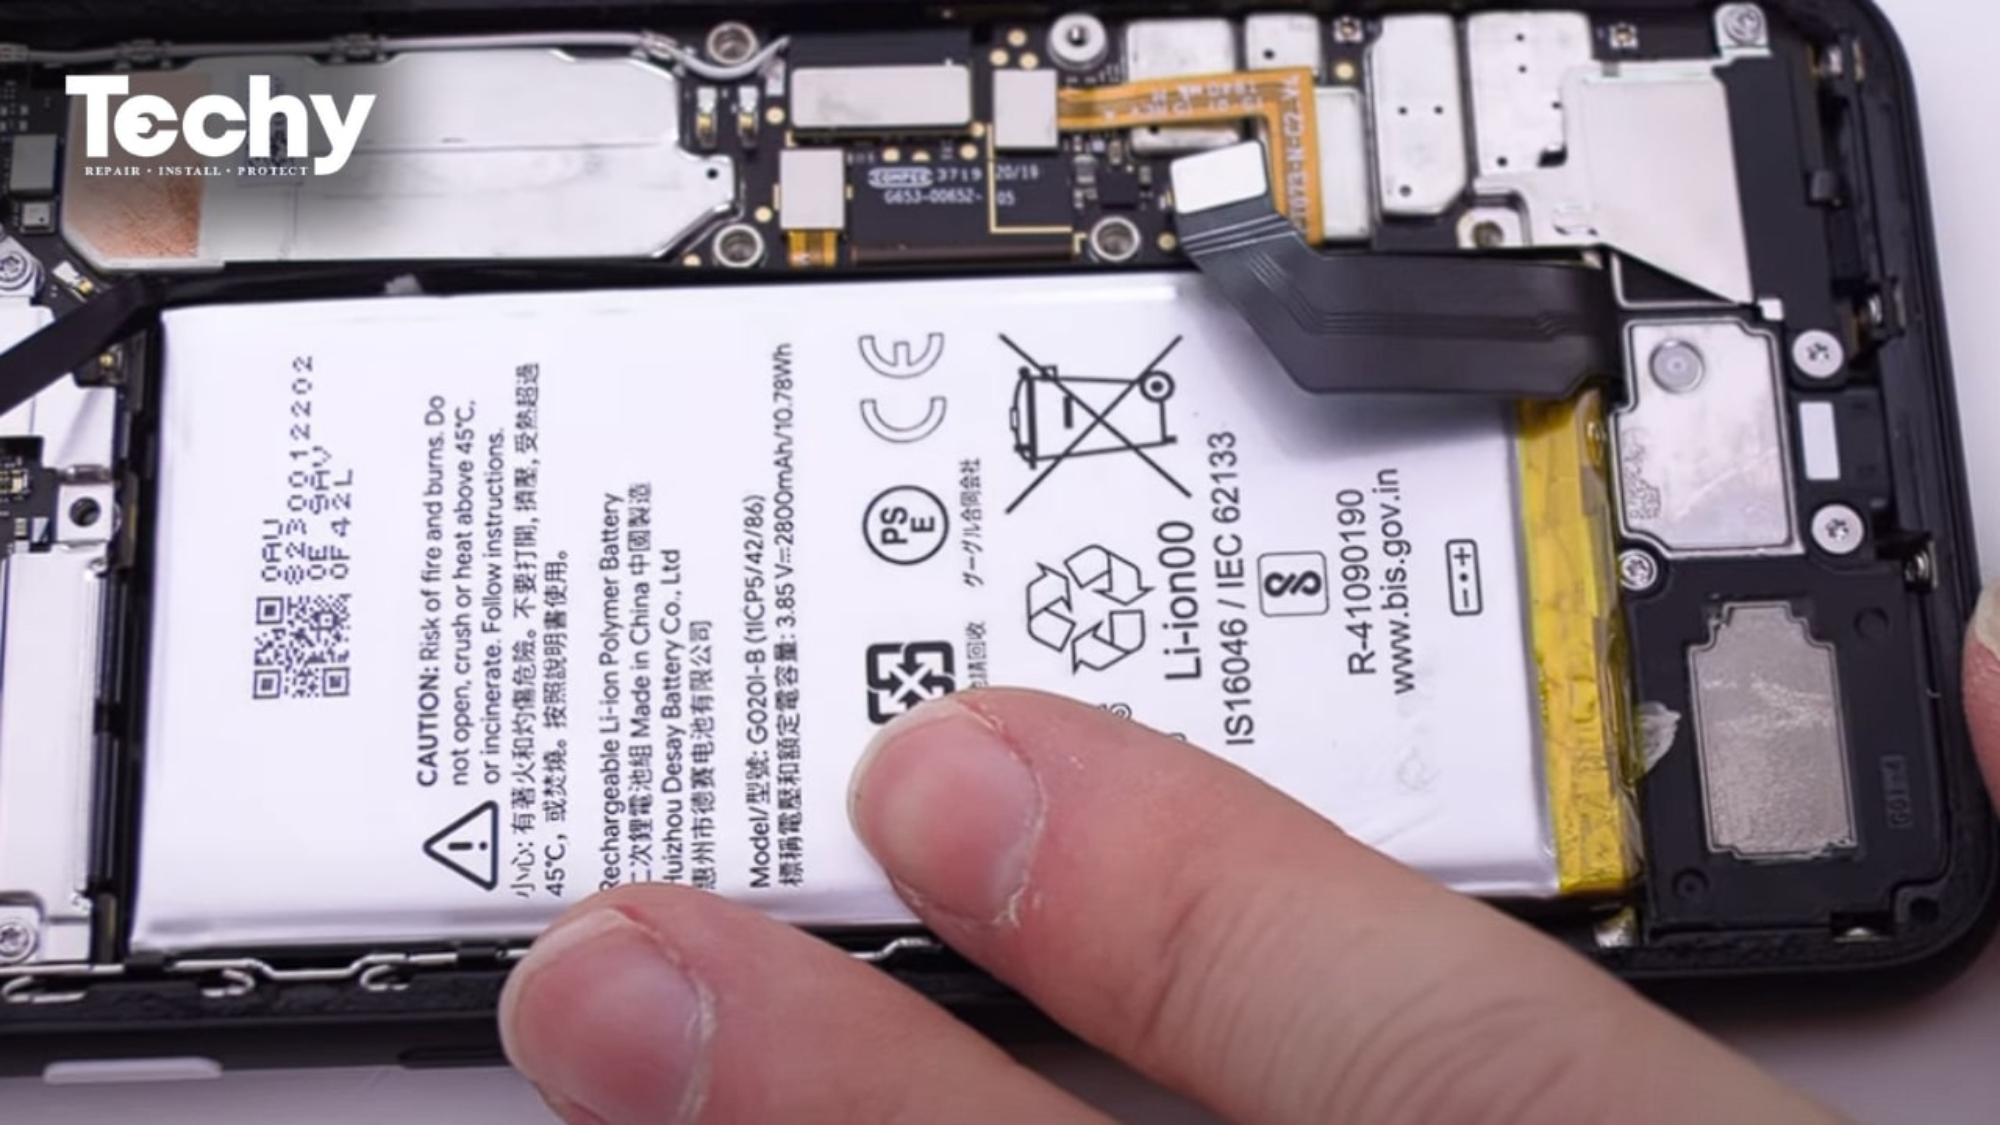
– Grab your trusty spudger and use the flat end to gently pry up the flip battery press connector. It’s like giving it a little nudge to say “hello!”
– To reconnect this type of connector, carefully align it and press down on one side until it clicks into place. Then, do the same on the other side. Don’t try to press down in the middle, as this can bend the pins and cause some serious trouble! If you’re feeling unsure about anything, you can always schedule a repair.
Tools Used

Step 24


Keep your spudger in check! Avoid poking it anywhere else, or you might accidentally nudge some delicate components on the logic board. You’ve got this!
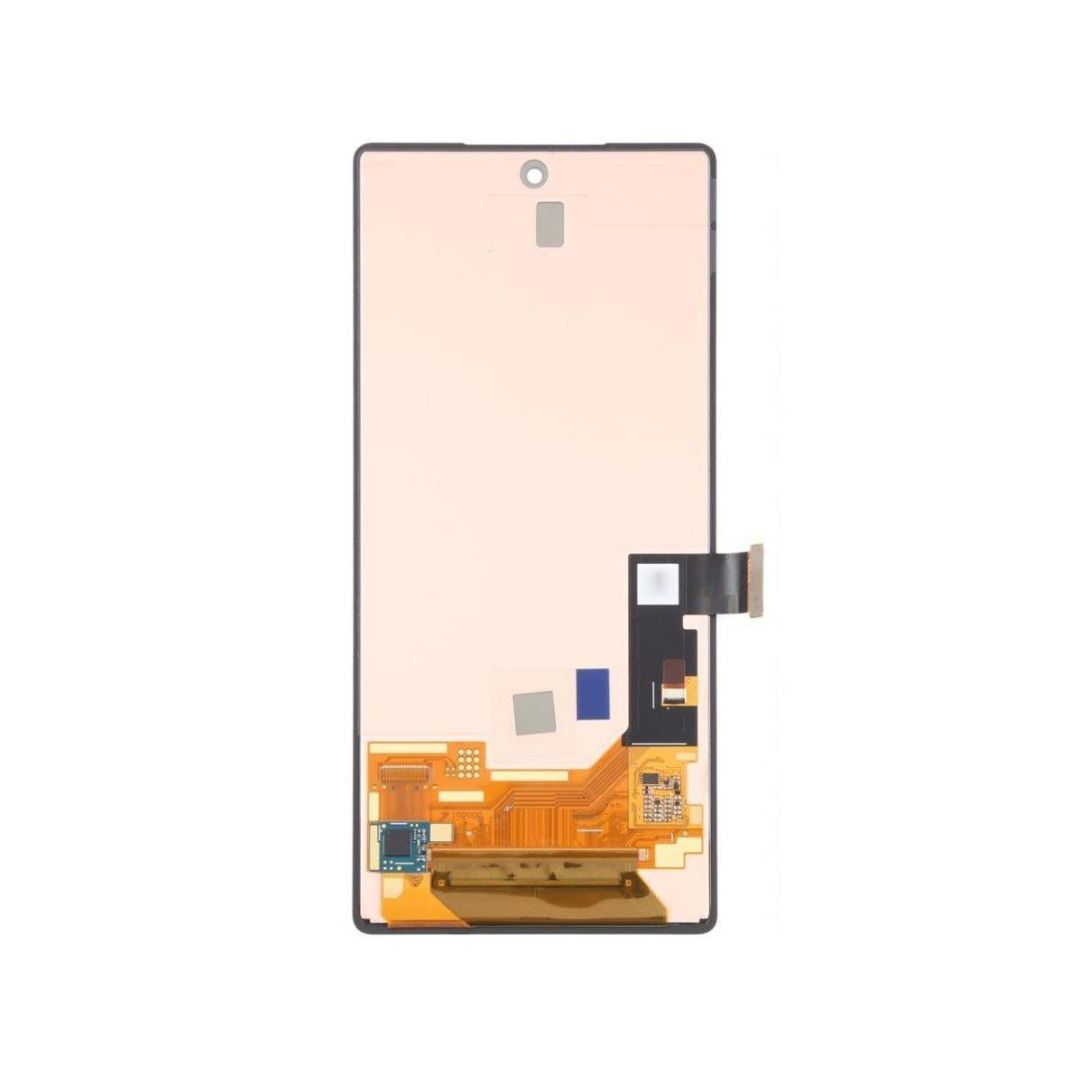
– Let’s get that screen connector out! Gently slide the tip of your spudger under the short edge of the screen connector, making sure the pointy end is facing the bottom of your phone.
– Now, carefully pry up to disconnect that screen connector. You’re doing great!
Tools Used

Step 26


– As you gear up for reassembly, here’s the game plan:
– If you’re using your old screen, grab those tweezers and carefully peel off any large bits of adhesive clinging to the edges.
– Don’t forget to tackle any sticky spots on the frame, especially that little adhesive nugget hanging out at the top right of the device.
– To make sure everything is spick and span, use some isopropyl alcohol (90% or higher) along with a lint-free cloth to wipe away any leftover adhesive goo.
– And hey, if you need guidance on refreshing your screen adhesive, just follow this handy guide!
Great job so far! If your top right adhesive is looking good and still sticky, go ahead and reuse it. If you’re missing those custom