Palm Pre Teardown
Duration: 45 minutes
Steps: 25 Steps
We just got our hands on the new Palm Pre from Sprint! What a thrill, our late-night adventure outside the Sprint store was worth it! We’ve wrapped up the disassembly. Stay tuned for more updates!
Step 1


– We made our way to the Santa Barbara Sprint store bright and early at 2am, and guess what? We were the first ones in line!
– Meanwhile, just a couple of blocks away, 18 determined fans were holding their ground at a local shoe store, eagerly waiting for Kanye West’s latest Air Yeazy kicks. Some of them had been camping out since Monday!
Welcome to another step-by-step teardown brought to you by Salvation Repair. Today, we’re diving into the latest hit in the mobile scene, the Palm Pre from Sprint. Whether you’re taking this apart for fun or fixing an issue, this guide will walk you through each move. Ready to get your hands dirty? If you need help along the way, you can always schedule a repair. Let’s get started and see what makes this device tick!
Step 2


– By the time we showed up at 8 am, there were already about 25 people in line.
– Activating the phone took a few tries (about five minutes in total), but nothing compared to the chaos of Apple’s iPhone 3G launch last summer.
– We tested out Sprint’s 3G EVDO network on the way home, and it was smooth sailing. Uploads and downloads were speedy, and Pandora was running without a hitch.
– WebOS is a game-changer! Swiping between apps feels so natural, and multitasking with Web, Twitter, AIM, and Pandora is a breeze.
Step 3
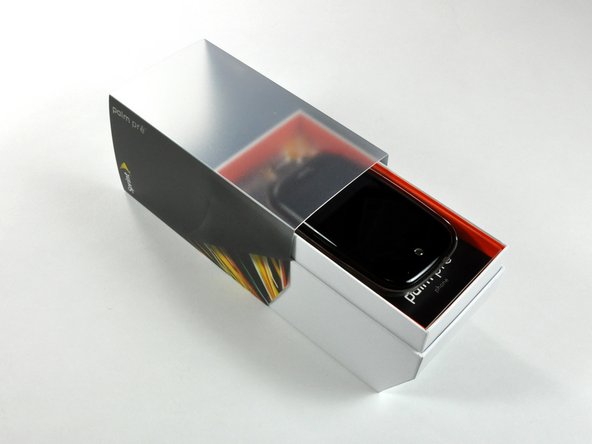
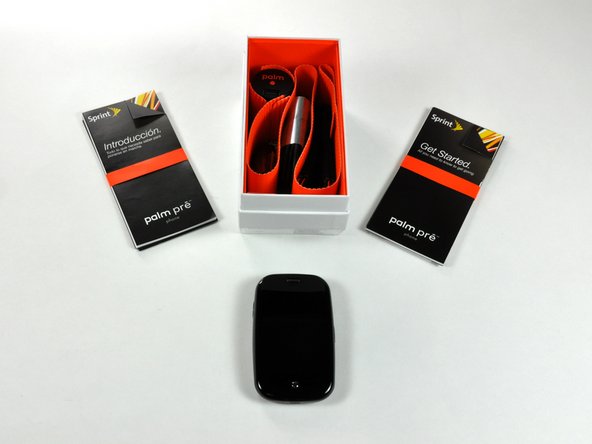

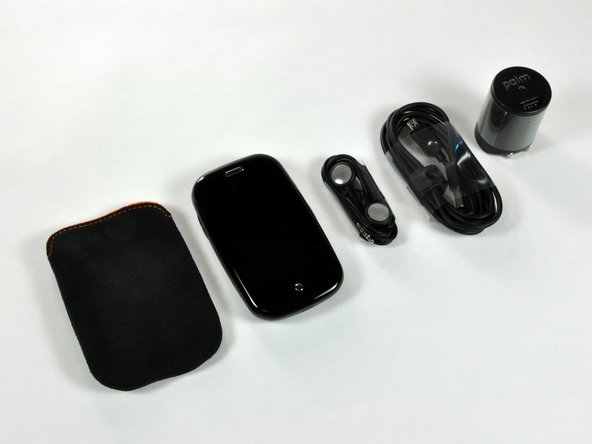
– Here’s what you’ll find inside the box:
– Palm Pre phone
– Standard Li-Ion Battery and AC Phone Charger
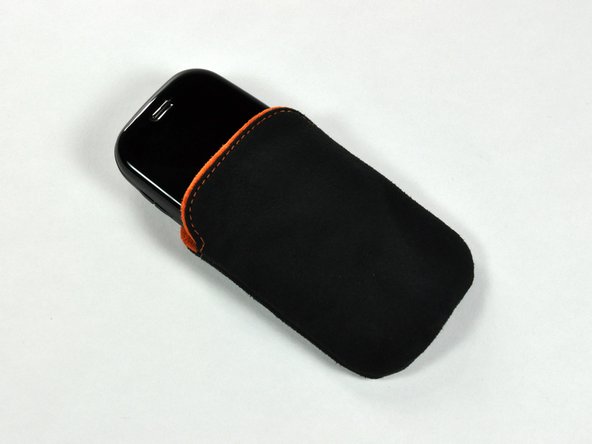
– Stereo Headset and Carry Pouch
– Micro USB Sync Cable
– Get Started Guide and Features Guide
– A prepaid envelope for recycling your old phone—smooth move, Palm! If you can’t fix your old device, at least you can send it off responsibly.
– And for good measure… a partridge in a pear tree!
Step 4

– If you love your buttons, the physical keyboard delivers, but long-time iPhone users might miss having a touchscreen keyboard.
– Sliding out the keyboard is a bit clunky and breaks up the smooth WebOS flow. Definitely give it a try first—if you’re picky about keyboards, this could be a dealbreaker.
– Inside the box: a tough and good-looking case, a slide-out QWERTY keyboard, earbuds, and a USB cable. All the essentials, all set to go.
– The Pre proudly boasts it was ‘Inspired by and designed in California,’ while the iPhone simply says it was ‘Designed by Apple in California.’ A little extra California spirit, anyone?
Step 5

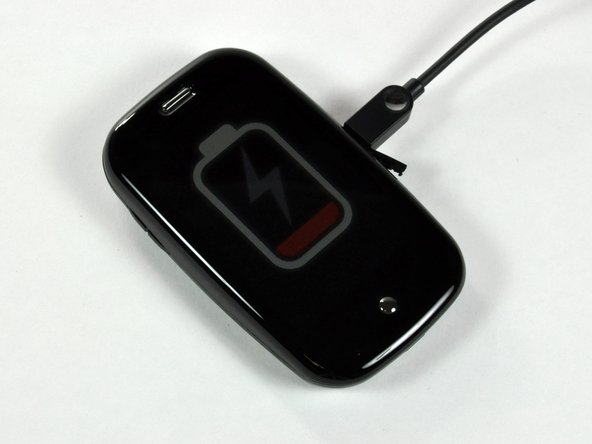
– The battery started out only partially charged, and we used it during the 1.5-hour drive back from Santa Barbara until it was drained. We’ll give it a quick boost with the MicroUSB connector before opening it up. Keep in mind, the hardware comes with a full one-year warranty, but for software, Palm only guarantees it will perform in substantial conformance to their specifications for ninety days. If you need help along the way, you can always schedule a repair.
Step 6


Check out the extra thickness of the Pre compared to the iPhone (17mm vs 12mm). This gives the designers more wiggle room for all the internal parts, and the Pre sits super comfortably in your hand because of it.
– The lineup: Apple iPhones vs. Palm Pre
– We love how the Palm Pre feels in our hands. In its closed position, it’s a lot more comfortable to hold compared to the iPhone. It just fits better, like a cozy little glove for your hand.
Step 7

Heads up: the mirror here likes to play tricks—everything looks a bit wavy thanks to the phone’s slight curve. It’s also a magnet for fingerprints, since your fingers will naturally wander over this spot when you’re holding the phone open.
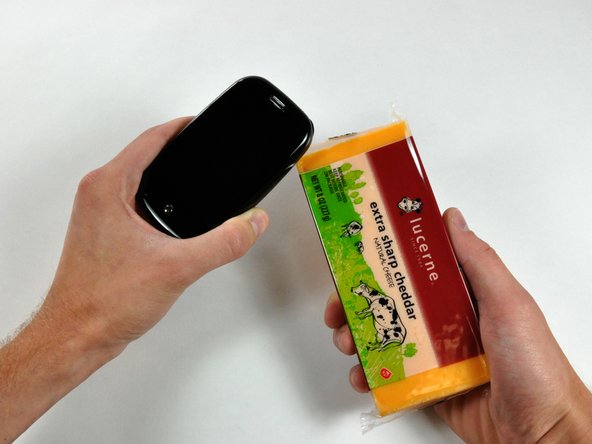
Looks like the cheese doesn’t cut it with the Pre. Seems it only works the other way around. No worries though, we’ve got this covered.
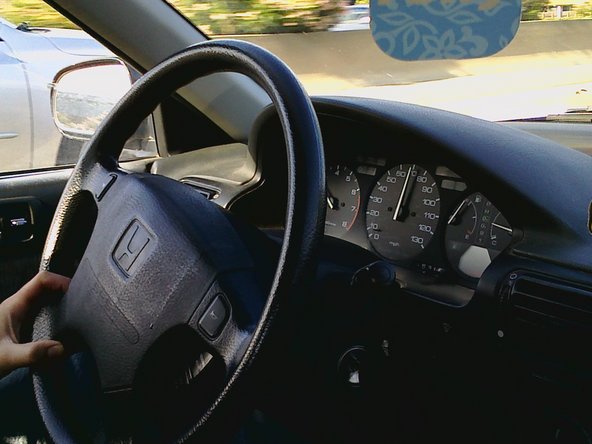
– To get a better selfie shot for MySpace, the Pre has a handy mirror on the back to help you line up your shot. Plus, the 3-megapixel camera still takes pretty great photos — like the one we snapped in the car here. If you need help with anything, you can always schedule a repair.
Step 8

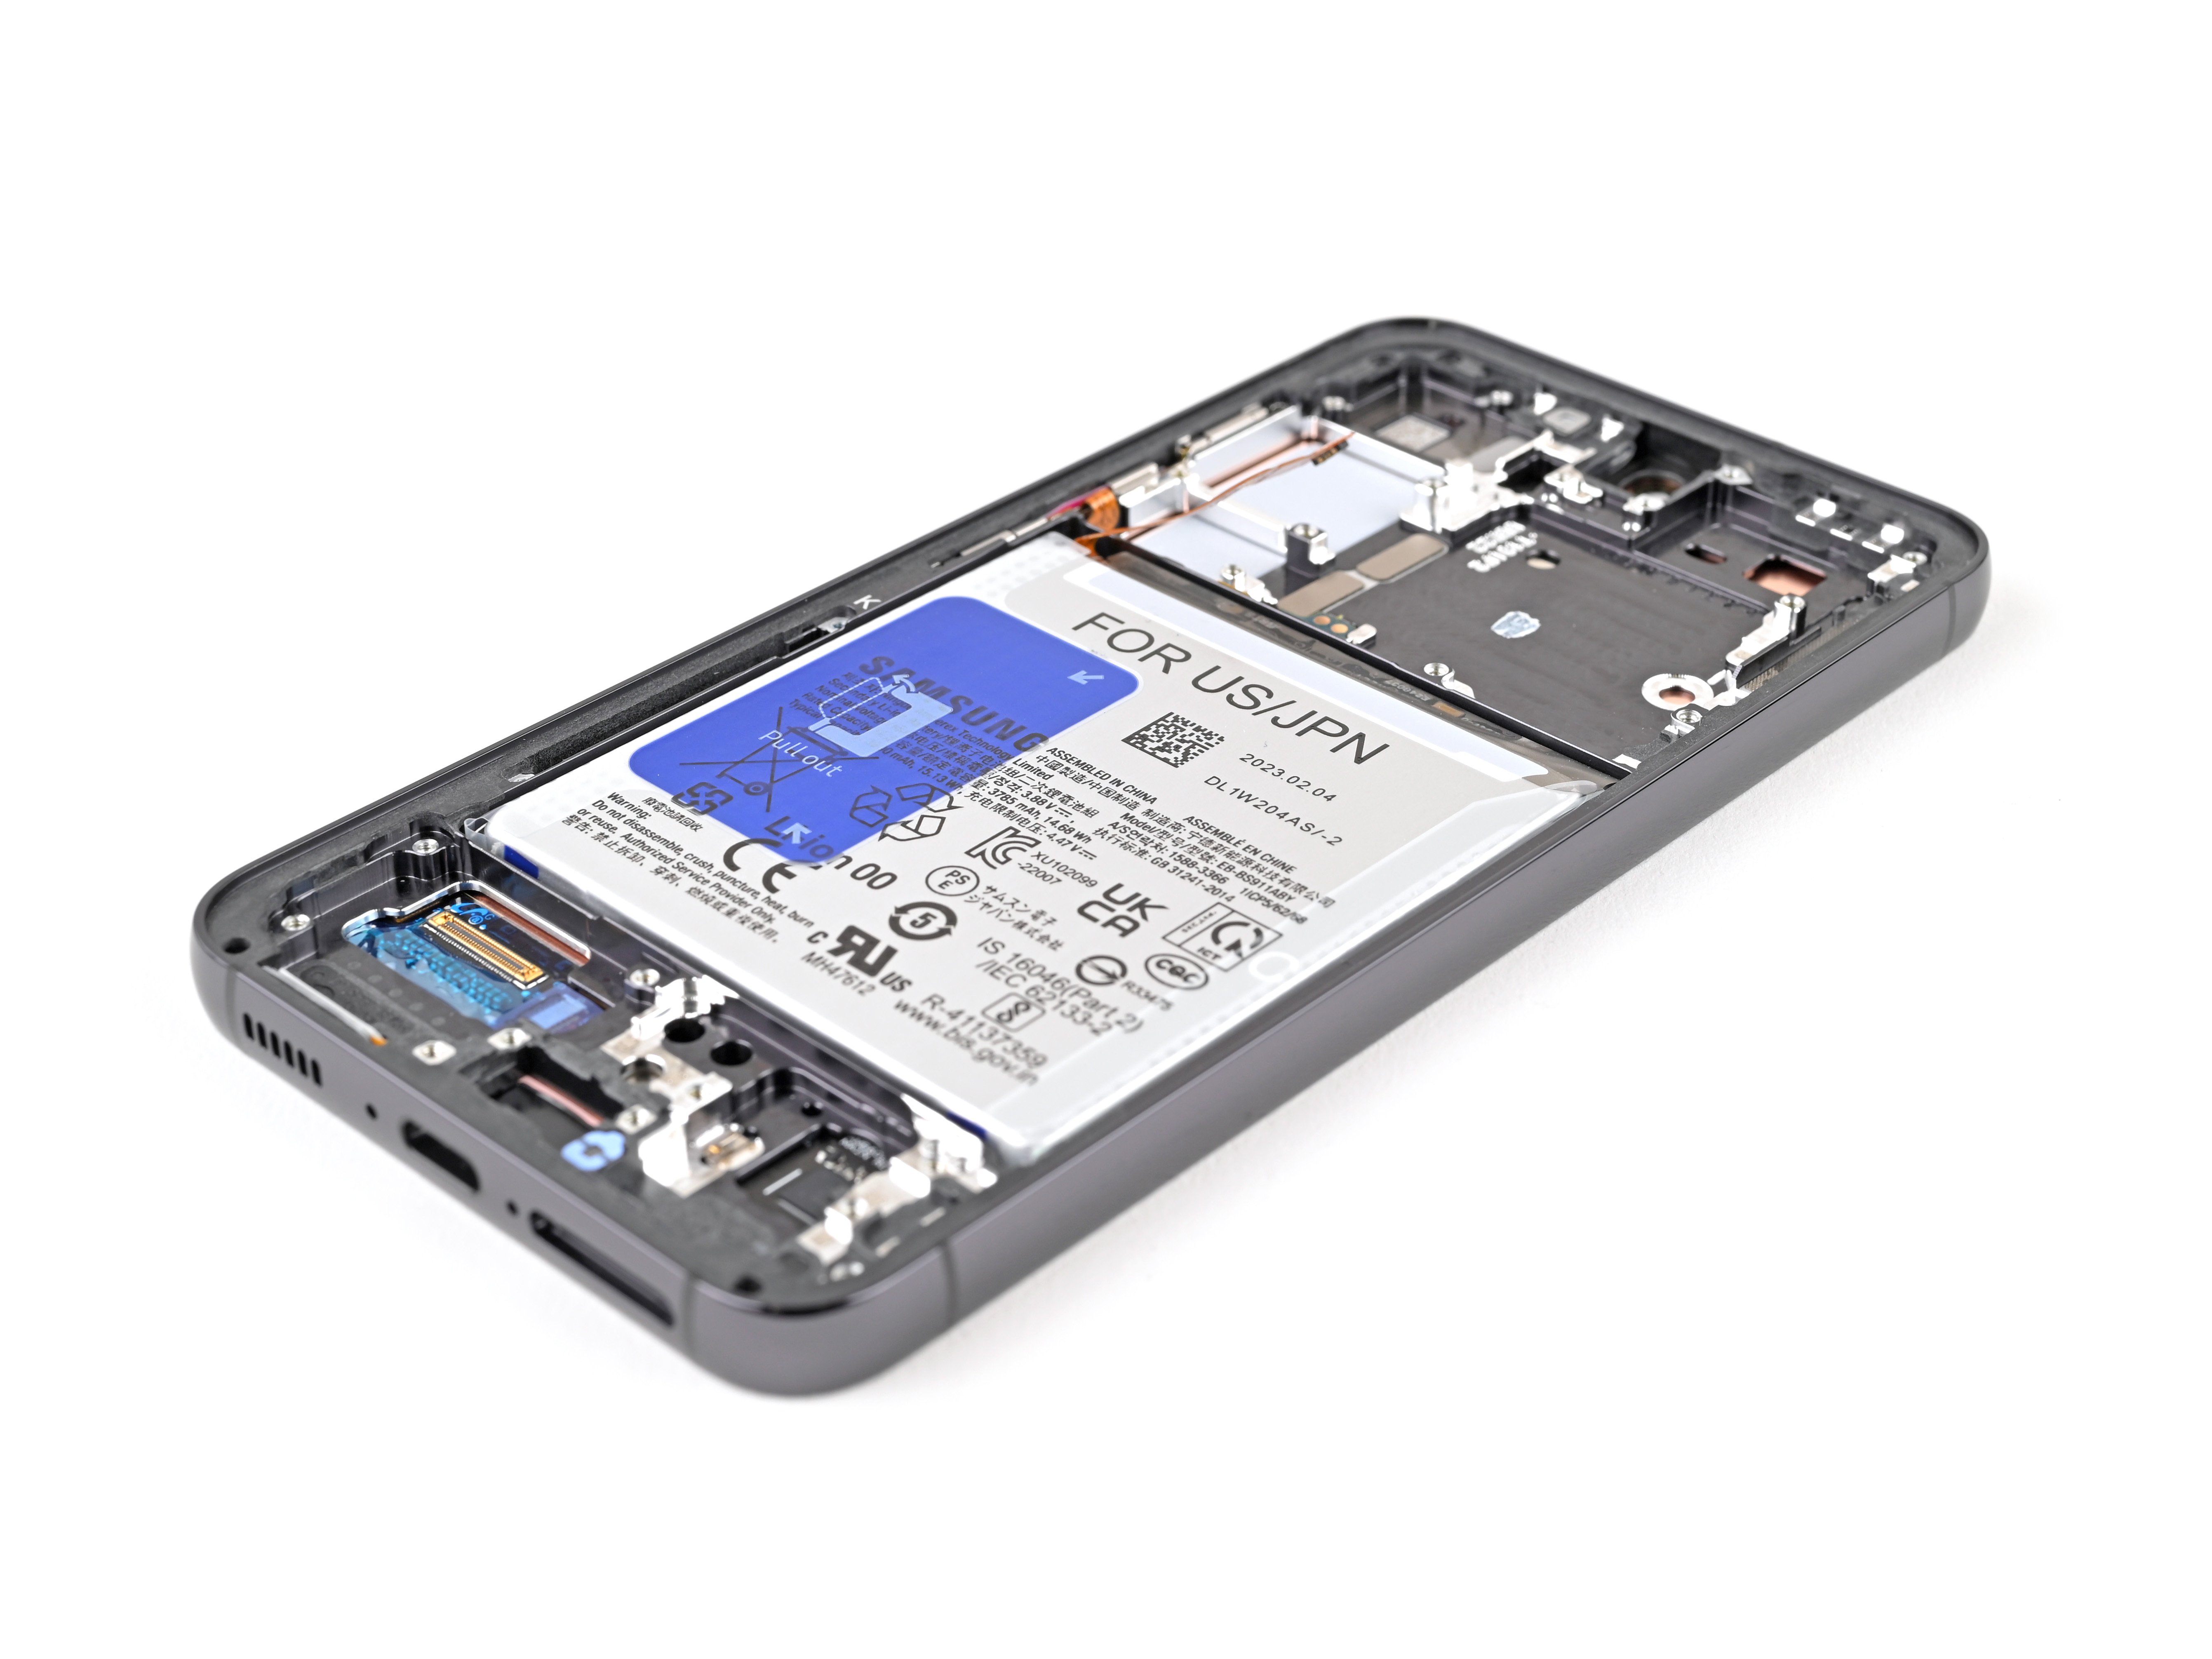
Sprint might roll out replacement or backup batteries down the line, but for now, our store shelves are looking a little empty.
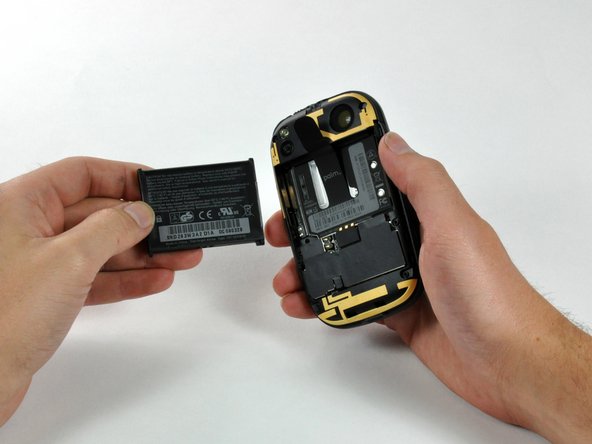
– The back panel should pop right off with minimal effort, exposing the battery inside.
– The Pre’s battery holds a 1150 mAh capacity, which is the same as the iPhone 3G. However, don’t be fooled—the Pre’s battery life may be a bit shorter due to its background processes running a little more frequently. But hey, it’s still good to go!
Step 9

– Here’s a look at the battery: the Pre on the left, and the iPhone 3G on the right. They may have different shapes, but both clock in at 23 grams.
– Unlike iPhones, the Pre’s battery is user-replaceable. Thanks to Palm for that little win!
Step 10

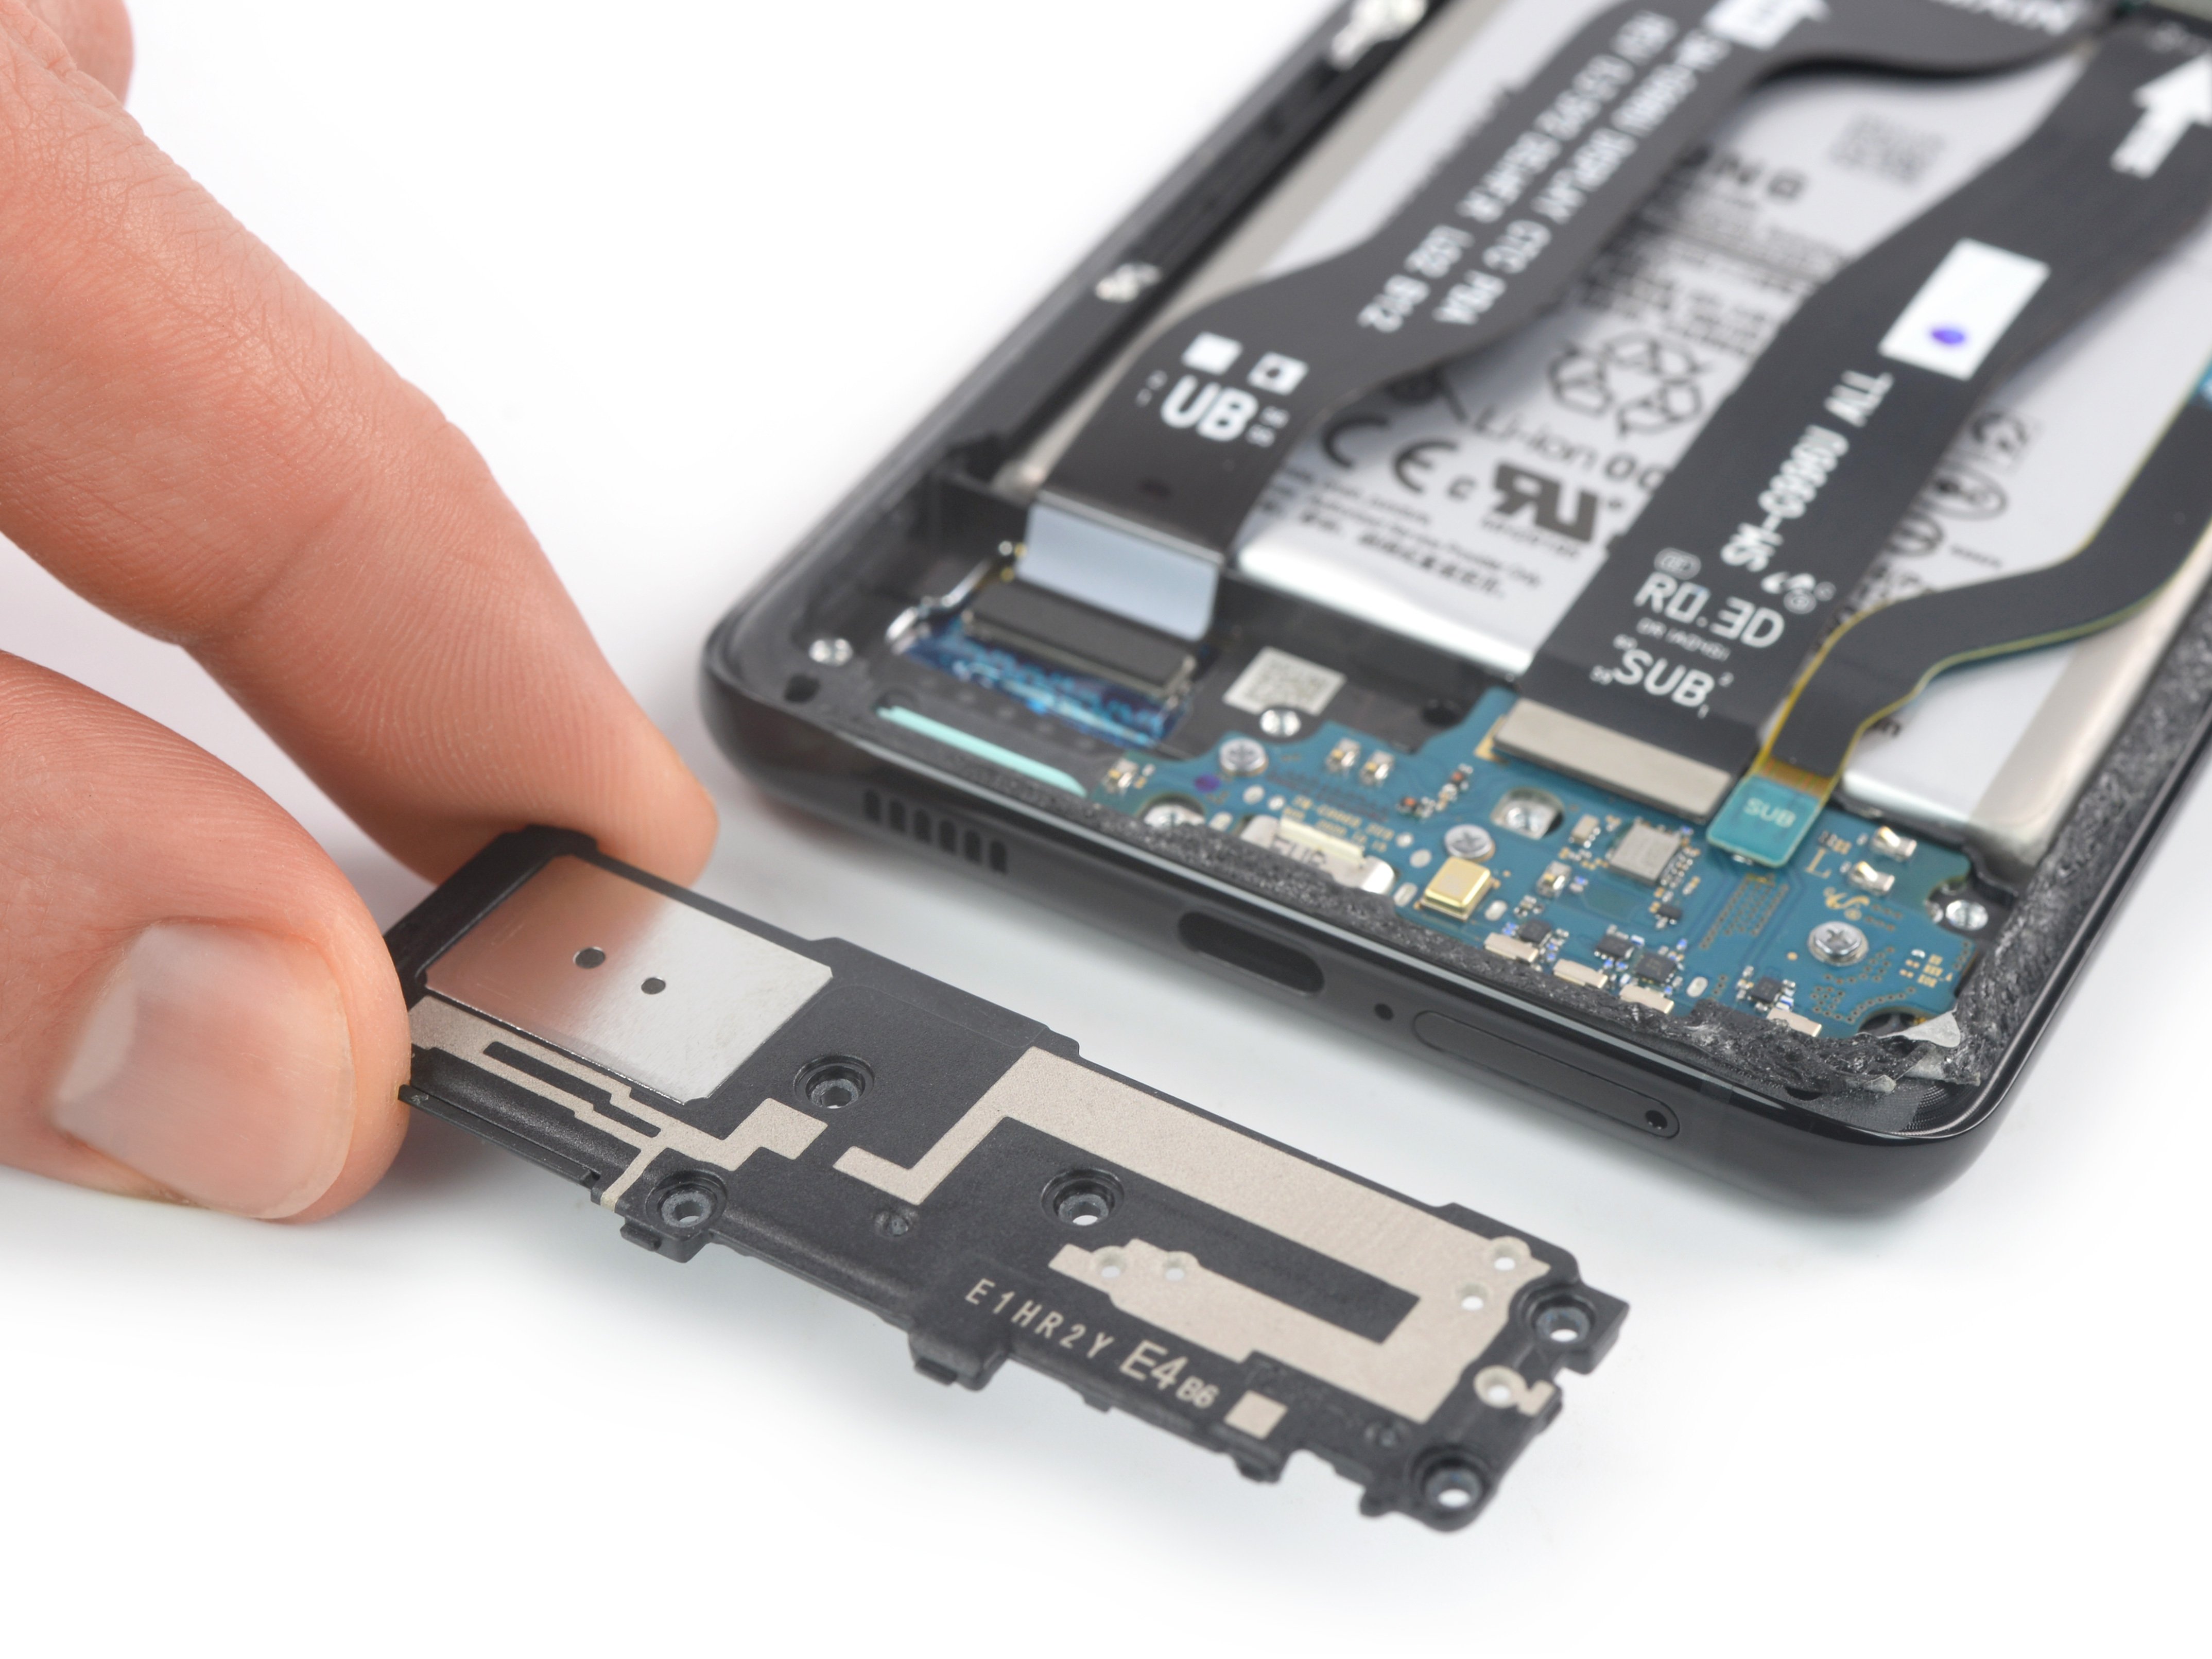
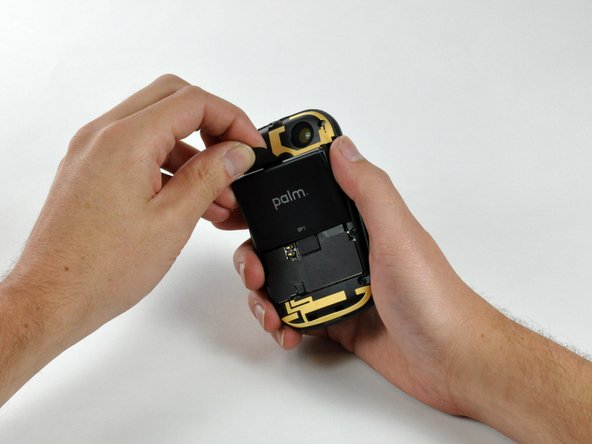
– Let’s check out the back of the phone and meet the speaker.
– Heads up: The Pre’s speaker packs more punch than the iPhone’s.
– Palm went all out on antenna design—once you pop the back cover, you’ll spot those antennas front and center.
– The antennas are cleverly shaped in 3D to boost your signal, just like the iPhone does.
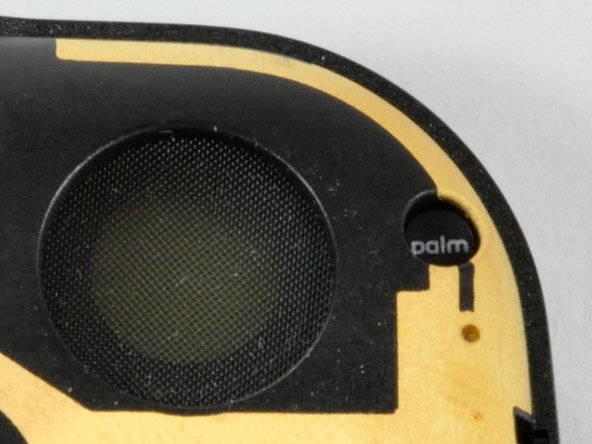
– See that tiny sticker labeled ‘palm’? It’s probably there to keep curious folks from diving in. (But hey, you’re in good hands!)
Step 11

– Start by removing one of the six T5 screws that hold the backplate onto the phone. Don’t worry, it’s not as tricky as it sounds!
– Keep in mind, the screw in the upper right corner is hiding under a sticker labeled ‘Palm.’ Gently peel back the sticker to access the screw.
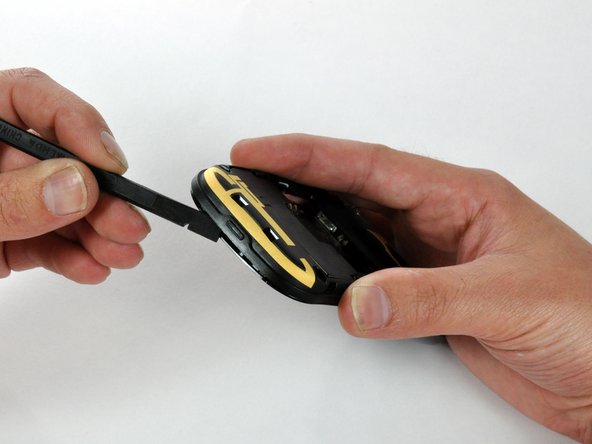
– You’ll notice several interlocking tabs keeping the backplate in place. These tabs are like the puzzle pieces of your phone—careful work is key.
– Slowly work your way around the device, gently releasing each tab as you go along. Patience and a steady hand will make this process smoother.
Step 12

Looks like we’ve got two antennas here!
– One is tagged GPS (you know what that does), and the other is marked DIV (that’s for the diversity antenna – shoutout to microbreak for the info!).
Step 13


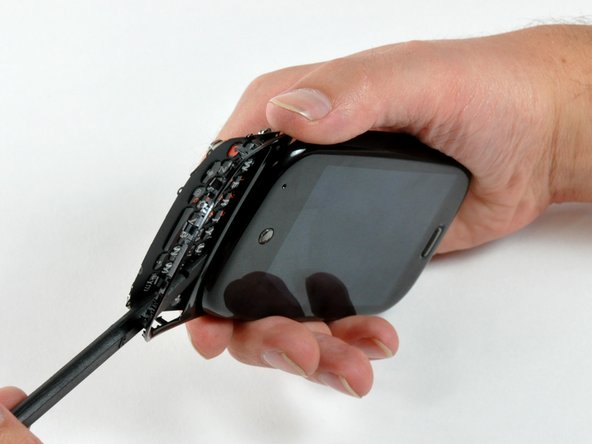
– The two volume buttons are still attached to the front half of your phone. To fully separate the two halves, you’ll want to start by gently removing the plastic cover over the volume buttons. Once that’s off, carefully peel up the volume button electronics.
– The back frame has decided to take a little vacation from the rest of the phone, so let’s take care of that.
Step 14


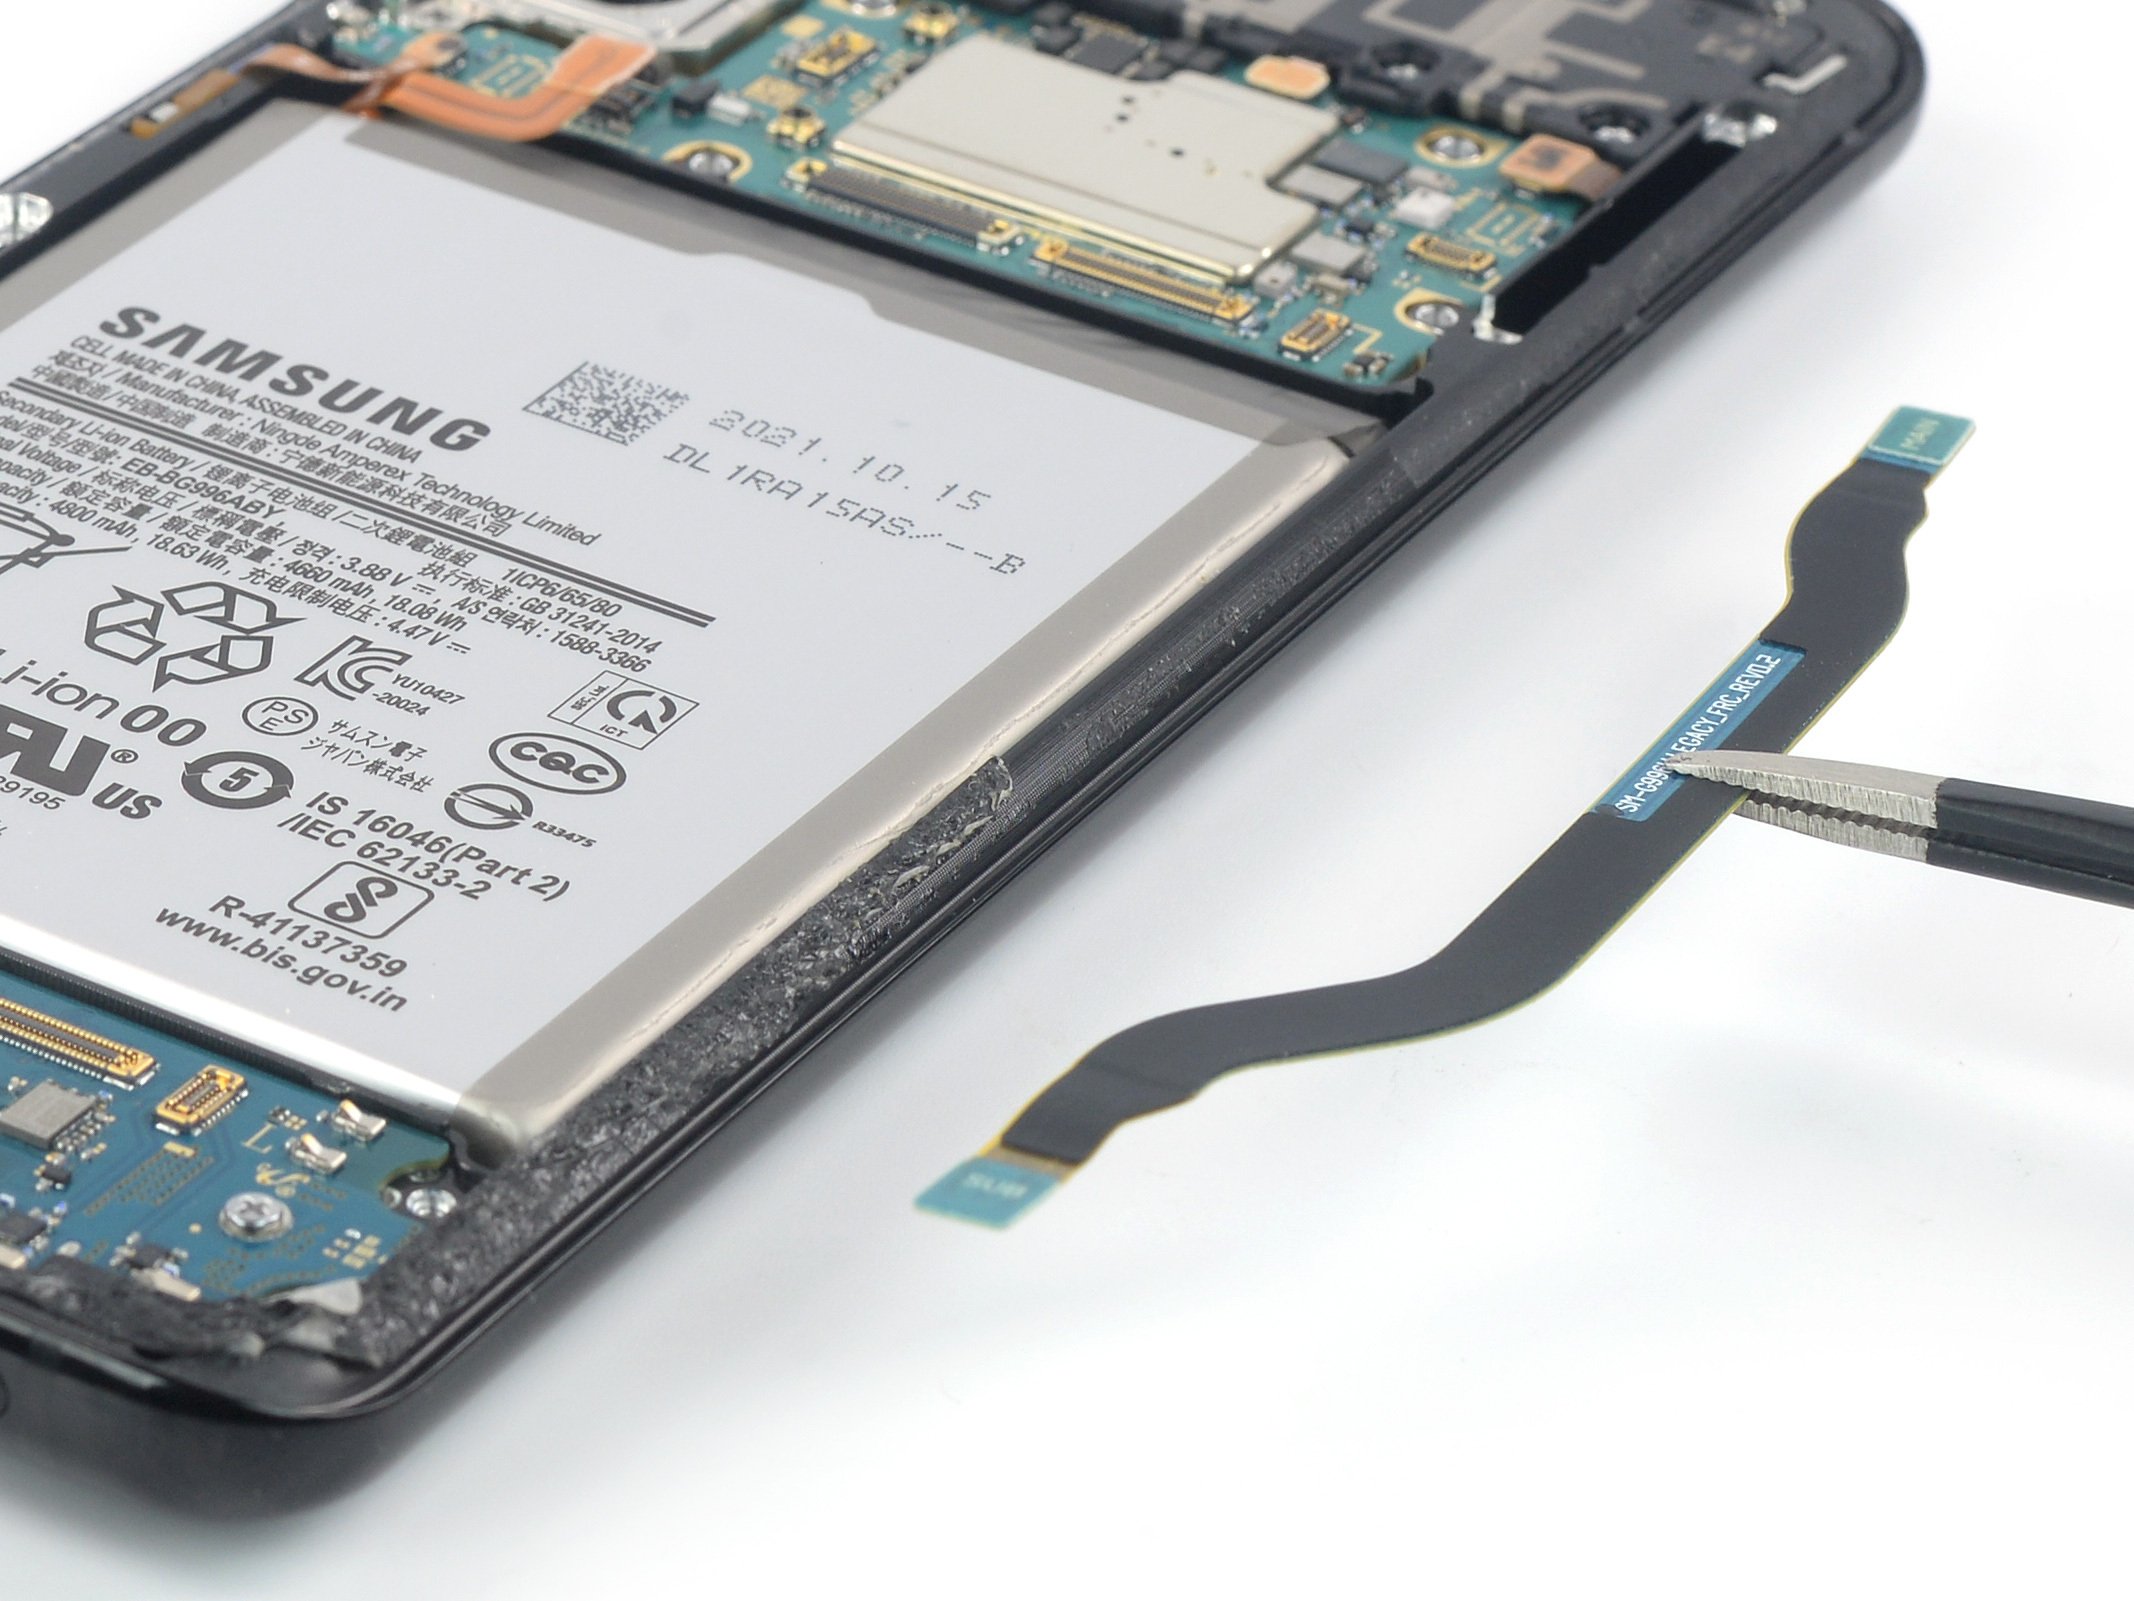
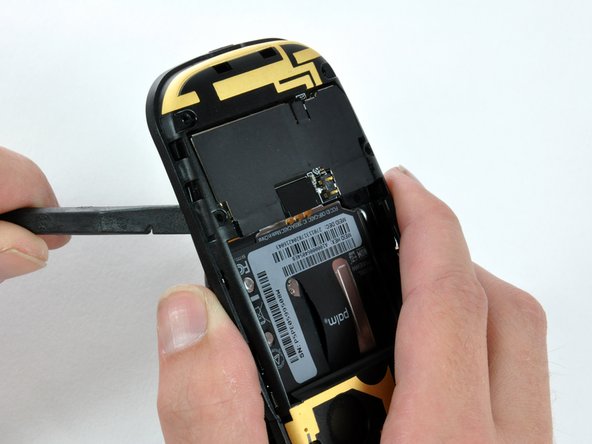
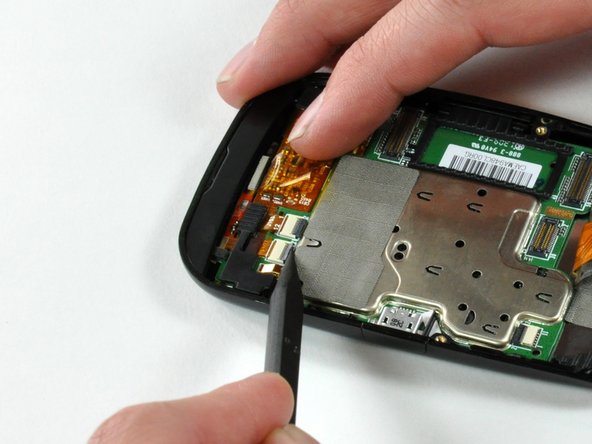
– First off, let’s disconnect those two connectors to free the black PCB. No biggie!
– Now, the PCB is stuck to the rest of the Pre with a bit of glue. Just give it a gentle pry with your trusty spudger, and you’ll have them apart in no time!
Tools Used

Step 15

– Removing the keyboard bezel.
– The hardware keyboard and its associated sliding mechanism weighs 32 grams. That’s nearly 25% of the weight of the phone! Even if you’re not a fan of a hardware keyboard, there’s no denying that packing the keyboard into a device that’s not much larger or heavier than the iPhone is a very impressive engineering feat.
Step 16


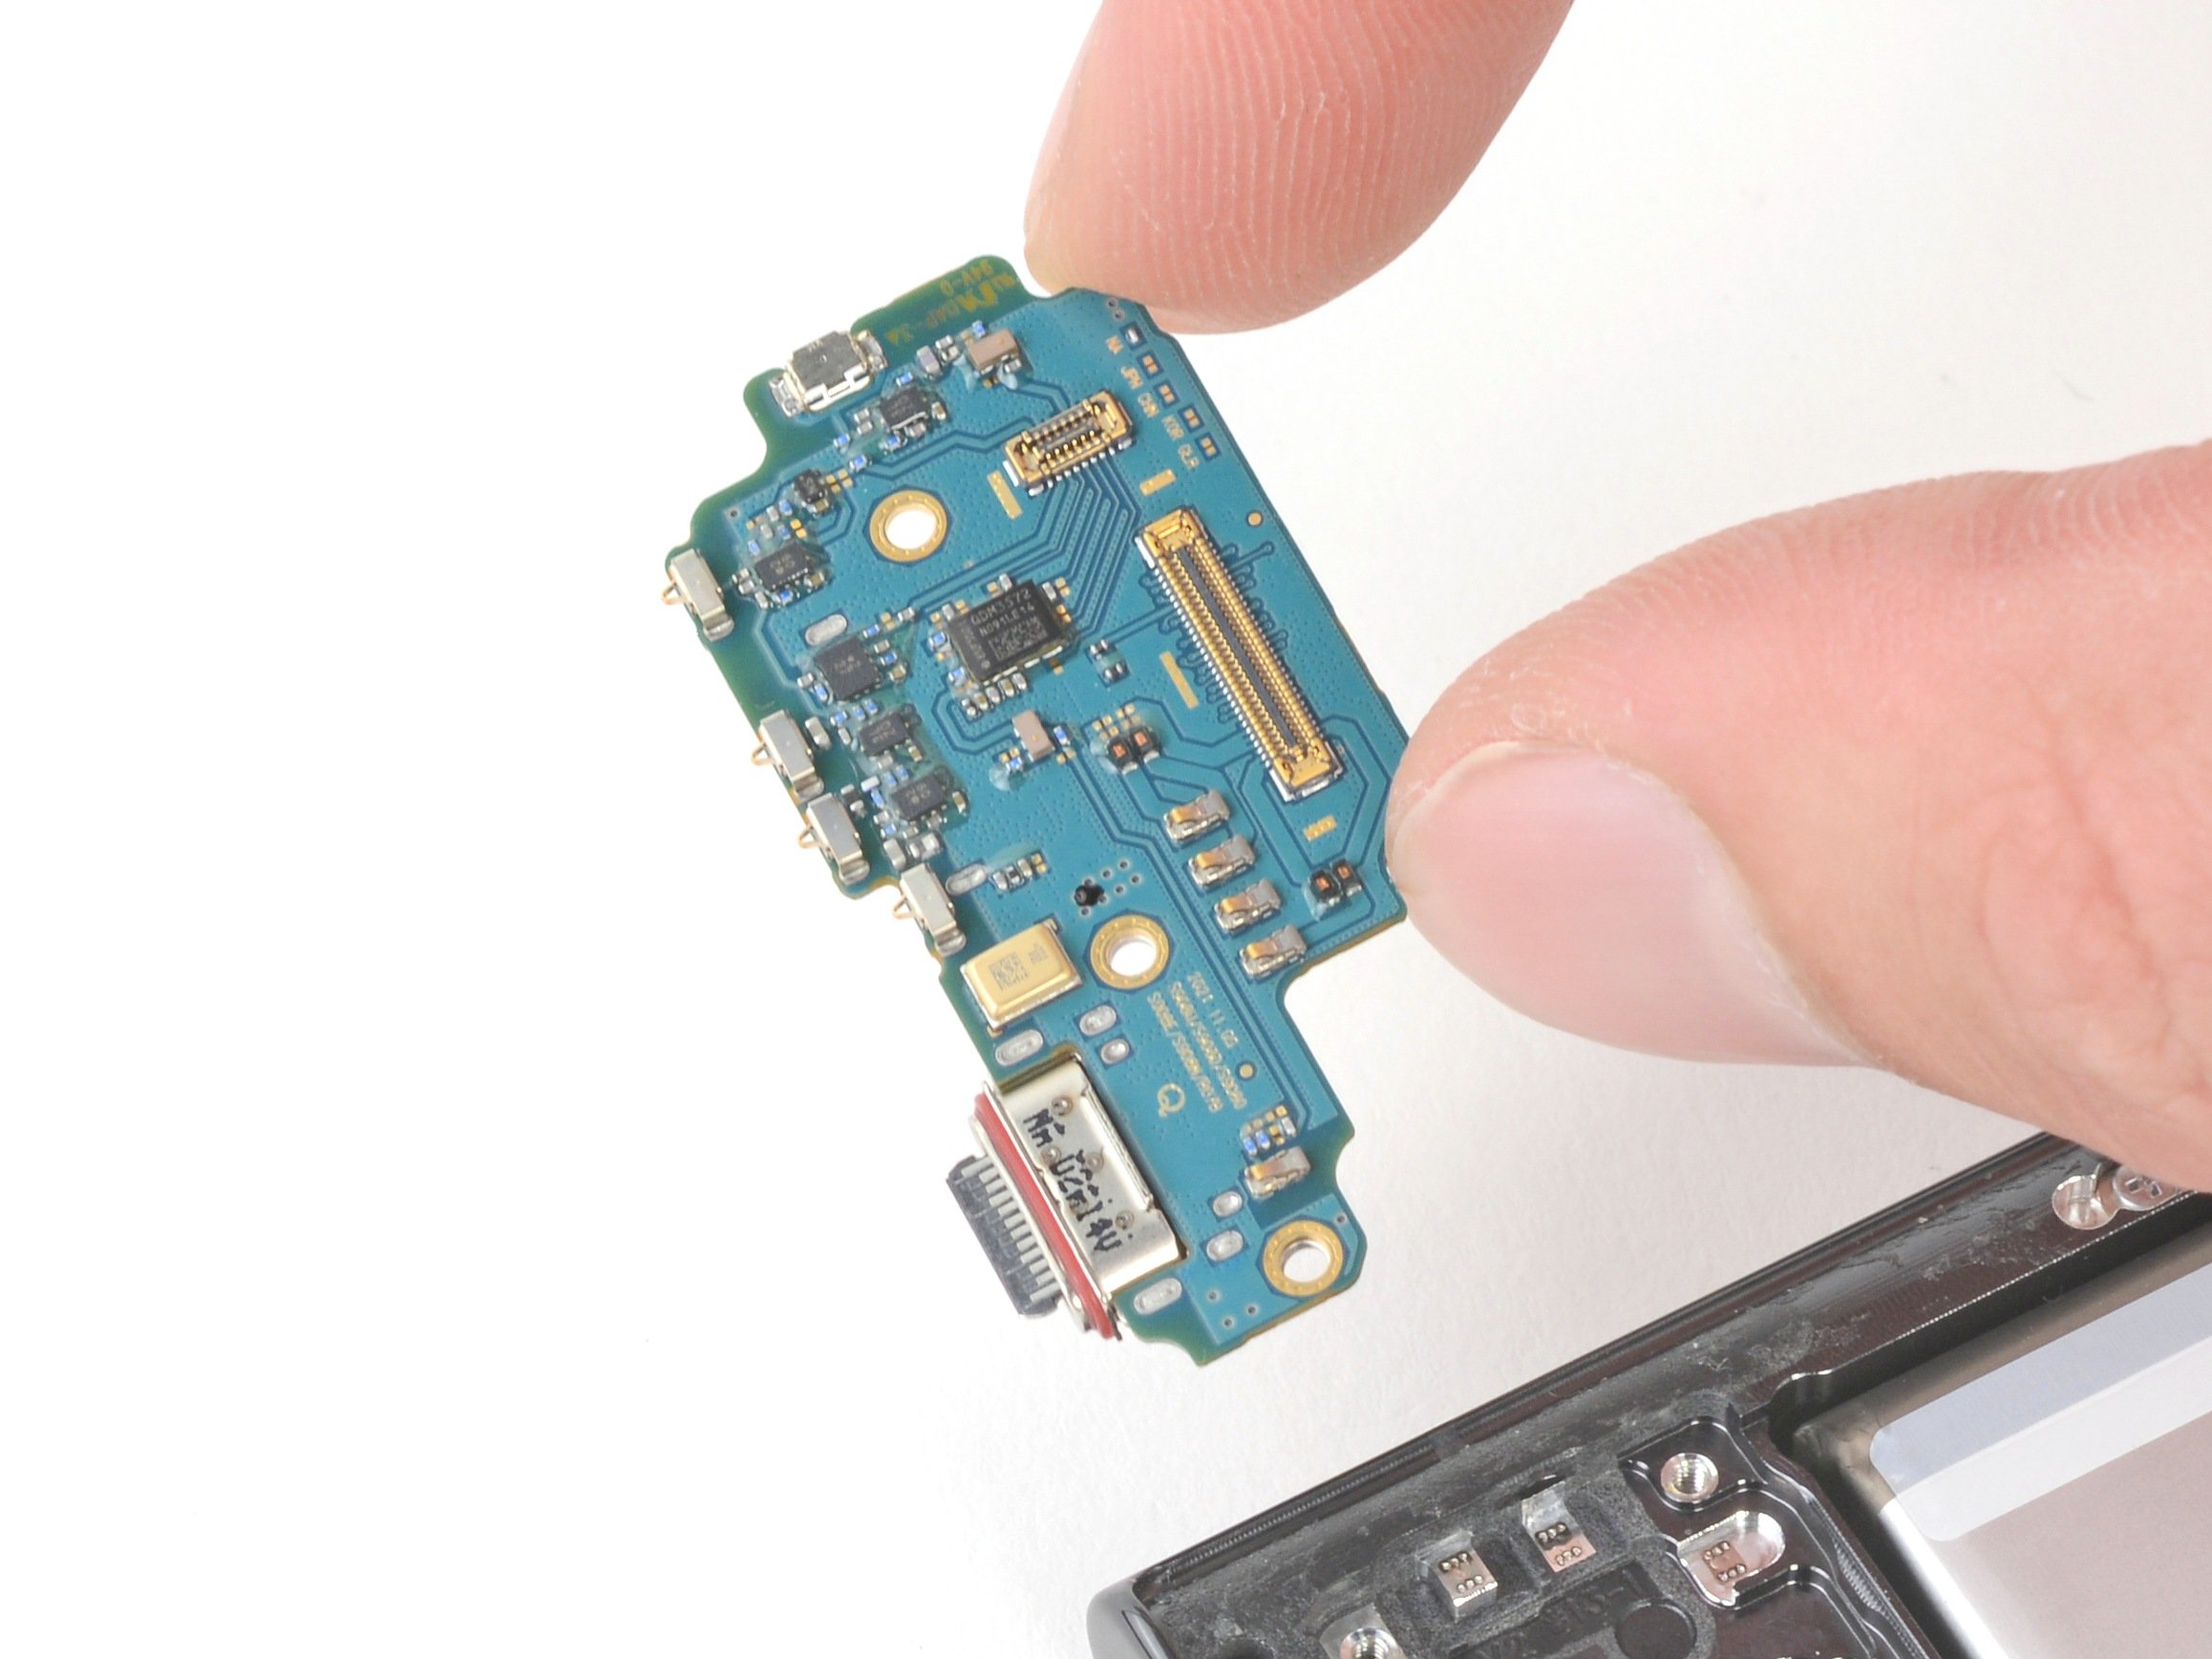
– The Palm Pre is rocking Texas Instruments’ OMAP3 platform—it’s the first phone to do so!
– Under the hood, you’ll find a 600 MHz ARM Cortex A8 processor teamed up with a PowerVR SGX 530 GPU, a 430MHz C64x+ DSP, and a dedicated Image Signal Processor (ISP).
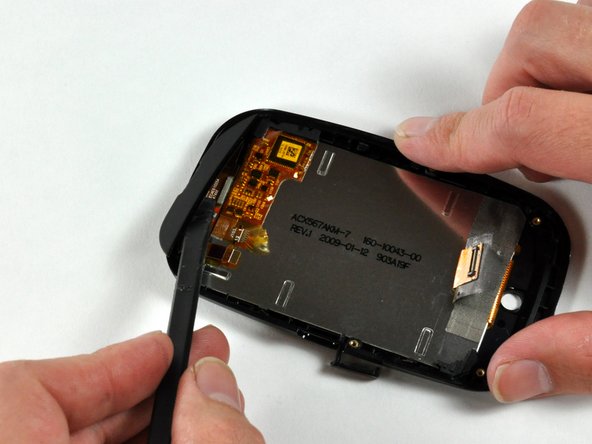
– Check out the chip under the white sticker on the LCD. It’s labeled CP6944BA 0907 A 04 KOR 604022. Pretty official, right?
– Keep an eye out for the water damage sensor—it’s hanging out on the logic board just below the Micro USB port (see the red box in the second image).
Step 17

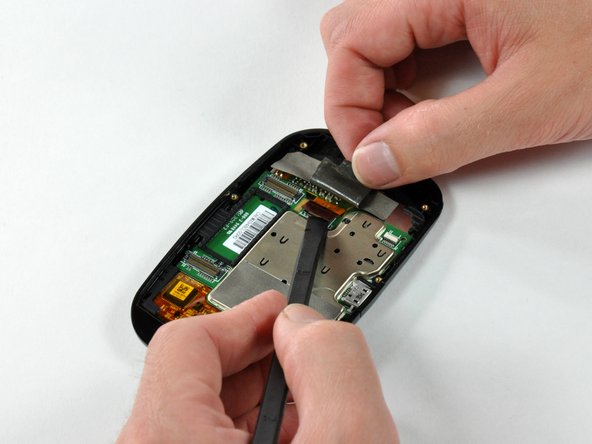
– Time to detach a few more tiny connectors, and with that, the main logic board is all yours.
– Just like the original iPhone, the Pre has two boards to deal with: the logic board and the communications board.
– Of course, all the cool stuff is tucked away under metal EMI shields. And Palm wasn’t just being tricky—these shields are soldered AND glued down with epoxy. Yeah, they made it a bit of a puzzle to see what’s really going on under the hood.
Step 18

The Pre isn’t the simplest phone to work on. It has a bunch of delicate and tricky tabs that can make reassembling it a bit of a puzzle.
– Next up, carefully work the logic board loose. This might take a little patience, but don’t worry, you’ve got this!
– It would be great if manufacturers put a bit more thought into making their gadgets repair-friendly. But hey, that’s where we come in!
Step 19

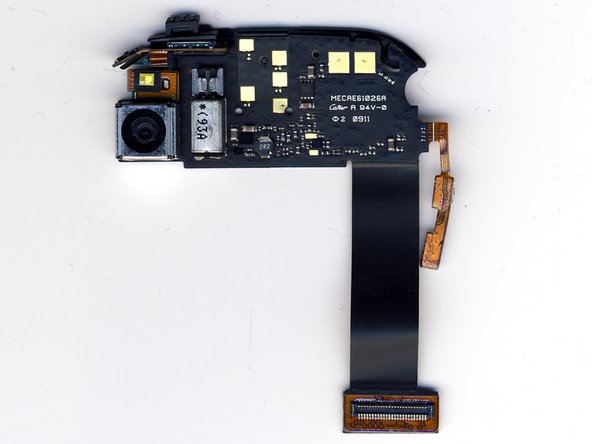
– This PCB is super thin and flexible, almost like a piece of paper—so be gentle with it.
– The Pre comes with a built-in 3 megapixel camera that has an LED flash, perfect for those quick shots.
– While the iPhone’s camera can be a bit of a disappointment with its slow shutter speed and so-so photo quality, the Pre does a better job. It’s faster and the photo quality is definitely a step up, though it still takes its sweet time snapping pictures.
– Next to the camera, you’ll find the phone’s trusty vibrator. It’s not the most exciting feature, but hey, it does the job!
Step 20

– Here’s a look at the internal lineup, left to right:
– Earpiece speaker, LCD screen with digitizer, microphone, and the comms board are up first.
– Next, the original back cover and the trusty plastic chassis.
– Then you’ll spot the battery, a sturdy metal frame with a spring-loaded mechanism, and the keyboard.
– Moving along, there’s the camera circuit board, followed by the main board.
– And finally, the main plastic frame loaded with antennas, all the antenna wiring, and—believe it or not—a really impressive speakerphone.
– Yes, that main framework gets a second mention: it’s got antennas, cabling, and a speakerphone that’ll surprise you.
Step 21
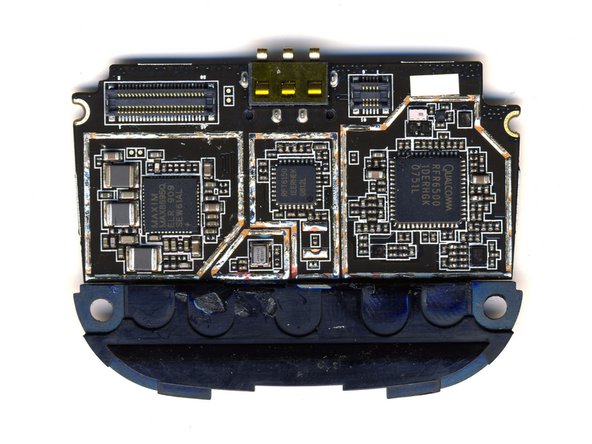

– Hey there! Ready to dive into the repair world? First up, let’s tackle your device with some cool tools: ‘Samsung K5D1257ACC-D090’, ‘Qualcomm MSM6801A’, ‘AVAG0 FEM-7788’, and ‘0CEQ 86K H33F’. You’ve got this! Follow these steps, and soon your gadget will be back in action. Remember, if you run into any tricky spots, don’t hesitate to schedule a repair for some expert help!
Step 22

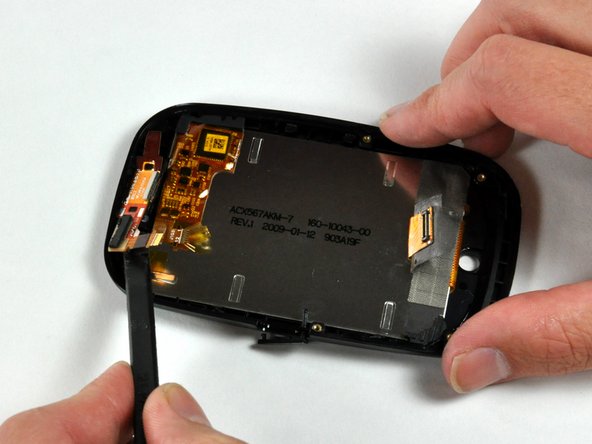
– On the back of the display, you’ll spot what looks like the manufacturing date, sitting pretty right at the start of January.
– When it comes to repairs, be warned—separating the LCD and digitizer is no walk in the park. It’s a bit of a tricky combo.
– Both the iPhone and Pre feature HVGA displays, but there’s a catch: the iPhone’s display is a nice 3.5 inches diagonally, while the Pre keeps it cozy at 3.1 inches.
Step 23
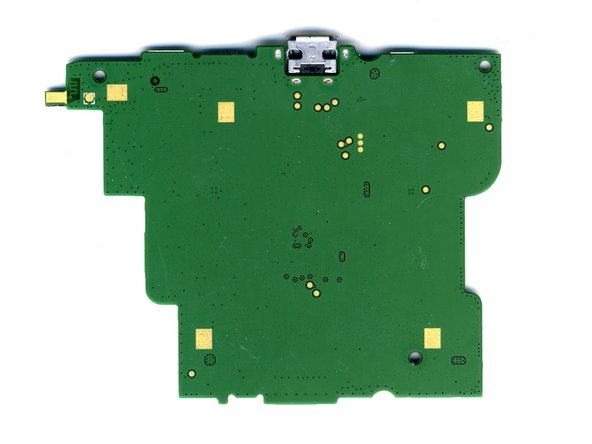

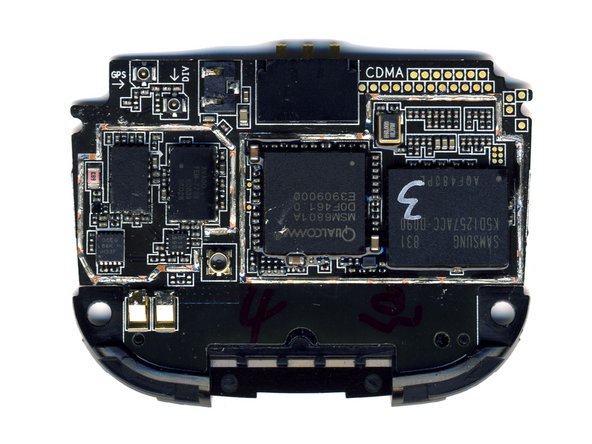
– Logic board with the shiny shielding peeled off—let’s see what’s inside!
– Chip roll call:
– Up top, the board’s marked 888-3 94V0 1 309 – F3. Flip it over, and the bottom is totally blank—no chips, no markings. Apple playing it cool as always.
– Texas Instruments TWL5030B 8CA28MWC spotted.
– The Marvell WiFi chip is hanging out under a silver EMI cover—model W8686B12. Right above it, you’ll find the CSR Bluetooth chip. Both of these are chilling on their own little daughterboard, soldered right onto the main logic board.
– Samsung SDRAM KMCMG0000M-B998 is onboard.
– ELPIDA K2132C1PB-60-F 08510N060. And hiding just beneath it is a Texas Instruments OMAP3430 BGA chip.
– Unbranded mystery chips: 3335A ADJ RNX, and 89A8 850. Plus, tucked above the Samsung SDRAM and sealed with epoxy, there’s a Kionix 3-Axis Accelerometer.
Step 24

– Let’s take a look at how the iPhone stacks up against the Palm Pre. While the iPhone is a household name, the Palm Pre has some serious hardware charm going on.
– When it comes to hardware, the Palm Pre holds its own. Our only gripe? The physical keyboard—though, hey, some folks actually prefer that tactile feel. To each their own!
– The Pre’s logic board is noticeably smaller than the iPhone’s—seriously impressive, especially considering how skilled Apple’s engineers are at packing things in tight. A lot can happen in just one year, huh?
– Overall, the Palm Pre’s hardware design feels a lot like Apple’s meticulous approach, more so than some of the other brands we’ve dissected (looking at you, Dell).
Step 25

– Start with a clear component diagram from phoneWreck’s detailed chip analysis to get familiar with the layout. Carefully follow each step to identify the parts, and use the diagram as your roadmap. If you hit a tricky spot or need a hand, you can always schedule a repair. Keep your workspace organized and take your time—patience is key to a smooth repair journey!
Success!