Replace Graphite Sheet Google Pixel 8 Pro Guide: Step-by-Step DIY Tutorial
Duration: 45 minutes
Steps: 5 Steps
This guide is brought to you by the enthusiastic team at Salvation Repair, and while it’s not officially endorsed by any tech giants, we promise it’s packed with valuable insights! For a deeper dive into our repair wisdom, check out our resources schedule a repair.
Hey there, tech enthusiast! This step-by-step guide will help you swap out the graphite sheet in your Pixel 8 Pro. It’s a bit of a puzzle, but we’ve got you covered. Follow along and you’ll be back to smooth sailing in no time. If you get stuck or need a helping hand, you can always schedule a repair.
Step 1


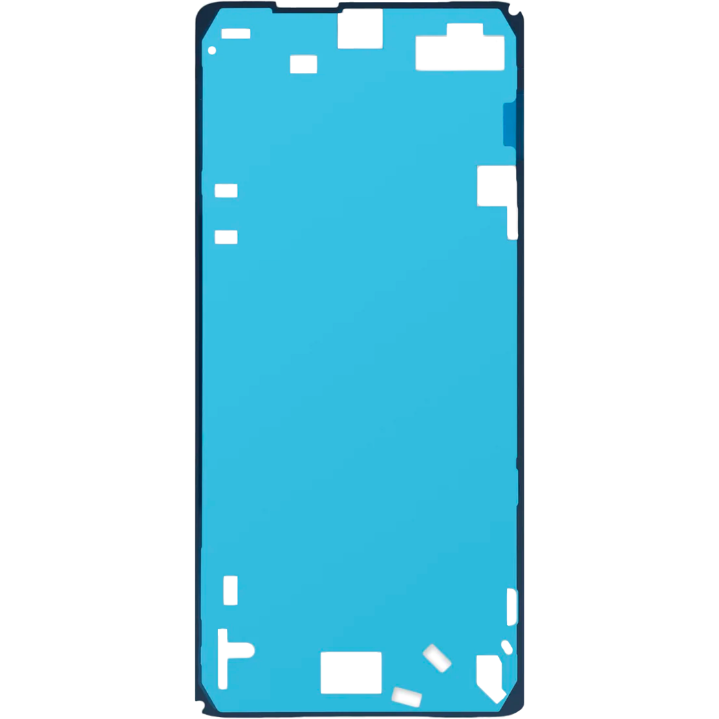
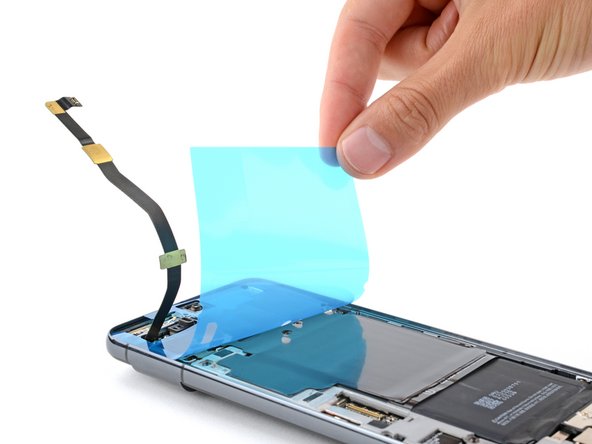
Before you stick that new graphite sheet on, take a peek at how it’s gonna fit on your phone. Just a quick visual so you’re all set!
– Grab the graphite sheet so the clear side is facing down, and lay it over your phone to find the perfect fit. The cool sections with the three flaps? Those go right over the rear camera assembly. You’re doing great!
Step 2

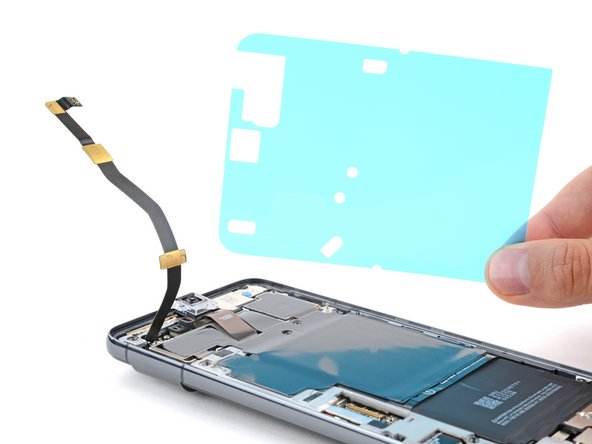
– Peel away the big clear liner from the backside of the sheet to reveal the sticky goodness underneath.
Step 3
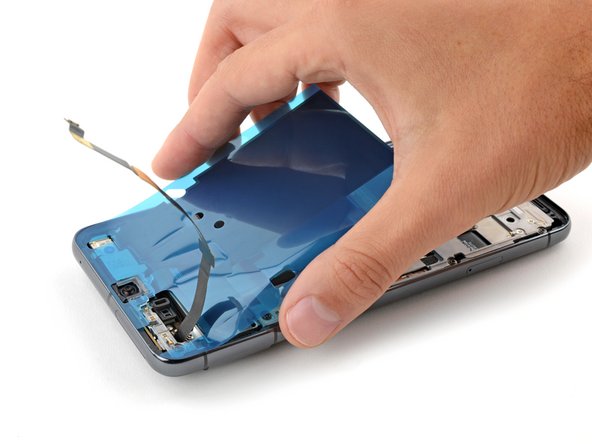

Take it easy during this step! Once that graphite sheet makes contact with your phone, it’s locked in place. If it goes on wonky, you’ll need to grab a fresh sheet and start from scratch.
Step 4


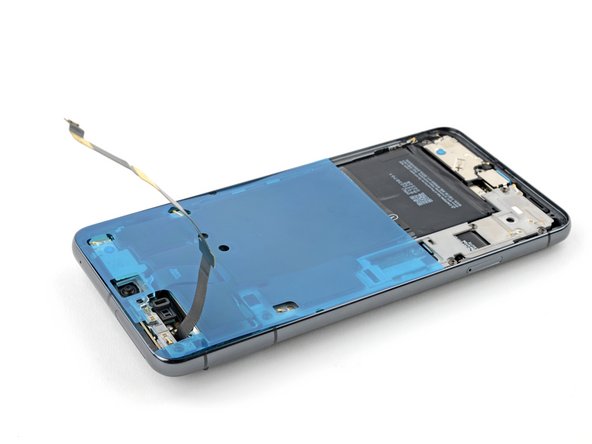
Handle with care! We don’t want any spring contacts getting hurt near the edges of your phone.
Make sure to press that sheet down nice and tight against your phone before peeling off any liners. This little step keeps everything in its place and ensures you don’t end up with a wonky setup in the next move!
– Get your fingers ready for some serious pressing action! Press down firmly on the graphite sheet and make sure it’s securely attached to your phone.
Step 5

If any section of the sheet decides to lift off with the liner, simply lay it back down on the frame and use your fingers to give it a gentle press into place.
– Repair not going as planned? No worries! Try some basic troubleshooting, or check out our Answers community for some helpful advice.
– Cancel: I didn’t complete this guide.
–
Success!