How to Replace Graphite Sheet Google Pixel 8
Duration: 45 minutes
Steps: 5 Steps
Hey there, repair hero! This repair guide is brought to you by the team at Salvation Repair. We’re here to help you fix your tech. Need an extra hand? You can always schedule a repair. Happy fixing!
This repair guide was crafted by the Salvation Repair crew and is designed to help you replace the graphite sheet in your Google Pixel 8. If you need help, you can always schedule a repair.
Step 1


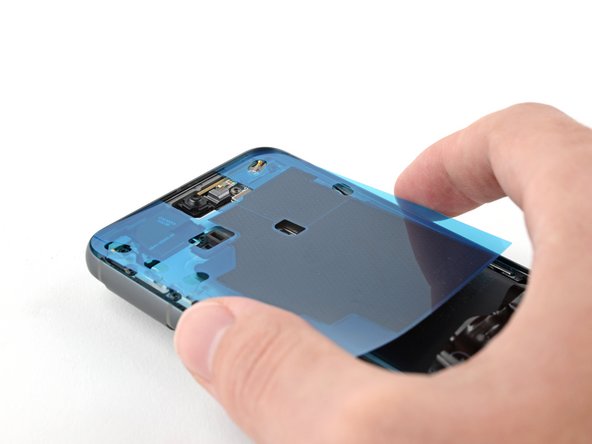
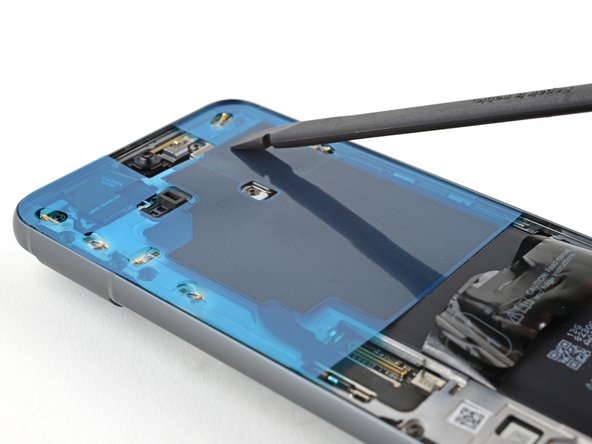
Before slapping on that new graphite sheet, take a sec to figure out how it’ll fit on your phone.
– Place the graphite sheet with the clear liner facing down and position it over your phone to get a sense of how it should be aligned.
– Line up the graphite sheet using the cutouts on the liner – it’s like a little puzzle, and you’re the master puzzler!

Step 3


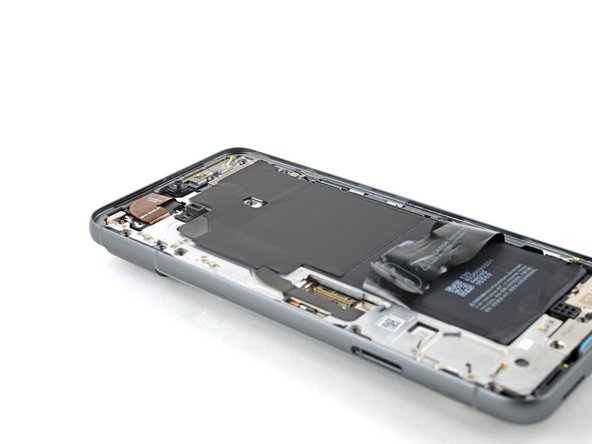
Handle this step with care! Once the graphite sheet sticks to your device, it’s a one-way ticket—no going back! If it doesn’t land perfectly, you’ll need to grab a new sheet and try again. You’ve got this!
Step 4
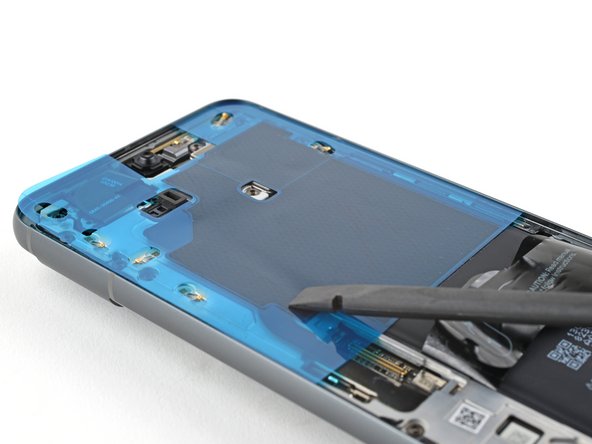

Get that sheet securely attached to your phone before peeling off any liners – you don’t want it to slip out of place and cause trouble in the next step!
A plastic card can be your trusty sidekick to keep the sheet in place, so feel free to use one if you need to.
– Grab the flat end of a spudger or just your fingers, and give that graphite sheet a good press down onto your phone to make sure it sticks like a champ!
Tools Used

Step 5

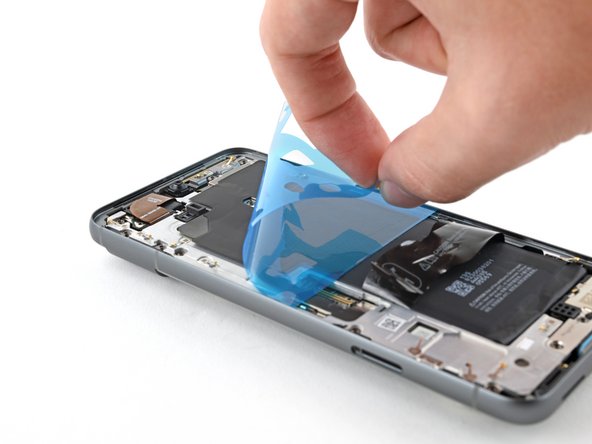
If any part of the sheet starts to peel up with the liner, no worries! Just gently lay it back on the frame and use your fingers to secure it.
– Uh-oh! If things didn’t go quite as you hoped, no worries! A little troubleshooting magic might just do the trick. And if you’re still feeling stuck, remember, you can always schedule a repair.
– Cancel: I did not complete this guide.
–
Success!