How to Replace Screen Adhesive Google Pixel 8 – Step-by-Step Guide
Duration: 45 minutes
Steps: 14 Steps
Hey there, repair buddy! Before you delve into this awesome guide, just remember that this helpful content was crafted by our friends at Salvation Repair. For more of these handy guides, check out our website. Let’s get those tech troubles fixed!
Hey there, techie! Ready to tackle this screen adhesive swap on your Pixel 8? This guide’s been put together by the team at Salvation Repair to make things super smooth. We’re gonna walk you through replacing that adhesive, step by step. Before we dive in, make sure you’ve already finished the rest of your repair and got your phone back together, up to the screen. If not, go back and finish those steps first. Let’s get this Pixel looking fresh and ready to roll!
Step 1


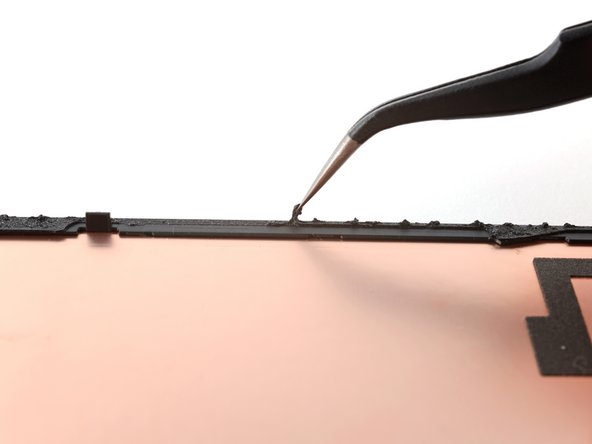
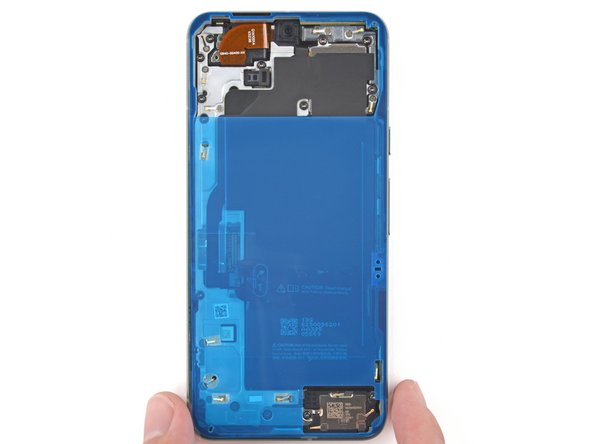
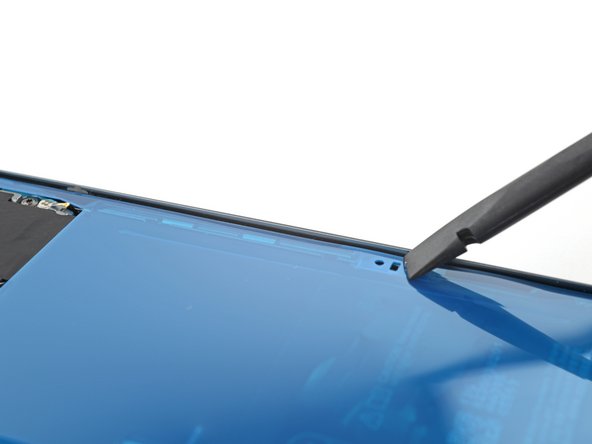
To ensure that our new adhesive sticks like a champ, it’s crucial to say goodbye to all that old adhesive and any pesky residue lingering around.
If you’re finding it a bit tricky, don’t sweat it! Just dab a few drops of high-octane (over 90%) isopropyl alcohol on the adhesive and give it a gentle scrape to lift it away.
– Grab the flat end of your trusty spudger and get ready to tackle that old adhesive! Gently scrape it off the frame like you’re spreading butter on toast. Make sure you clear all that sticky stuff away for a smooth repair process ahead. If you need help, you can always schedule a repair.
Tools Used

Step 2


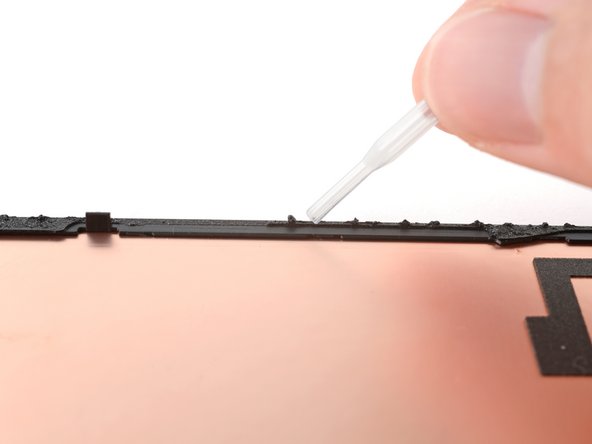
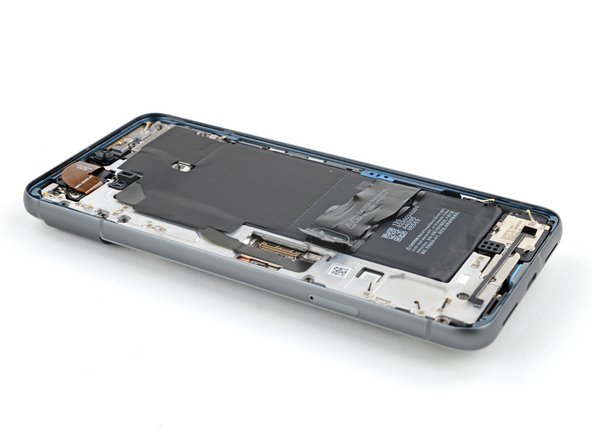
– After you’ve said goodbye to all that pesky old adhesive, it’s time to bring in the big guns! Splash a few drops of super-concentrated (90% or more) isopropyl alcohol onto any stubborn residue hanging out on the frame, then give it a gentle wipe with a microfiber or lint-free cloth. Your device will thank you!
Tools Used

Step 4

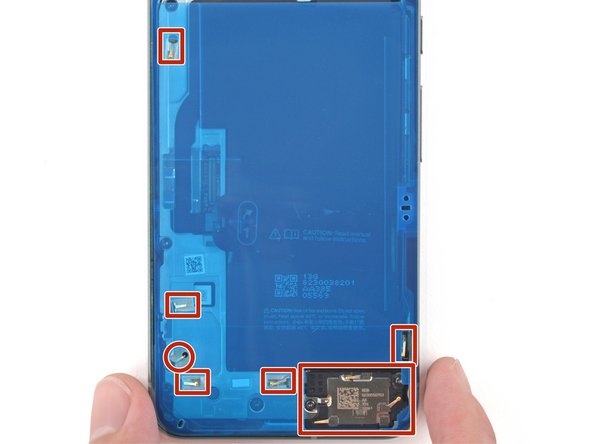
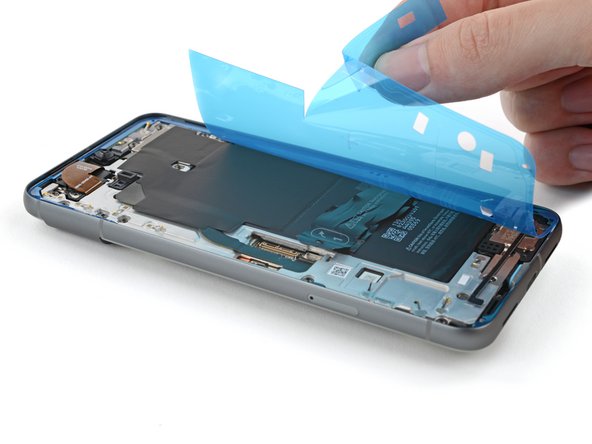
Before slapping on that new adhesive, take a sec to figure out how it’ll fit on your phone. It’s super helpful to get a sense of the layout before you start sticking things together!
– Grab that adhesive sheet and hold it so the clear side is facing down. Now, carefully place it over your phone and use the cutouts for the spring contacts and the bottom speaker to get it perfectly aligned. You got this!
Step 5

– Now it’s time to get sticky! Remove the larger clear liner from the back of the sheet to expose the adhesive, and get ready to take your repair to the next level.
Step 6

Step 7


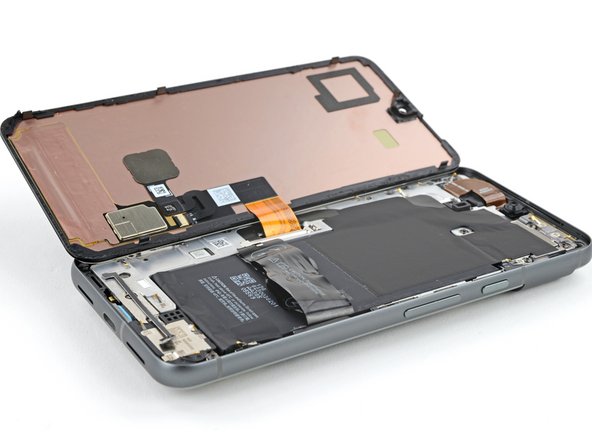
Watch out for those spring contacts during this step! Treat them like delicate little flowers and give them the care they deserve.
Tools Used
Step 8

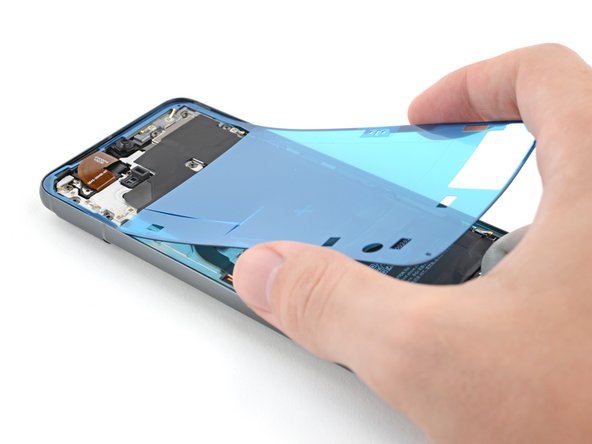
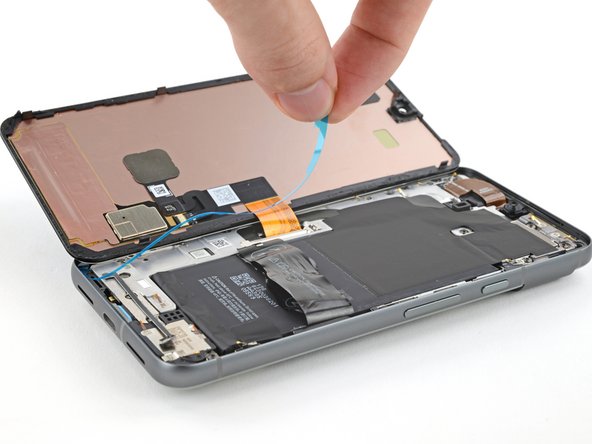
– Let’s get started! To remove the larger blue liner, simply grab the pull tab at the top left corner of the adhesive and gently peel it up. This should come off easily, and you’ll be one step closer to fixing your device.
Tools Used


Step 10

Take off that inner liner in two neat strips, like a pro!
– Grab one of those handy pull tabs on the right side of the adhesive and gently peel away one half of the inner liner.
– Now, go ahead and do the same for the other half of the inner liner. You’re almost there!
Tools Used


Step 14


To achieve that perfect pressure around the screen’s edges, just remember to give a little love to the rear camera bump by placing some handy objects on the back cover.
– Things didn’t quite go as planned? Try some basic troubleshooting or hit us up if you need a hand.
– Cancel: I did not complete this guide.
–
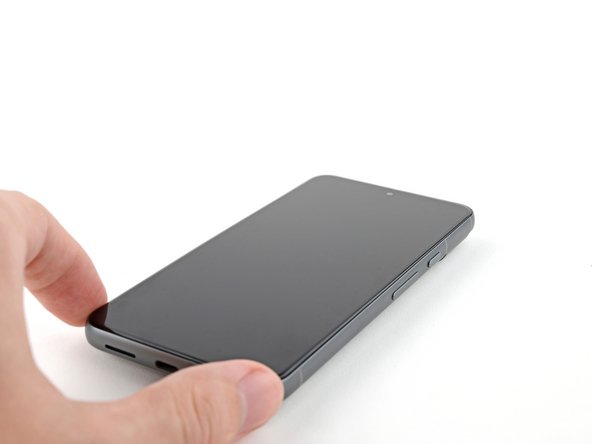
Success!