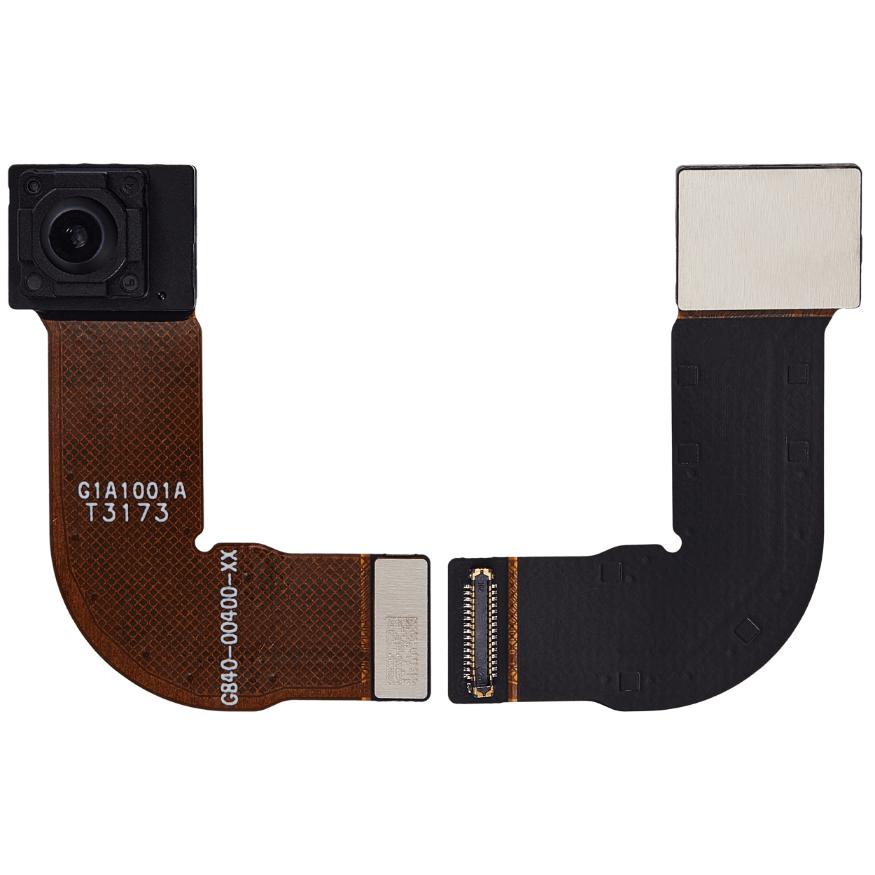
Replace Google Pixel 8 5G Antenna: Step-by-Step Guide
Duration: 45 minutes
Steps: 42 Steps
This repair guide comes straight from our team and hasn’t received a thumbs up from any big tech companies. Curious about our other guides? Check them out here.
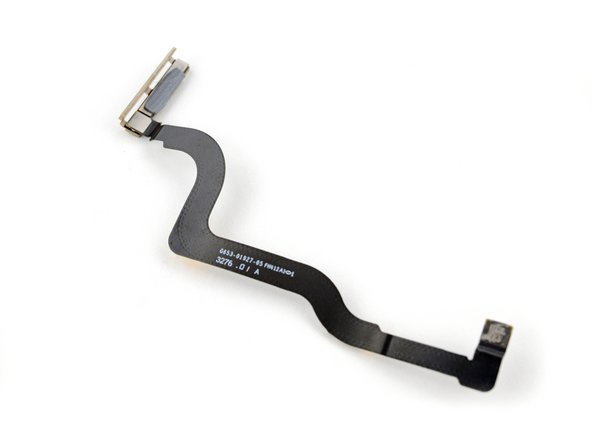
Ready to dive into a super fun repair adventure? This guide is all about swapping out the 5G mmWave antenna in your Pixel 8. So, if your phone is struggling with cellular service but still connecting to Wi-Fi, it might be time to give this repair a try! Don’t worry, you’ll need some replacement screen adhesive to finish the job. If you need a little extra help along the way, consider paying a visit to our friends at Salvation Repair.
Step 1
Before diving into this repair adventure, make sure your Pixel’s battery is below 25%. A fully charged lithium-ion battery can be a bit too exciting if it gets damaged, and we want to keep things safe and sound!
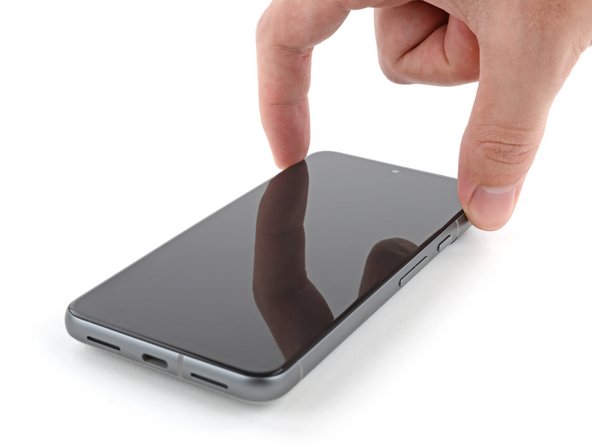
Hold down the power and volume up buttons simultaneously to access the shutdown menu.
– First things first, let’s disconnect all those pesky cables from your phone.
– Now, give your phone a little break by turning it completely off.
Step 2
You’re gonna be using opening picks to separate the screen from the frame. If you push ’em in too far, they can mess up your device. Here’s a quick tip to mark your pick and keep everything safe.
Or, you can tape a coin to a pick about 3mm from the tip. That should help!
– Hey there! Keep your repair groove goin’ with this nifty trick – measure 3 mm from the tip and make a mark on your opening pick using a permanent marker. Just like that, you’re one step closer to success! Keep up the good work!
Step 3
The screen is held in place by some sticky stuff (adhesive) and clips. Heat things up a bit to soften the adhesive, making it easier to separate the screen from the frame.
You can try using a hair dryer, a heat gun, or even a hot plate if you have one. Just be careful, because too much heat can damage your screen or battery. If you’re worried, you can always schedule a repair.
– Let’s get this repair started! Heat an iOpener and place it on the bottom edge of the screen for about two minutes. This will help loosen the adhesive, making the next steps a breeze.
Tools Used
Step 4
Get ready to make your repair a whole lot easier with the Anti-Clamp, a handy tool designed to simplify the opening process. If you’re not using it, just skip ahead three steps for an alternative method.
Want the full scoop on how to use the Anti-Clamp? Check out our guide for all the details.
– Pump up the repair vibes and start by pulling that blue handle backwards – it’s time to unlock the Anti-Clamp’s arms and get this repair party started!
– Get your phone ready for its close-up by placing it screen side up on a flat surface, so it’s nice and level between the Anti-Clamp’s arms. Make sure the bottom edge is hanging loose, like it’s waiting for its turn in the spotlight.
– Slide those arms over the left edge of your phone, giving you clear access to the bottom edge. You’re making great progress – keep it up!
– Position the suction cups as close to the center of the bottom edge as possible. You’re getting close, and these cups are about to become the best of friends with your phone’s screen.
– Squeeze those cups together to create some serious suction power. If you need a little extra help or just want some expert guidance, you can always schedule a repair – but for now, you’ve got this!
Step 5
– Let’s get started! Pull that handle forward to lock the arms in place.
– Now, turn the handle clockwise – just one full turn, about 360 degrees, or until you see the suction cups start to stretch out.
– As the cups stretch, keep an eye on them to make sure they stay aligned. If they start slipping, don’t worry! Just remove the Anti-Clamp and add some tape to help the cups stick together.
Step 6
Be careful not to shove your opening pick in deeper than 3 mm—let’s keep those spring contacts safe and sound!
If the adhesive doesn’t budge, just give that handle a little twist – one quarter turn clockwise, and let it hang out for a minute. If things start to cool down, just throw some more heat on it, and you’ll be good to go.
– Take a minute to let the magic happen – wait for a gap to form between the screen and frame.
– Time to get picky! Insert an opening pick into the gap and get ready to move on to the next step.
– Now it’s time to unlock the arms – pull the blue handle backwards and use the pull tabs on the suction cups to remove the Anti-Clamp. Easy peasy!
– Skip the next two steps – we’ve got this!
Step 7
– Stick a suction handle right in the middle of the bottom of your screen. You got this!
Tools Used
Step 8
If you’re struggling to create a gap, just crank up the heat a bit more and give it another go! It’s all about patience, my friend. You got this!
– Yank up on the suction handle with firm, steady force until you see a gap between the screen and the frame.
– Slip an opening pick into the gap.
Tools Used
Step 9
Hey, keep it cool and don’t go crazy with your pick! Slide it in gently, no more than 3 mm, to loosen up that sticky screen. Watch out for these spots, they’re a bit delicate.
– The screen cable’s chilling out a little less than halfway up the left side of your phone. Be super careful in this area, you don’t want to give that cable a bad day, right?
– There are a bunch of spring contacts around the edges of your phone. Be cool and take it slow here, those little guys don’t want to be bent.
Step 10
– Now it’s time to get this repair started – slide the opening pick along the bottom edge to loosen the adhesive that’s holding everything together.
– Leave that pick right where it is, in the bottom right corner, so the adhesive doesn’t try to sneak back into place.
Step 11
Heads up! If you don’t have the right tools, you can get creative with a hair dryer, heat gun, or hot plate. Just remember, too much heat can be a screen or battery killer, so proceed with caution!
– Give that right edge of the screen a cozy two-minute hug with a warm iOpener!
Tools Used
Step 12
– Slide a second opening pick under the bottom right corner of the screen like a pro!
– Gently glide the new pick over to the top right corner to break free the adhesive holding the screen’s right edge in place.
– Keep that pick wedged in the top right corner to ensure the adhesive doesn’t sneak back and seal things up again.
Step 13
– Slide a third opening pick beneath the bottom edge of the screen.
– Gently maneuver the pick toward the bottom left corner.
– Keep that pick in place at the bottom left corner to stop the adhesive from sealing up again.
Step 14
If you’re feeling a little adventurous, go ahead and grab that hair dryer, heat gun, or hot plate! But watch out—too much heat can turn your device into a crispy critter, especially the screen or battery. Proceed with caution, and remember, we’ve got your back! If you need help, you can always schedule a repair.
– Warm up your iOpener and cozy it up to the left edge of your screen for a solid two minutes.
Tools Used
Step 15
– Let’s get this party started! Insert a fourth opening pick under the bottom left corner of the screen.
– Now, slide the new pick to the top left corner to separate the adhesive securing the screen’s left edge. We’re getting closer!
– Leave the pick in the top left corner to prevent the adhesive from resealing. You’re doing great!
Step 16
As another option, feel free to grab a hair dryer, heat gun, or hot plate—but be cautious! Too much heat might give your screen or battery a bit of an unwanted spa day.
– Warm up the top edge of your screen with a cozy iOpener for a good two minutes.
Tools Used
Step 17
– Pop a fifth opening pick right under the top edge of the screen, just a smidge from the left corner. You’ve got this!
– Gently slide that opening pick over to the top right corner to break free the adhesive holding the screen’s top edge. Easy peasy!
Step 18
Whoa there! Don’t stress that delicate screen cable! Take it easy and give it some space, alright?
If your screen seems a bit clingy, take your opening pick and gently glide it around the edges to help loosen any stubborn adhesive still hanging on. You’ve got this!
– Get a small box or a stack of your favorite books and place it to the left of your phone. This will help hold up the screen while you disconnect its cable like a pro.
– Now, just like opening a book, lift the right edge of the screen up. It’s as easy as flipping through the pages!
– Once the screen is propped up, you’ll have perfect access to the screen cable. You’re on the right track!
Step 19
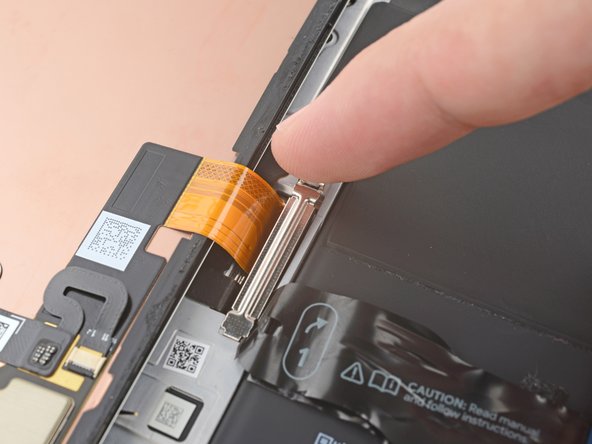
– Grab your trusty opening pick and gently lift the top edge of that screen cable cover like a pro.
– Now, go ahead and take off the cover. You’ve got this!
Step 20
– Slide the spudger’s point under the top left corner of the screen’s press connector with a little finesse.
– Carefully lift and detach the cable like you’re peeling a banana.
– Take the screen off with a gentle touch.
– When it’s time to reconnect that press connector, line it up with its socket and give one side a soft press until you hear that satisfying click. Then, do the same on the other side. Remember, no pressure in the middle! If it’s not lined up, you risk bending those tiny pins, and we definitely don’t want that.
Tools Used
Step 21
Installing a shiny new screen with adhesive already in place? Perfect! Just follow this step when you’re putting everything back together. If you’re working with your old screen, no worries—check out this guide to get that adhesive on just right.
Want to make that adhesive bond even stronger? Just give your phone a gentle squeeze all around. It’s like a little hug for your device!
– Use the pull tabs to peel off the liners covering the front camera cutout, the rear camera pad, the back of the screen, and the perimeter adhesive.
– Reconnect the screen cable and snap the cover back in place.
– Now’s the perfect time to test your phone before sealing it up. Power it on temporarily and check if everything’s working as expected. Power it down before moving forward.
– Press the screen firmly into place on the frame. You should feel the clips ‘pop’ into position.
– Press around the perimeter of the screen to make sure the new adhesive sticks well.
– Follow this guide to calibrate the fingerprint sensor.
Step 22
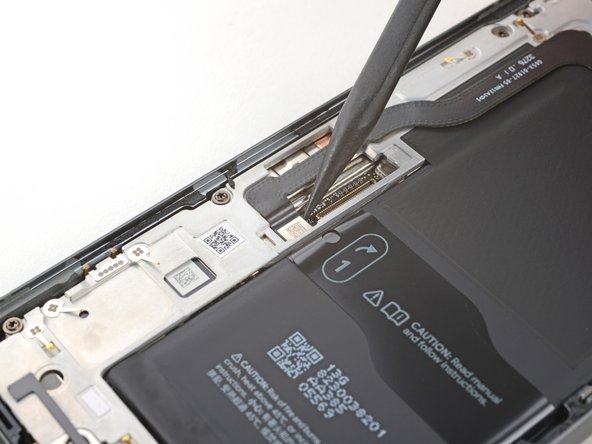
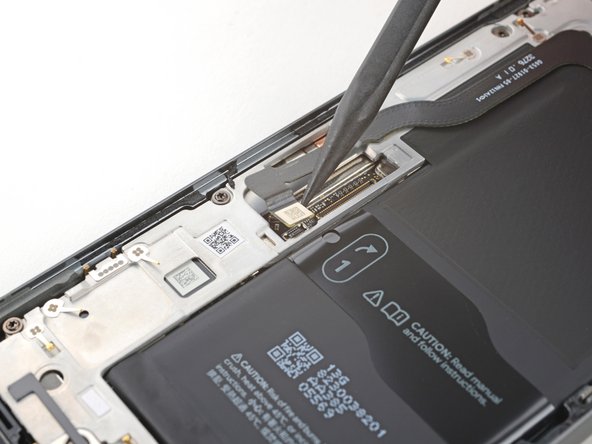
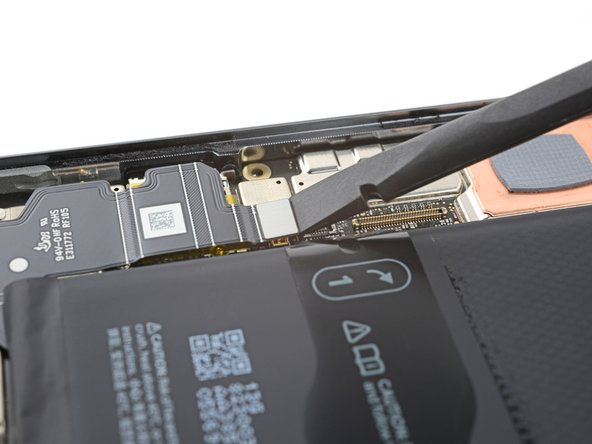
– Time to get that 5G mmWave antenna cable disconnected from the logic board! Use the pointy end of your trusty spudger to carefully pry it up and set it free.
Tools Used
Step 23
If you’re feeling extra handy, you can also use a hair dryer, heat gun, or hot plate to get the job done – just be sure to keep an eye on the temperature, as too much heat can be bad news for your battery.
– That 5G mmWave antenna cable is stuck to the midframe like glue! Don’t worry, we got this. There are two spots where it’s holding on.
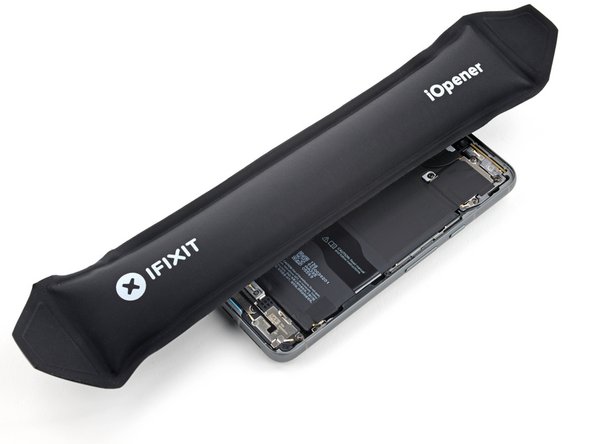
– Grab an iOpener and give it a little heat. Place it on the left edge of the phone for two minutes to soften up that sticky situation.
Tools Used
Step 24
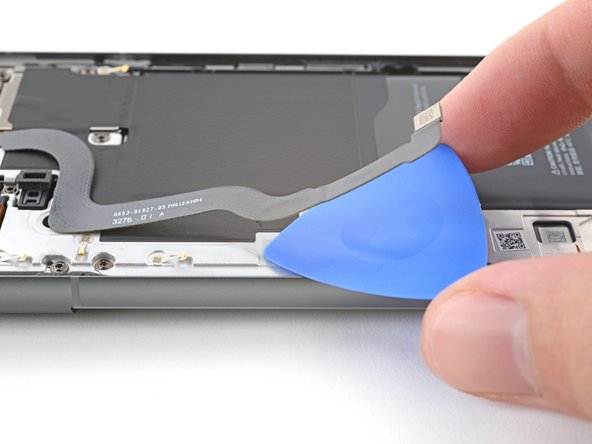
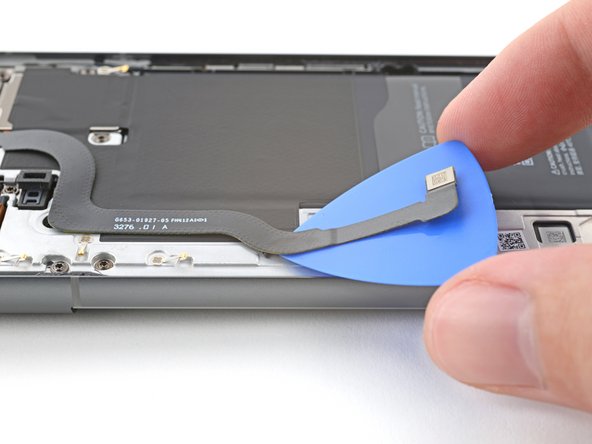
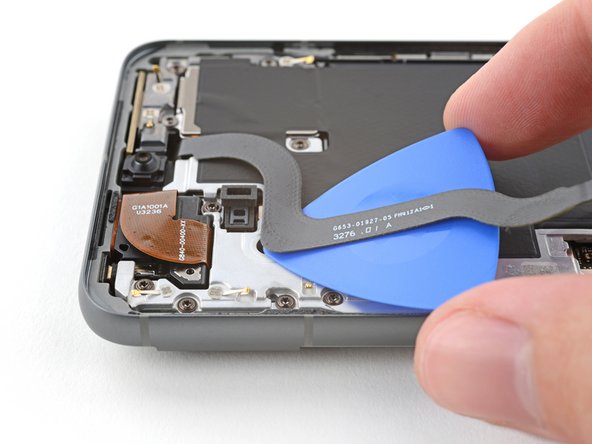
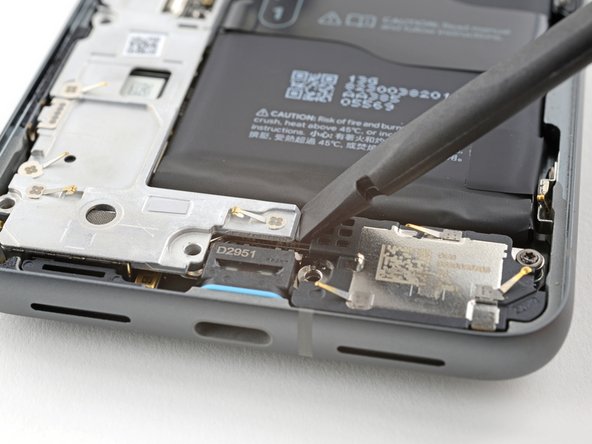
– Let’s slip an opening pick under the bottom of that sticky 5G mmWave antenna cable.
– Now, slide that pick up towards the top of your phone, like you’re giving the adhesive a little high five. That’ll loosen things up!
Step 26
Keep the cable nice and straight—just nudge it aside a bit so it won’t get in the way of your handy disassembly skills.
– Gently guide that 5G mmWave antenna cable over the top of your phone, giving it a cozy little spot out of the way. This will make your work smoother and keep everything neat!
Step 27
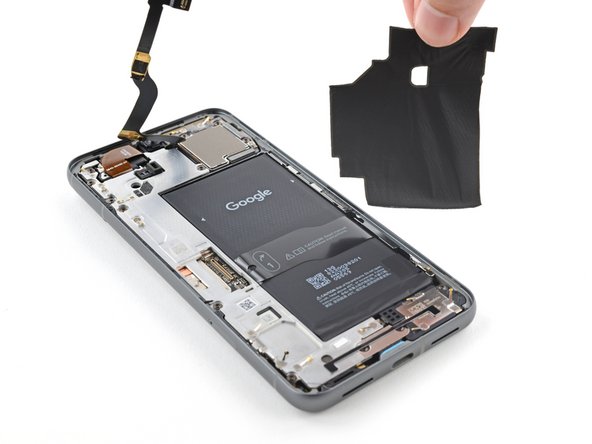
To wrap up this repair, you’ll need to remove and swap out a hefty graphite sheet. This little guy plays a key role by linking the upper battery, midframe, and rear cameras together.
If your sheet decides to tear, no need to panic! Just grab the torn pieces and gently peel it away in sections.
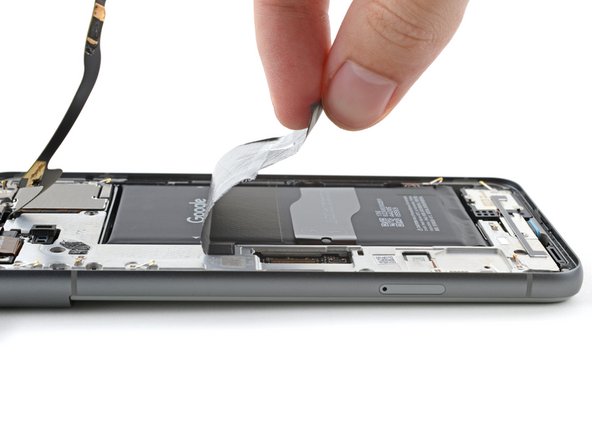
– Gently slide the tip of your trusty spudger under the top right corner of the graphite sheet and lift it up until you can get a good grip with your fingers.
– Carefully peel away and dispose of the whole graphite sheet.
– When putting things back together, don’t even think about reusing that old graphite sheet. Check out this guide for a smooth replacement!
Tools Used
Step 28
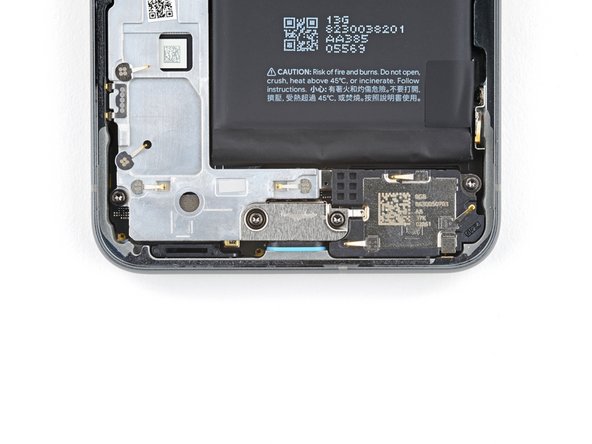
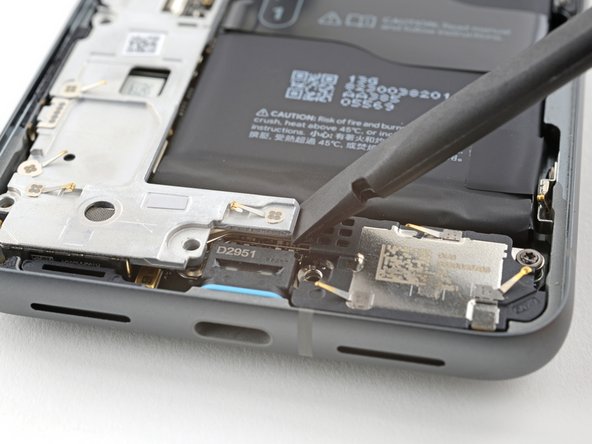
A plastic buffer is gently stuck to the midframe and the bottom speaker, just hanging out and keeping things cozy!
– Alrighty, it’s time to channel your inner superhero and rescue that phone or tablet! Work your superpick skills and carefully slide it under that pesky plastic buffer. Almost there, you can totally do this! (Yes, you! 😘) Onward to victory… Well, phone/tablet freedom!
Step 30
Stay on top of those tiny screws – make sure each one goes back to its original spot to avoid any headaches later on.
The Pixel 8 uses Torx Plus screws, but standard Torx bits will get the job done too. Just remember to apply some steady, downward pressure to avoid stripping those screws. If you’re feeling unsure, don’t worry – it’s all part of the process, and you’re doing great!
– Grab your trusty T3 Torx driver and give those two 5mm-long 3IP Torx Plus screws securing the USB-C port bracket a little nudge. They’re ready to come out!
Step 31
– Now, let’s gently take off that USB-C port bracket. You can use tweezers or your fingers – whichever feels more comfortable.
Step 32
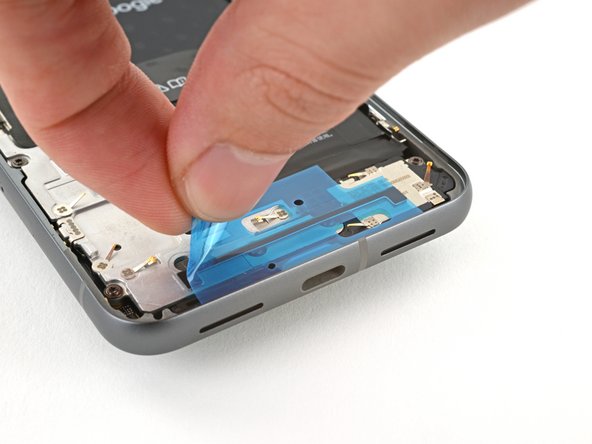
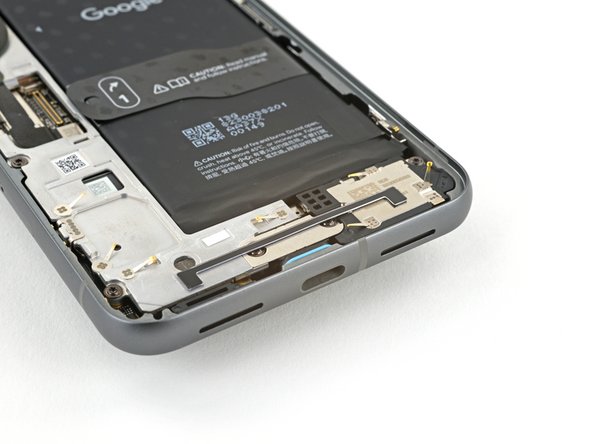
– Alright, it’s time to get that plastic shim back in action! First, let’s tackle the shim that spans the bottom of the midframe and loudspeaker. If you can’t find a shiny new replacement, don’t fret! Just give the old one a gentle push to seat it back into its cozy spot.
– Carefully peel off the clear liner from the shim—it’s time to expose the good stuff!
– Align the left side of the shim with the handy markings on the midframe and press it securely into place. You got this!
– Take the flat end of your trusty spudger and give that shim a good, firm press all along its length to make sure it’s snug as a bug.
– Now, time to unveil the magic! Remove the blue liner and let the shim shine!
Tools Used
Step 33
– Grab your trusty T3 Torx screwdriver and let’s tackle those eight pesky 5.1 mm-long 3IP Torx Plus screws holding the midframe in place. You’ve got this!
Tools Used
Step 34
The midframe’s center is gently stuck to a thermal pad, just chilling out there.
As you work your magic, you’ll notice the midframe start to give way—it’s just a friendly little nudge!
– Gently slide the flat end of your trusty spudger under the bottom right corner of the midframe. This will help you separate it from the thermal pad, making it easier to keep things cool!
Tools Used
Step 35
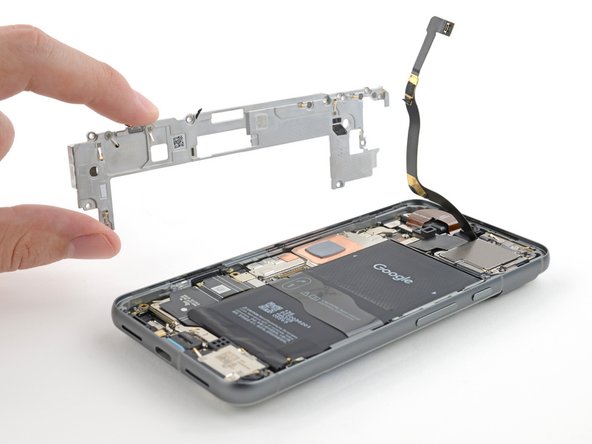
– Gently lift the midframe off the main frame and set it aside. You’ve got this!
– As you get ready to put things back together, take a moment to check the thermal pad’s condition. If it looks worse for wear, no worries! Just remove the old pad, clean the area with some high-concentration (greater than 90%) isopropyl alcohol using a microfiber or lint-free cloth, and pop on a fresh thermal pad. Easy peasy!
Step 37
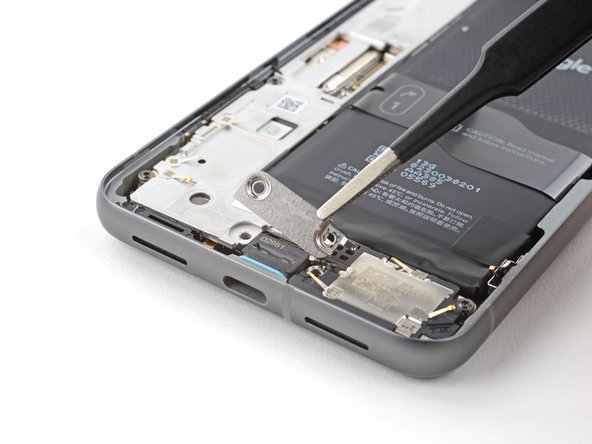
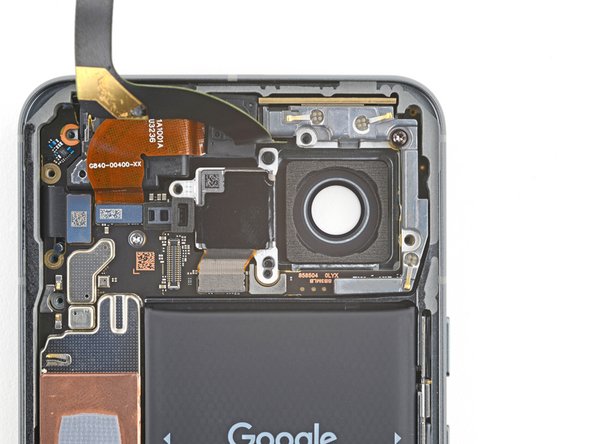
– Grab your trusty T3 Torx screwdriver and unscrew the 5.1 mm-long 3IP Torx Plus screw that’s holding down the 5G mmWave antenna bracket. You’ve got this!
Tools Used
Step 38
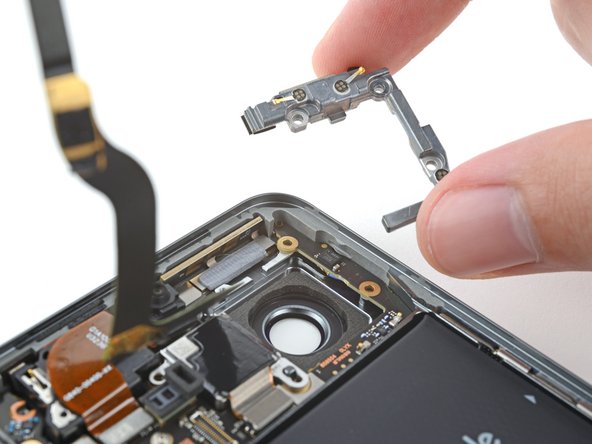
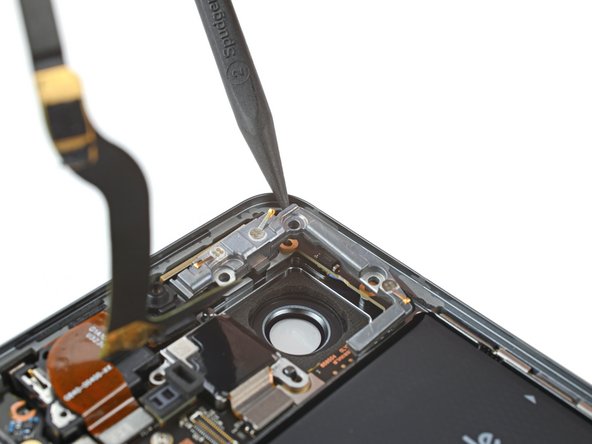
– Gently slide the tip of a spudger into the little notch at the top right corner of the 5G mmWave antenna bracket.
– Give it a little pry with the spudger to pop that bracket loose.
– Carefully take the bracket off.
– When you’re putting it back together, start by placing the top edge of the bracket in first at a slight downward angle so that its foam pad sits just right before securing it again.
Tools Used
Step 39
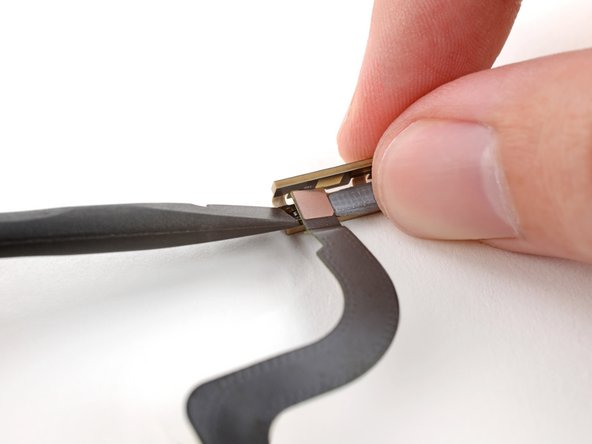
– Great job! You’re halfway there! Now, let’s keep this party flowing. We’re going to unwind that sweet cable from the antenna, just like taking off a party hat. No worries if the cable comes undone – it’s all part of the fun. Just pop it back into place like you’re plugging in to the biggest dance party in town. If you’re feeling like you need to take a break and boogie off to schedule a repair, go ahead and do your thing! We’ll be here when you get back.
Step 41
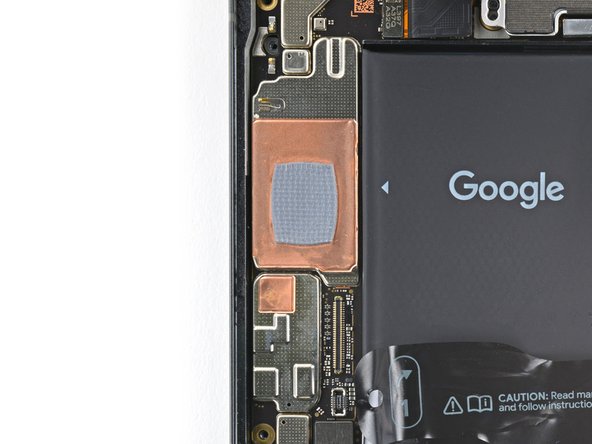
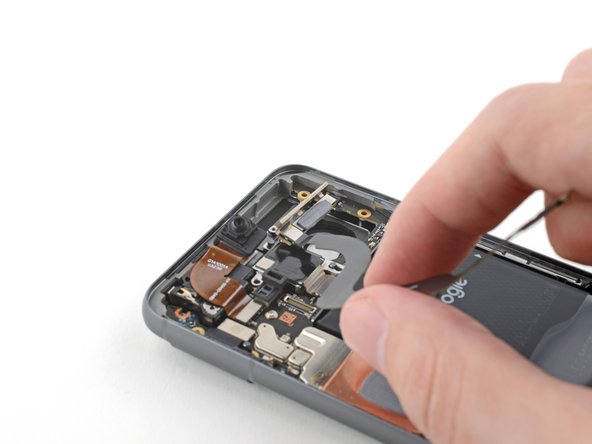
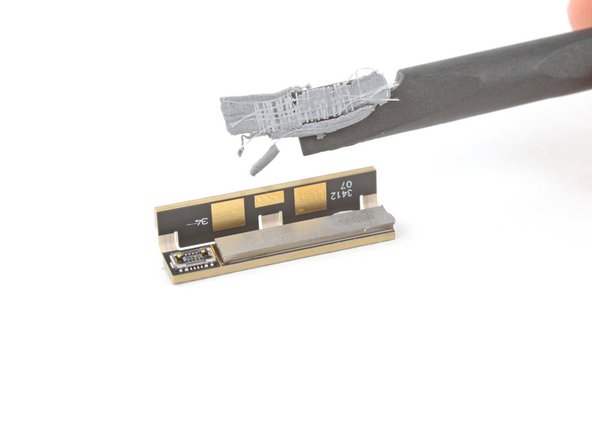
– Time to get up close and personal with that 5G mmWave antenna thermal pad! Use a spudger to carefully scrape it up and remove it. Be gentle, we don’t want any damage.
– Set the thermal pad aside where it’s safe and sound, we’ll need it again for reassembly.
– When it’s time to put everything back together, take the old thermal pad and transfer it to your shiny new 5G mmWave antenna. Use the flat end of a spudger to nudge it into place. If the thermal pad got damaged along the way, don’t worry, you can always replace it with a new one. If you need help, you can always schedule a repair.
Tools Used
Step 42
– To put your device back together, just retrace your steps like a pro!
– Want to check if everything’s running smoothly? Give the Pixel Diagnostic tool a whirl by clicking here.
– Ready to part ways with your old tech? Make sure to drop it off at an R2 or e-Stewards certified recycler.
– If things didn’t go quite as planned, don’t sweat it! A little troubleshooting might do the trick, or feel free to reach out to our community for some friendly advice.
– If you decided to take a break from this guide, no worries at all!
–
Success!


