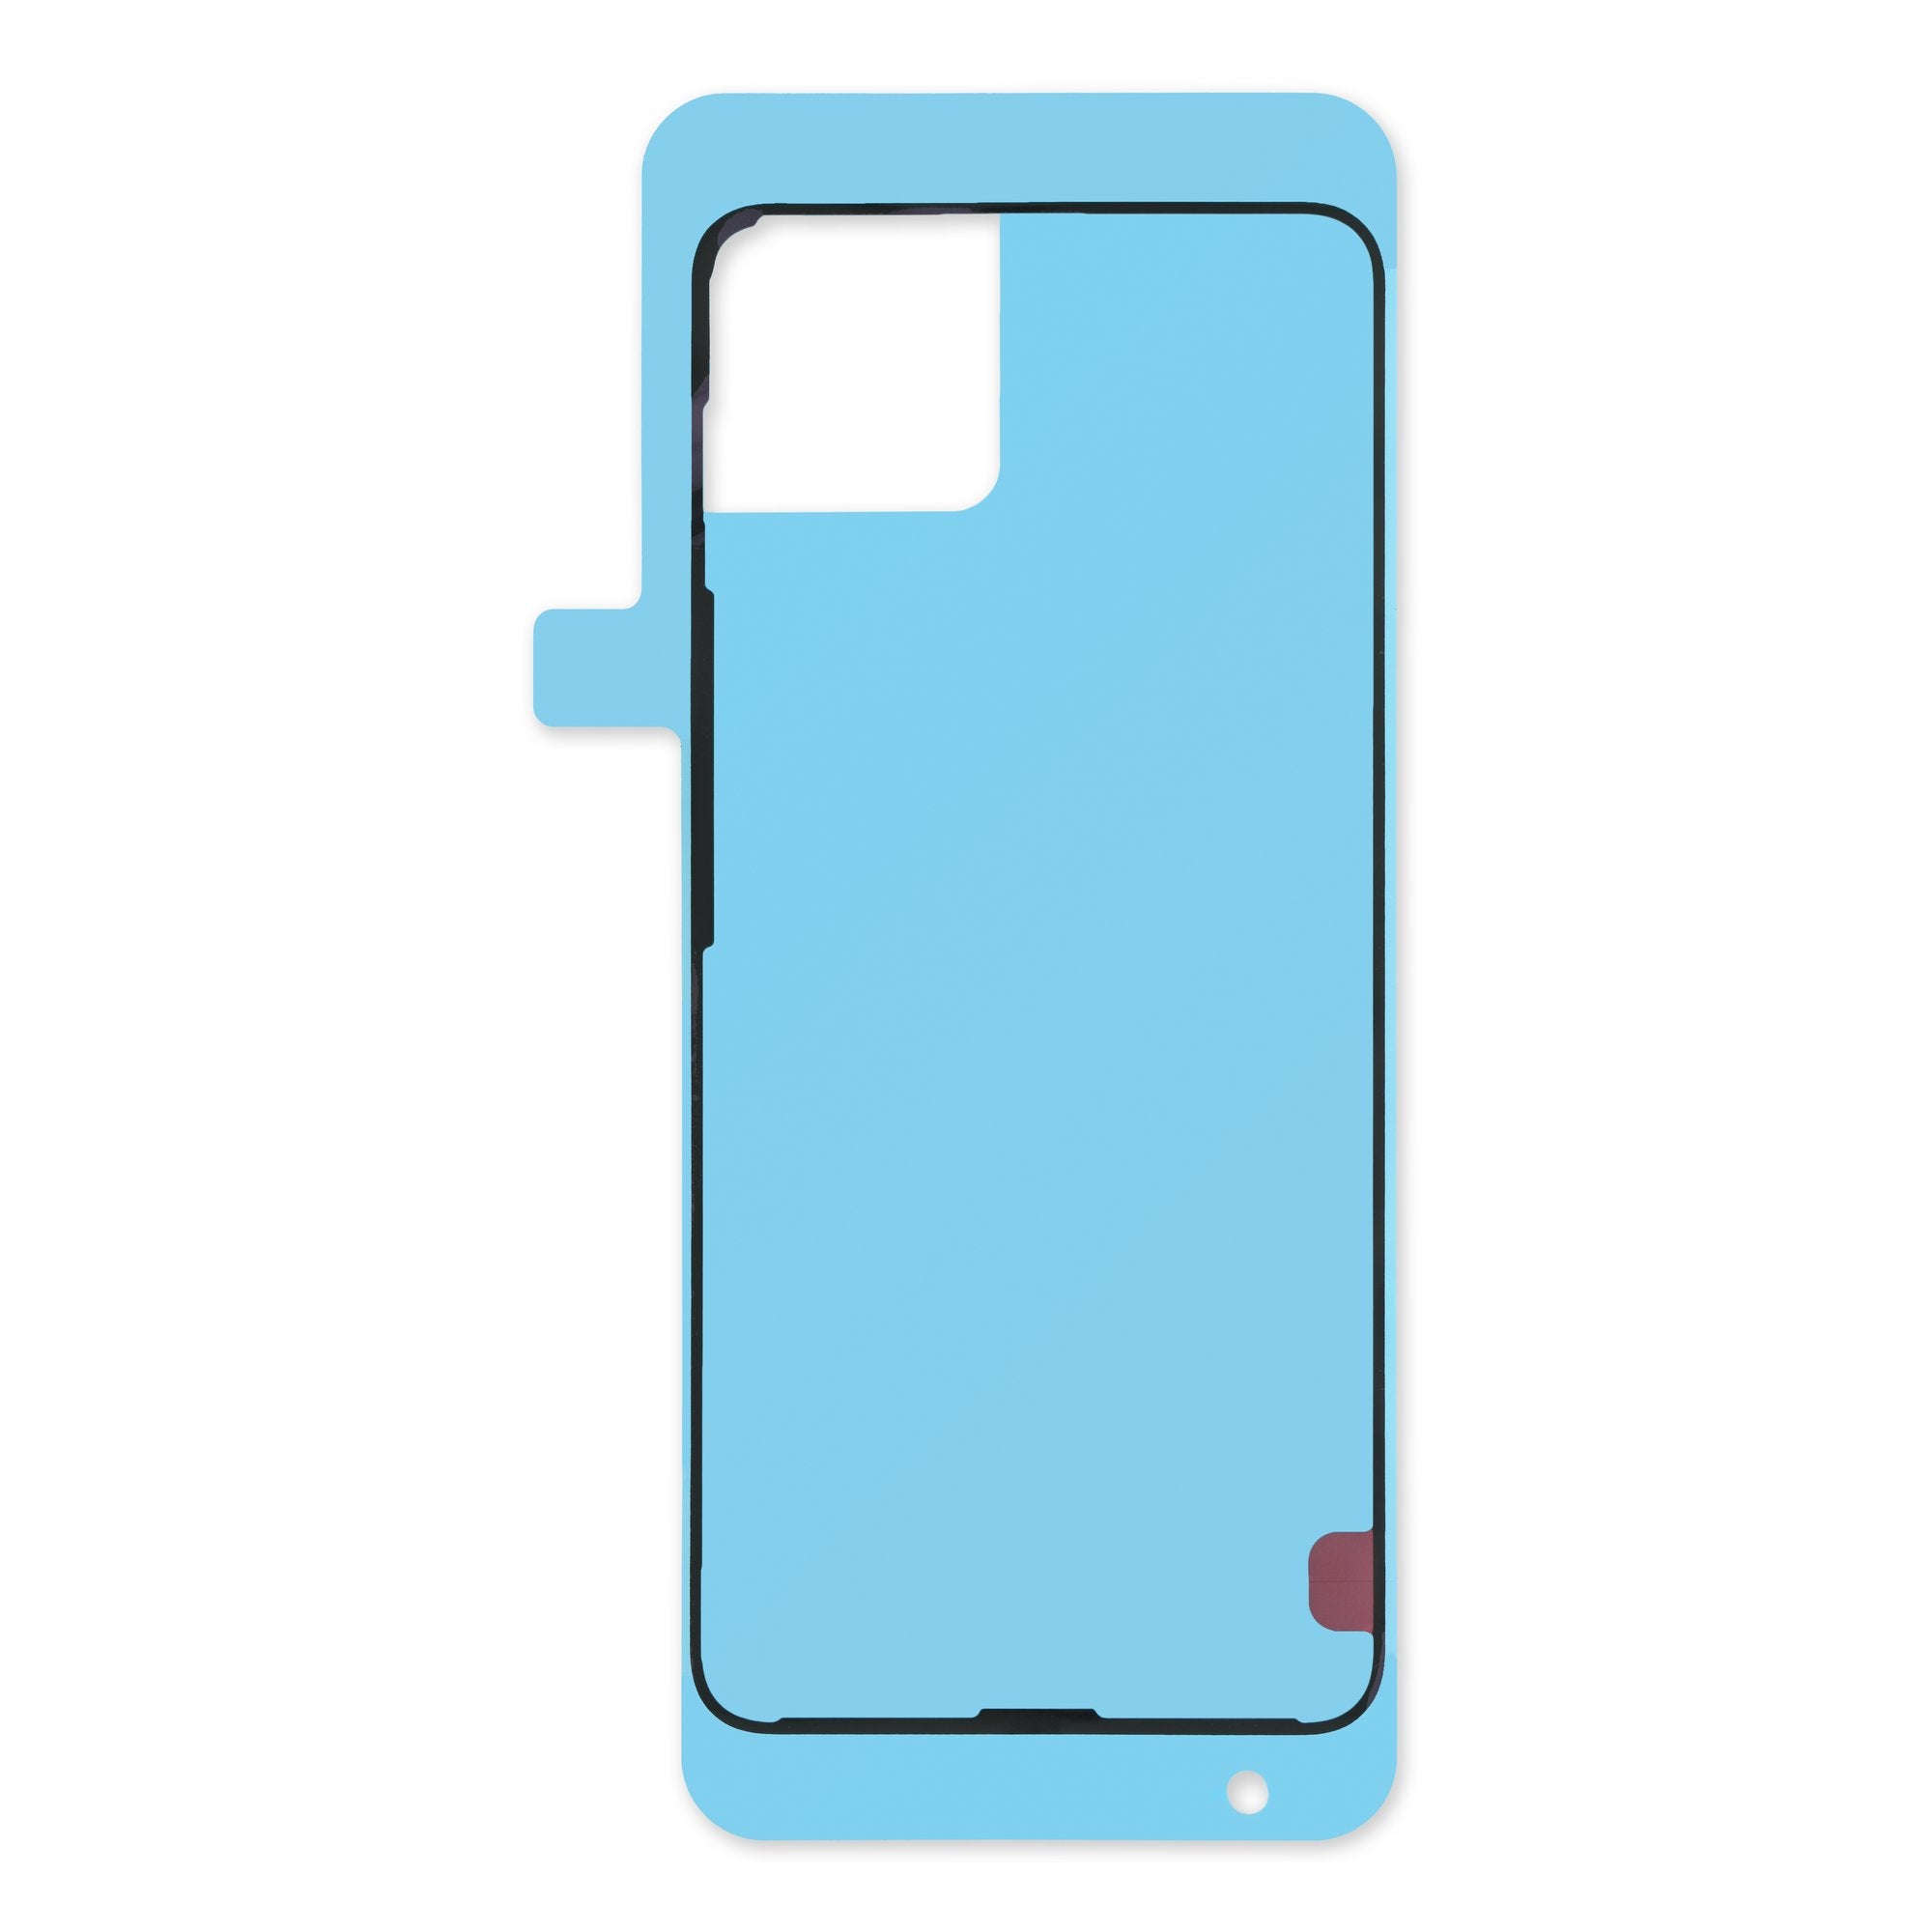
Google Pixel 7a Rear Cover Adhesive Repair Guide
Duration: 45 minutes
Steps: 11 Steps
This repair guide is brought to you by the awesome folks at Salvation Repair. For more about our repair guides, feel free to check out more details here!
This guide is brought to you by the talented folks at Salvation Repair. While we don’t have any fancy endorsements, we’re here to help you every step of the way! Ready to stick that new adhesive on your Pixel 7a? Let’s do it! And if you haven’t tackled that rear cover yet, don’t worry—we’ve got your back!
Step 1
– Let’s get started by using the point of a spudger to gently scrape up an edge of the rear cover adhesive from the frame. Keep going until you’ve got a big enough clump to grab onto.
– Now it’s time to get a little hands-on. Use tweezers or your fingers to carefully peel the adhesive from the entire perimeter of the frame. Take your time and work your way around.
– Finally, remove the adhesive from the antenna housing. You’re making great progress!
Step 2
Don’t forget to keep those lens covers crystal clear! If they start to look a bit hazy, just give ’em a gentle swipe with a trustworthy microfiber cloth.
– Got a rear cover that’s seen better days? Time to bid farewell to that old adhesive!
– If it’s feeling a bit stubborn, give the adhesive near the camera bar a gentle nudge with a warm iOpener or hair dryer.
