How to Replace Google Pixel 7 Pro Rear Camera Assembly – DIY Guide
Duration: 45 minutes
Steps: 36 Steps
Hey there! Just a heads up, this guide is crafted with care by our awesome team at Salvation Repair. It’s not officially backed by any tech giant, but we promise it’s packed with useful info. Check it out!
Safety first! Make sure to drain that battery to below 25% before diving into your phone. It’s always better to be safe than sorry!
Get ready to breathe new life into your Pixel 7 Pro by replacing the rear camera assembly. This step-by-step guide is designed to help you through the process. Please note that this guide is based on the GE2AE model, which features a 5G mmWave antenna – if you have a non-mmWave model, simply skip the mmWave antenna steps. For a safe and successful repair, make sure to discharge your battery below 25% before starting. If your battery is swollen, take the necessary precautions. Also, be aware that the Pixel 7 Pro contains class 1 lasers, so disassembly may expose you to invisible infrared laser emissions. After the repair, your device’s water resistance will depend on how well you reapply the adhesive, but keep in mind that the IP rating will be lost. You’ll need some replacement adhesive to complete the job. If you need help, you can always schedule a repair.
Step 1


Make sure to let your battery drop below 25% before diving into this repair. If it’s charged and gets damaged, it could turn into a mini firework show!
– Hey, buddy! It’s time to take a mini break from your phone. Tell it to shut down completely and unplug any old pal from the power source, aye? You’ve got this! However, if you’re in over your head, you can always schedule a repair!
Step 2


Be careful to insert the pick only about 3.5 mm during the removal process. We want to keep those internals safe and sound, and we definitely don’t want to mess with those plastic clips!
– As you dive into your removal process, remember to slide those opening picks in just the right spots. We want to preserve the bond between the screen and its safety frame—let’s keep that drama to a minimum!
– Screen seam: This is the little line that divides the screen from the rest of your phone. Give it a gentle nod, but don’t pry there, alright?
– Bezel seam: Here’s where the stylish plastic bezel that guards your screen gives a high-five to the frame. It’s snugly held by some clever plastic clips, and this is your sweet spot for prying.
– You might notice a few plastic clips giving support around your screen. If your opening pick starts to feel like it’s hit a wall during the removal, it’s a sign you might be pushing too far underneath the screen. Just a little adjustment should do the trick!
Step 3


Get ready for the next three steps where we introduce the Anti-Clamp – our nifty little invention designed to make opening your device a breeze! If you’re not using the Anti-Clamp, no worries! Just hop down three steps for a different approach.
If your screen is looking a bit cracked, a layer of clear packing tape can be your best friend. It helps the suction cup stick like a champ!
Want to master the Anti-Clamp? Find all the details you need in our handy guide.
Is your phone’s surface feeling a bit too slippery for the Anti-Clamp to grip? Grab some tape to give it a textured surface for better hold.
– First, let’s get this repair started! Pull that blue handle backwards to unlock the Anti-Clamp’s arms – it’s like releasing a little robot.
– Now, slide those arms over either the left or right edge of your phone. Easy does it!
– Next, position the suction cups near the bottom edge of the phone, one on the front and one on the back. You’re getting close!
– Finally, squeeze those cups together to apply some serious suction. If you need help, you can always schedule a repair
Step 4


– Gently pull the blue handle forward to lock those trusty arms in place.
– Twist the handle a full 360 degrees, or until you see those suction cups start to stretch out and do their thing.
– Keep an eye on those suction cups—make sure they’re staying in sync with each other. If they start to drift apart, no worries! Just loosen them up a bit, realign the arms, and you’re back in business.
Step 5


Take it easy and don’t twist more than a half turn at once. Give it a minute to chill between those turns. Let the Anti-Clamp and a little time do their magic for you!
A hair dryer or heat gun can come in handy, but be careful—too much heat might just ruin your display or internal battery. So, take it easy and keep an eye on things!
If the Anti-Clamp isn’t making enough space, don’t hesitate to warm up the area a bit more and give that handle a half turn clockwise. You’ve got this!
– Warm up that iOpener and slide it right through the arms of the Anti-Clamp like a pro!
– Now, fold the iOpener so it snuggles nicely at the bottom edge of your phone.
– Take a breather for about a minute. This gives the adhesive some time to chill and create a little opening gap.
– Once the Anti-Clamp has done its magic and there’s a nice gap, carefully slide an opening pick under the screen frame.
– Feel free to skip the next two steps. You’ve got this!


Step 6

A hair dryer, heat gun, or hot plate can be used to get the job done, just be sure not to crank up the heat too high – the edge should feel warm, but not scorching. If things get tricky, remember that Salvation Repair is here to help, and you can always schedule a repair if you need a hand.
Step 7


If your display is badly cracked, covering it with a layer of clear packing tape might help the suction cup stick. Or, you can try some super strong tape instead of the suction cup! If that doesn’t work, well, you can always superglue the suction cup to the broken screen. It’s a bit crazy, but it might just do the trick!
Alright, this next part might be a little tricky, depending on how old your phone is. If you’re having trouble, just apply some more heat to the bottom edge and give it another go!
– First things first, let’s get that screen all toasty! Once it’s warm to the touch, grab a suction handle and stick it on the bottom edge of the screen.
– Now, gently lift the screen along with its safety frame using the suction handle. This should create a nice little gap between the screen and the phone assembly.
– Time to bring in the opening pick! Slip it into that gap you just created.
Tools Used

Step 8


– The screen cable is chillin’ about halfway up the left side of the phone. Just be cool and careful here, you don’t wanna rip that cable!
– Hey, those tiny springy contacts around the edge are a bit delicate. Be gentle in those areas, no bending those bad boys!
Step 9


– Slide the opening pick towards the bottom right corner of the screen like you’re cutting a cake! This will loosen the adhesive holding it in place.
– Keep that opening pick right there to stop the adhesive from sticking back together. We wouldn’t want to go through that again, right?
Step 10


A teeny-tiny plastic clip is in your way, lurking in the lower left corner? No worries, just use a tiny tip of your opening pick to play around it like you’re navigating a video game level!
– Grab a second opening pick and slide it in at the bottom edge. Move it over to the bottom left corner of the screen to cut through that pesky adhesive.
– Keep that opening pick right where it is to stop the adhesive from getting all clingy again!
Step 11


– Pop in a third opening pick right under the bottom left corner of the screen.
– Gently glide that opening pick along the left edge of the screen, slicing through the adhesive like a pro and freeing those sneaky plastic clips.
– Keep the opening pick chilling in the top left corner to stop the adhesive from making a comeback.
Step 12


When you’re slicing near the front-facing camera, just use the tip of the opening pick (about 2.5 mm) to keep the camera safe and sound. Let’s keep that little buddy clear of any damage or smudges!
– Time to get this repair started! Insert a fourth opening pick at the top left corner of the screen, making sure it’s securely in place.
– Now, gently slide the opening pick along the top edge of the phone to carefully slice through the adhesive – you’re making great progress!
– Leave the opening pick in the top right corner to prevent the adhesive from resealing, and take a moment to admire your handiwork so far.
Step 13


Hold your horses! Don’t yank that display off just yet; it’s still hanging on by a flex cable.
– Now it’s time to bring in the fifth opening pick – slide it along the right edge of your phone to carefully cut through the remaining adhesive and release those right plastic clips. Remember to take your time and be gentle, you’re almost there!
Step 14


Be gentle with that screen – avoid twisting or pulling it too far from the frame, or you might end up straining or damaging the flex cable.
Step 15


Removing the display cable bracket can be a bit stubborn, so you might need to give it a little nudge to set it free.
– Gently slide one arm of your trusty tweezers into the little opening at the top of the display cable bracket.
– Now, give that bracket a little nudge inward and pop it up to set it free.
Tools Used


Step 17


– Time to get started! Use a spudger to carefully disconnect the display flex cable by gently prying the connector straight up from its socket – it’s like freeing a tiny captive!
– Now, let’s get this connector back in place. To reattach press connectors like this one, carefully line it up and press down on one side until you hear that satisfying click, then repeat on the other side. Remember, don’t press down on the middle or you might end up with bent pins and a world of trouble. If you’re not sure, take a deep breath and try again – you got this!
Tools Used

Step 18

– Start by gently prying the screen away from the phone assembly. You’ve got this!
– Time for reassembly fun:
– When you power it up after putting everything back, the screen will go through a calibration dance. Just sit back and relax—don’t touch that screen! We want it to calibrate perfectly, so let’s avoid any touch hiccups.
– Give a quick check to make sure all the screws are snug and there are no rogue parts hanging out.
– Reconnect that screen and give your phone a little test drive to ensure it’s working like a charm. Once it’s all good, power it down and let’s get back to reassembly.
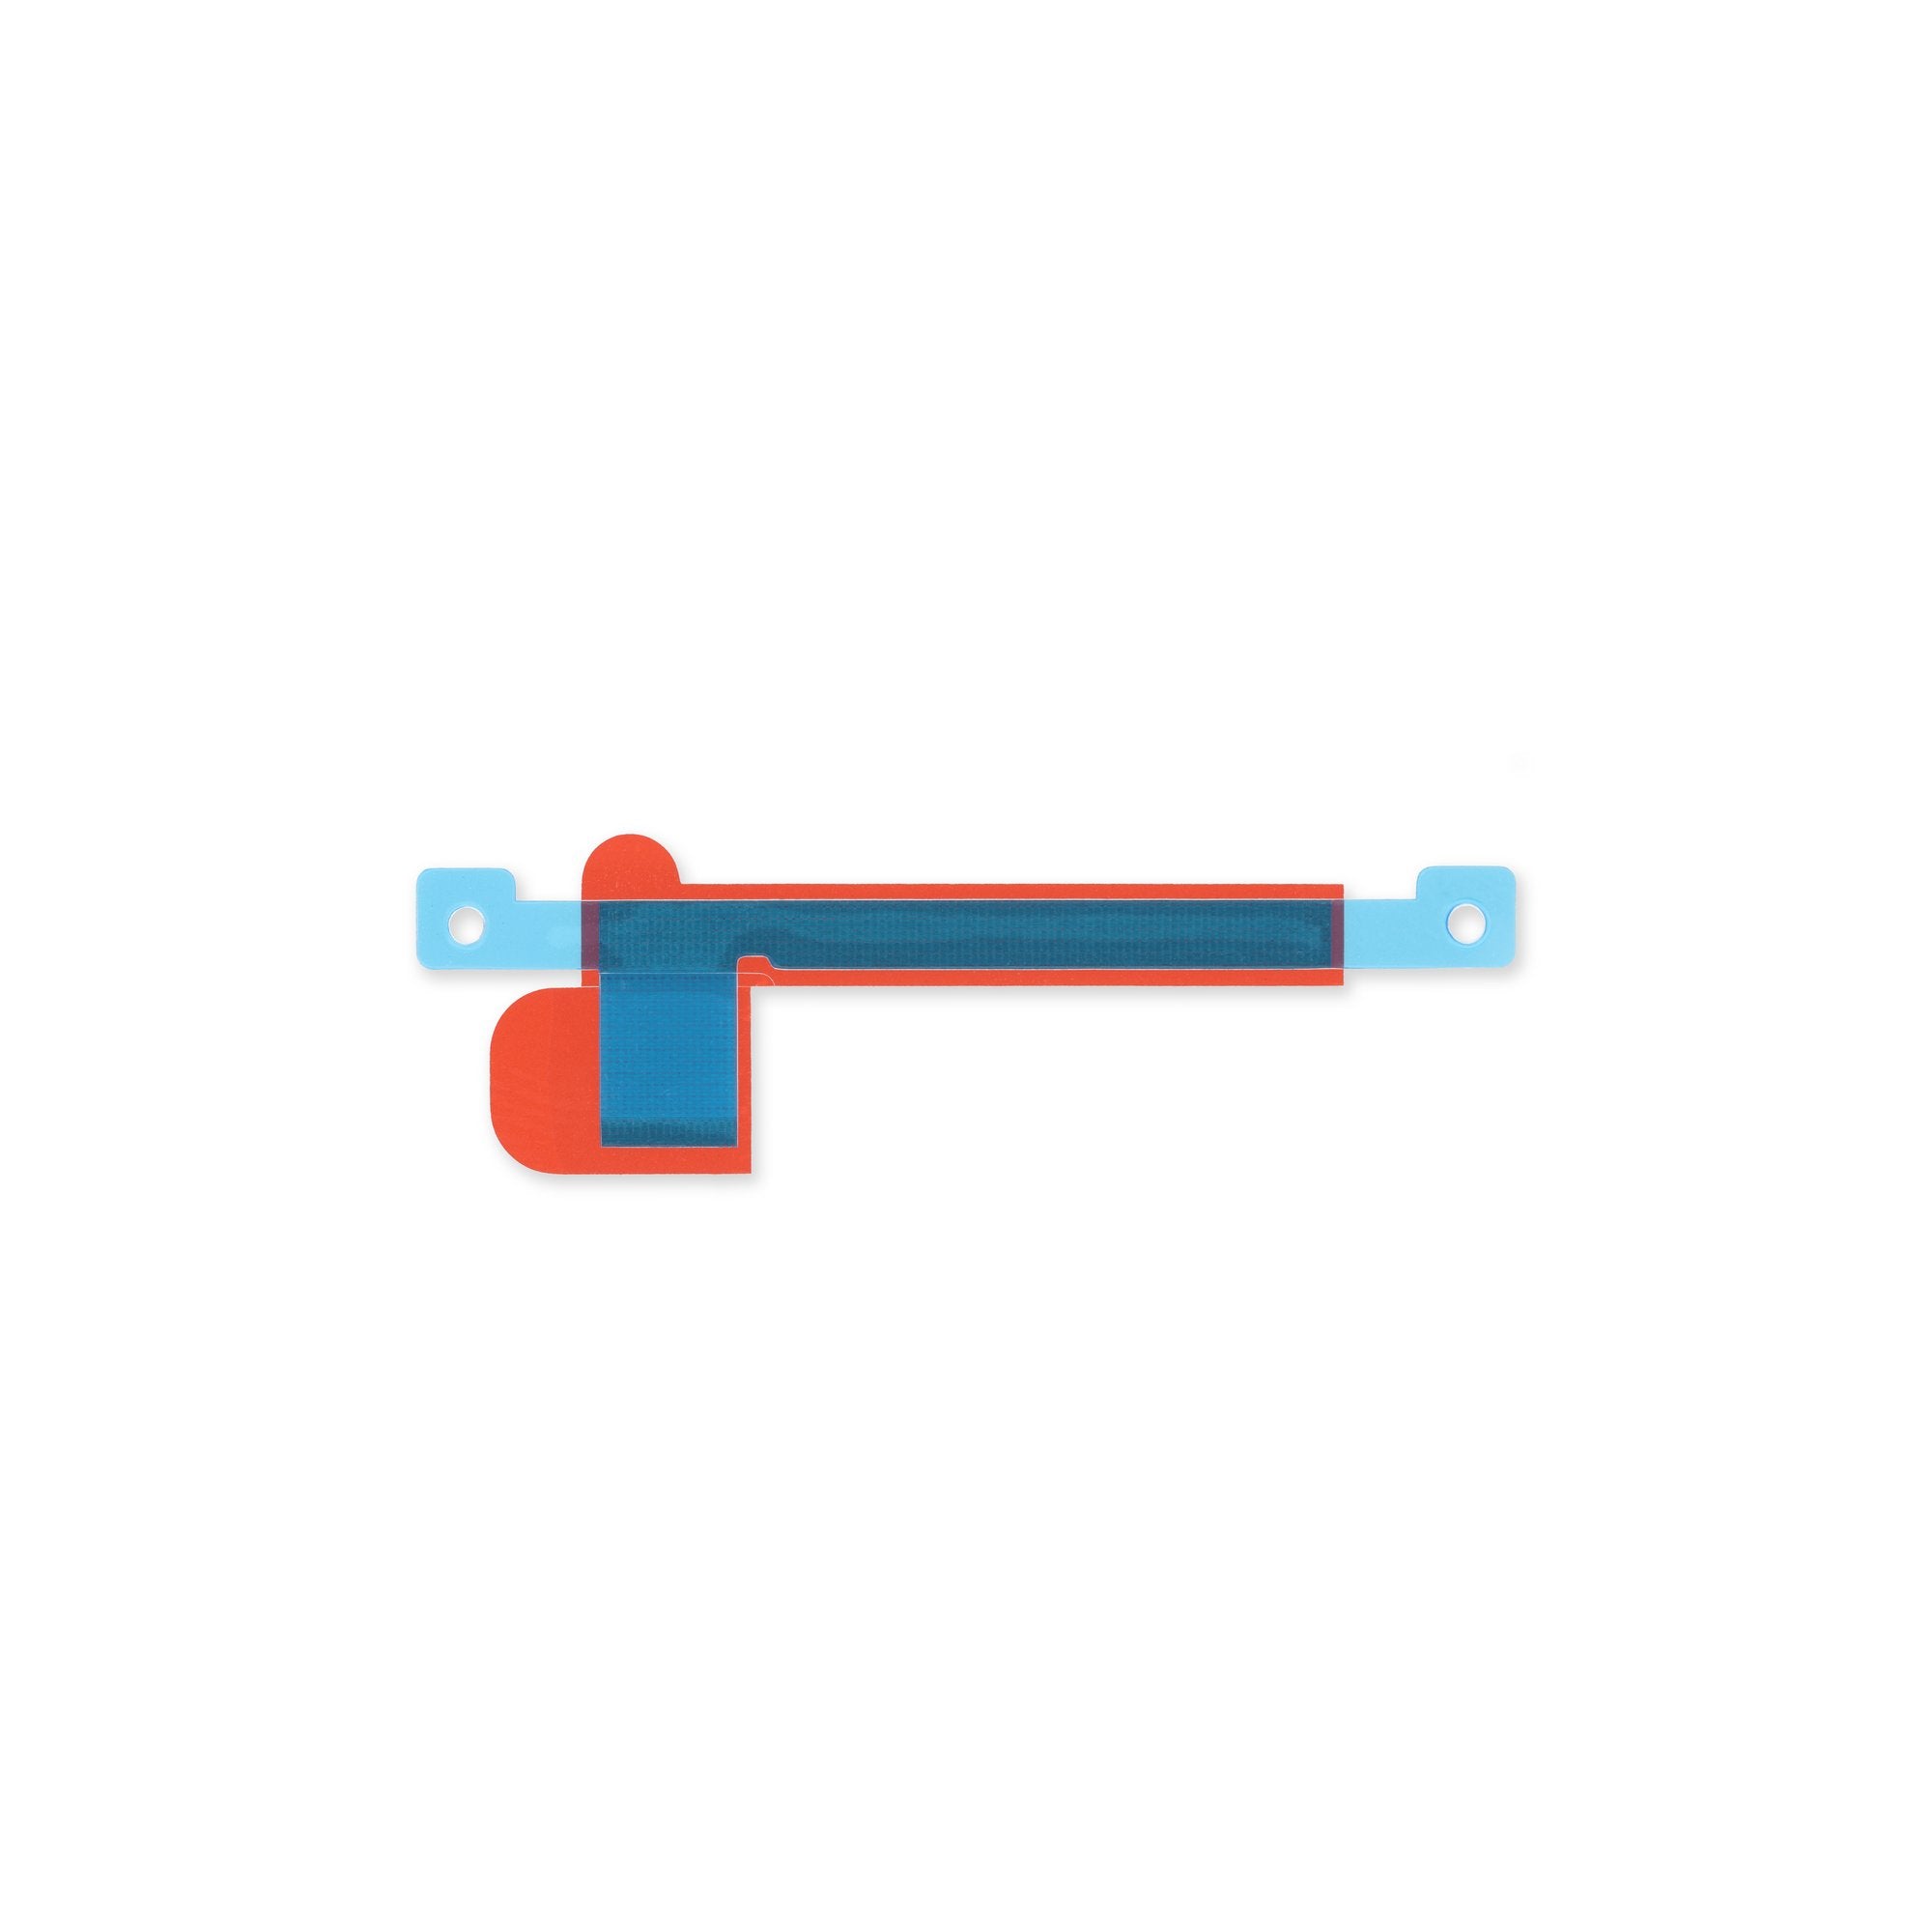
– Need to stick things back together? Apply fresh adhesive where needed, but first, make sure to clean those areas with some isopropyl alcohol (greater than 90%)—we want a clean slate!
– If you’re working with custom-cut adhesives, make sure to follow this guide for the best results.
– Using a pre-cut adhesive card? No worries, just stick to this guide for a smooth process.
Step 19


Be careful when handling the battery – if it gets punctured or bent, it could leak some not-so-fun chemicals or even catch fire. Let’s avoid that and get your device fixed safely!
If you’re struggling to peel off that pesky foil, try warming up an iOpener and applying it to the back of your device for a couple of minutes. This will help loosen the adhesive and make your life a lot easier!
Step 20


– Grab your Torx T3 screwdriver and let’s get to work! Carefully unscrew those two 5.1 mm-long screws that are holding the charging port bracket in place. You’ve got this!
Step 21


– Time to get a little handy! Use a pair of tweezers to carefully remove the charging port bracket.
Tools Used
Step 22


– Grab your trusty Torx T3 screwdriver and get ready! It’s time to unscrew those six 5.1 mm-long screws that are holding the midframe in place. You’ve got this!
Step 23


– Time for some midframe shenanigans! Unleash your inner bug doctor and use a pair of tweezers to remove the midframe carefully. Once you’ve completed yourPatients.md magnum opus, give the thermal pad the onceover. If it looks like it’s seen better days, give it the boot and clean the area with a little lubricant magic, then add a new thermal pad to give the system a fresh new lease of life!
Tools Used


Step 25


Get ready for a mini-adventure! Over the next seven steps, we’ll tackle the process of removing the mmWave antenna with ease and a sprinkle of fun.
– Grab your trusty Torx T3 screwdriver and get ready to tackle that 5.1 mm-long screw holding the mmWave antenna bracket in place. You’ve got this!


Step 28


Don’t worry, that mmWave antenna cable is just chillin’ there with a little bit of sticky stuff holding it in place. You got this!
– Gently slide an opening pick under the mmWave antenna cable, starting from the bottom. It’s like giving it a little lift!
– Now, use that trusty pick to carefully separate the mmWave antenna cable from the motherboard. You’re doing great!
Step 29


– Go ahead and give that previous step another go! Use your trusty opening pick to gently pry apart the horizontal section of the mmWave antenna cable from the motherboard. You’ve got this!
Step 30


– Grab your trusty tweezers and gently lift the mmWave antenna along with its cable from its cozy little spot.
– Carefully take out the mmWave antenna assembly — we want to keep things smooth!
– As you get ready to put everything back together, take a moment to check on the thermal pad. If it’s looking a bit worn out, don’t sweat it! Just remove the old pad, give the area a good clean with some high-concentration (90% or more) isopropyl alcohol using a microfiber or lint-free cloth, and then pop on a shiny new thermal pad.
Tools Used
Step 31


– Grab your trusty Torx T3 screwdriver and let’s get to work! Unscrew those two 5.1 mm-long screws that are keeping the rear camera assembly in place. You’ve got this!
Step 32


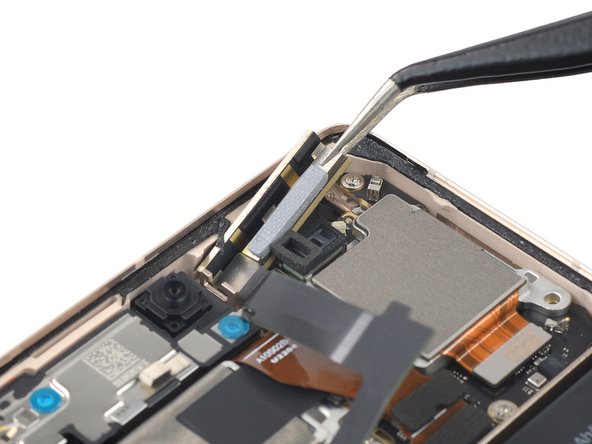
– Grab your trusty tweezers and gently pluck out the spring from the top left corner of the rear camera assembly. You’ve got this!
Tools Used
Step 33


Keep that cable nice and straight, or it might just throw a tantrum and get damaged!
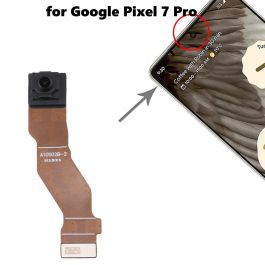
– Grab your trusty spudger and gently pop the front-facing camera cable connector straight up from its socket. It’s like giving it a little hug goodbye!
– Now, fold that cable upwards to release the rear camera assembly. You’ve got this!
Tools Used


Step 35


– Grab your trusty spudger and gently lift those wide and ultrawide camera cables! Just pry the connectors straight up from their cozy sockets, and they should pop right out. Easy peasy!
Tools Used
Step 36


– Take a moment to compare your shiny new replacement part with the old one – you might need to move some leftover bits or peel off adhesive from the new part before getting it all set up.
– When you’re ready to put your device back together, just reverse these steps and you’ll be all set!
– Want to run a quick check-up on your device? Use the handy Pixel Diagnostic tool – just click here.
– Got some electronic waste on your hands? Make sure to drop it off at an R2 or e-Stewards certified recycler.
– If your repair didn’t go as smoothly as you hoped, don’t fret! Try some basic troubleshooting, or reach out to our community for a friendly nudge in the right direction.
– Oops! If you didn’t finish this guide, you can always hit cancel.
– Remember, you’re not alone on this journey!
Success!