Samsung Galaxy Tab S2 9.7 AT&T Headphone Jack Replacement
Duration: 45 minutes
Steps: 10 Steps
A busted headphone jack means your audio might be muffled, crackling, or just plain silent. Don’t worry, a little troubleshooting can get your sound back on track. If you need help, you can always schedule a repair.
Step 1


– Use the heat gun to gently warm around the edges of the tablet, helping to soften the adhesive glue. Keep the heat moving to avoid overheating. If you need help, you can always schedule a repair.
Keep the heat source moving and avoid holding it in one spot for more than two seconds to prevent melting the plastic around the screen. If you don’t have a heat gun, no worries—an iOpener or a hair dryer works just fine. For extra tips, check out the iOpener guide. If you need help, you can always schedule a repair.


Step 2


– Start by placing the suction cup on either the bottom or top right corner. You’ve got this!
– While keeping that suction going, grab your trusty plastic opening tool and gently slide it around the edges of the screen in a few spots to help it pop out. Easy peasy!
Step 3

Carefully open the tablet, but remember not to yank the pieces apart; we wouldn’t want to risk damaging that delicate orange ribbon cable!
– With the screen off, gently open up the tablet like you’re flipping to the next chapter in a great book.
Step 4

– Grab your precision tweezers and gently peel off the silver tape that’s securing the orange ribbon cable between the two sections.
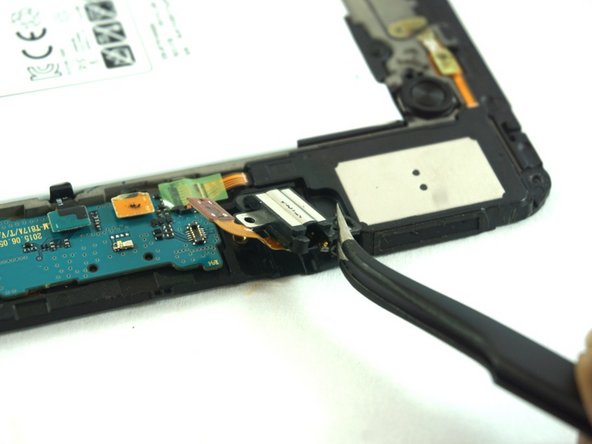
Step 5

– Grab your precision tweezers and gently lift out the small press-fit connector from the tablet’s body. If you need help, you can always schedule a repair.
Step 6


Keep your screws safe and sound by placing them on a magnetic project mat or in a small container—no one wants a lost screw messing up your repair flow. If you need help, you can always schedule a repair.
– Grab your trusty Philips #000 screwdriver and unscrew the seventeen 2.74 mm screws around the edges. Keep track of them, you’ll need them later!
– Now, take that same screwdriver and remove the two 2.74 mm black screws in the middle of the tablet. You’re making progress!
Tools Used

Step 7


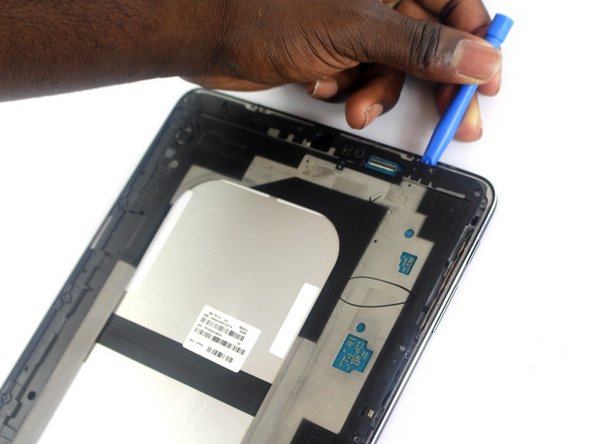
– Gently run the plastic opening tool around the edges of the tablet to lift and separate the motherboard from the device. Keep a steady hand and a bit of patience—you’re doing great! If you need help along the way, you can always schedule a repair.
Step 8
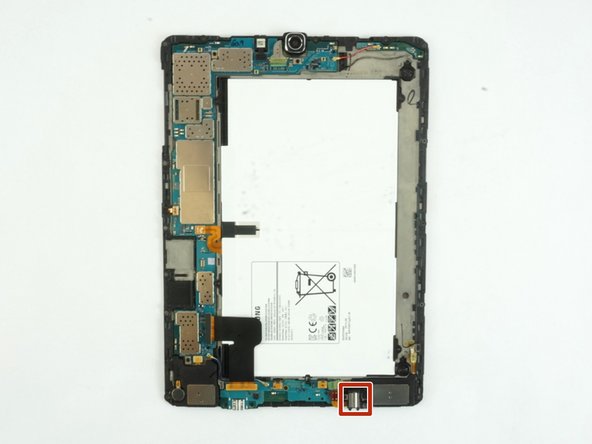
– Spot the headphone jack hanging out on the lower right side.
– Grab your trusty plastic opening tool and gently pop up that press-fit connector.
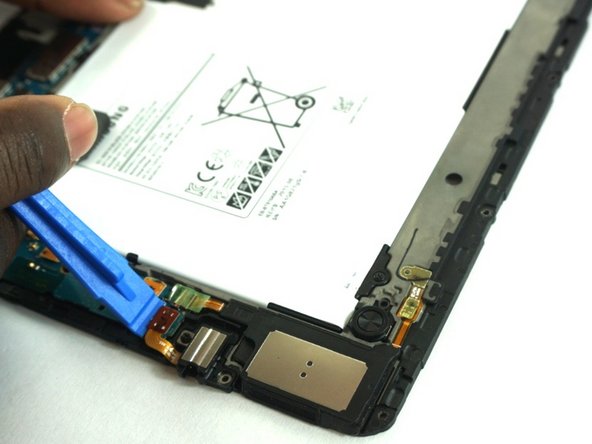
Step 9
– Grab your trusty Phillips #000 screwdriver and carefully remove the 2.74 mm black screw next to the headphone jack. Take your time and make sure it’s all smooth sailing!
Tools Used

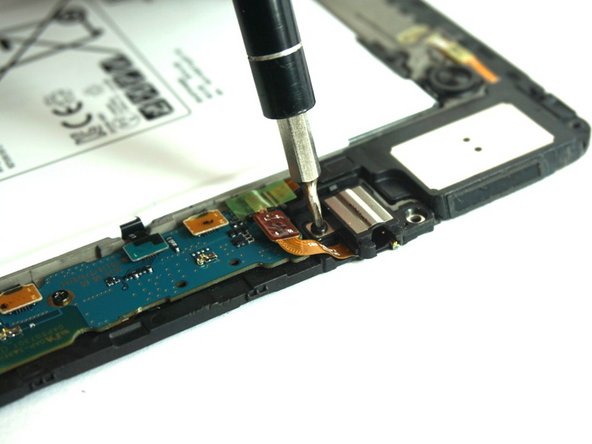
Step 10
– Grab your trusty precision tweezers and gently pop out the headphone jack like a pro!
Success!