How to Replace Adhesive for Google Pixel 6a – Step-by-Step Guide
Duration: 45 minutes
Steps: 11 Steps
This handy repair guide is brought to you by the experts at Salvation Repair. Just a heads up, it’s not officially recognized by the big names out there, but we’re here to help you fix things up!
Hey there! Ready to give your Google Pixel 6a some love? This guide will help you add new adhesive after a repair, but first things first: make sure to remove your Pixel’s screen before diving in. If you haven’t tackled that yet, no worries! Just follow our guide to get the screen off. Let’s get started and make your device feel brand new again!
Step 1


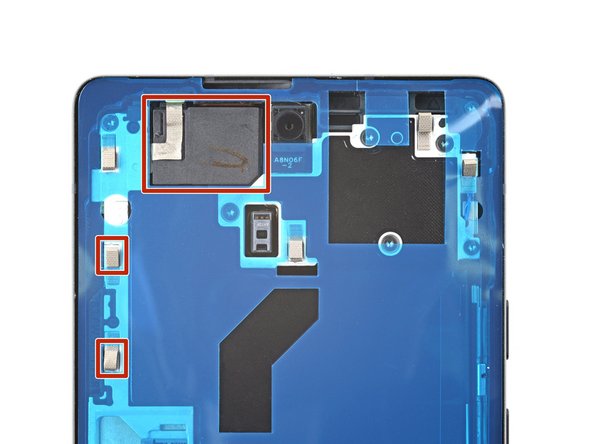
– Grab your trusty spudger and gently scrape away as much of that pesky adhesive from the frame as you can. It’s like a little spa day for your device!
– Next up, use your fingers or some tweezers to peel off any stubborn bits of adhesive that are still hanging around. You’ve got this!
– Now, let’s tidy up! Take a small amount of highly-concentrated isopropyl alcohol (over 90%) and a lint-free or microfiber cloth to clean the edges of the frame. A little shine goes a long way!


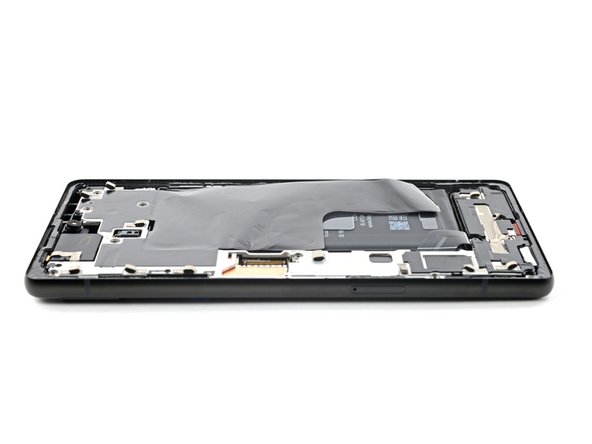
Step 5


Take it easy during this step! The adhesive is super sticky and once it grabs hold, there’s no turning back. If it’s not lined up just right, you might end up with a less-than-perfect seal.


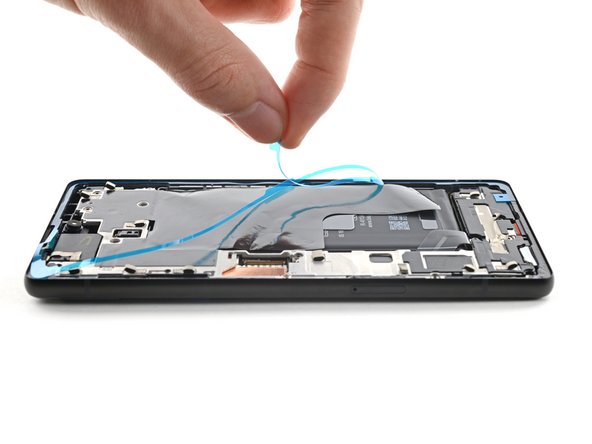
Step 7


– Locate the pull tab on the upper right corner of the frame and gently peel away the main liner.


Step 10

– Now it’s time to get that liner off – grab the pull tab at the bottom edge of the frame and gently peel it away.

Success!

