How to Replace Screen Adhesive on Your Google Pixel 7 – DIY Guide
Duration: 45 minutes
Steps: 12 Steps
Hey there! This repair guide is brought to you by the awesome team at Salvation Repair. We’re here to help you out, but keep in mind that this guide isn’t official from Google. If you need a hand, you can always schedule a repair.
Alright, techie, let’s get this Google Pixel 7 back in tip-top shape! This guide will show you how to apply new screen adhesive after a repair. We’ll be following the same steps as the Pixel 6, so don’t worry if you’ve got a different model. Now, about water resistance, it all depends on how well you get that adhesive back in place. Your device will lose its IP rating, but hey, we’re confident in your skills! If you need help, you can always schedule a repair.
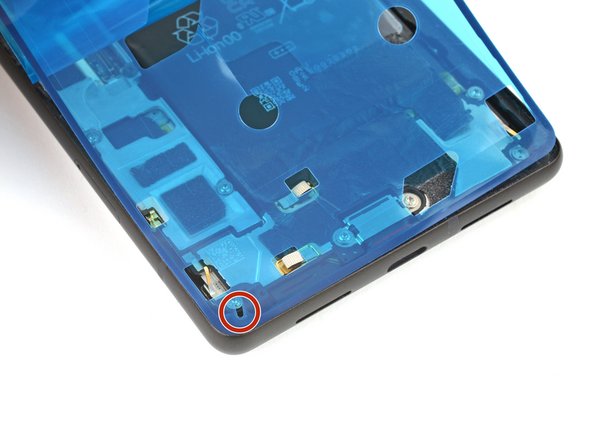
Step 1


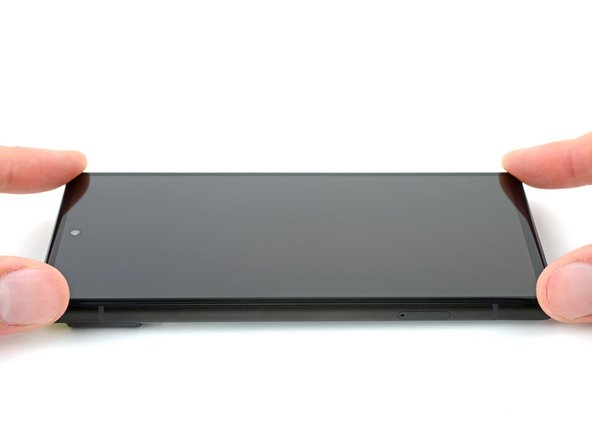
Be careful not to damage those little spring connectors around the frame edge. Need a hand? No worries, just head over to schedule a repair!
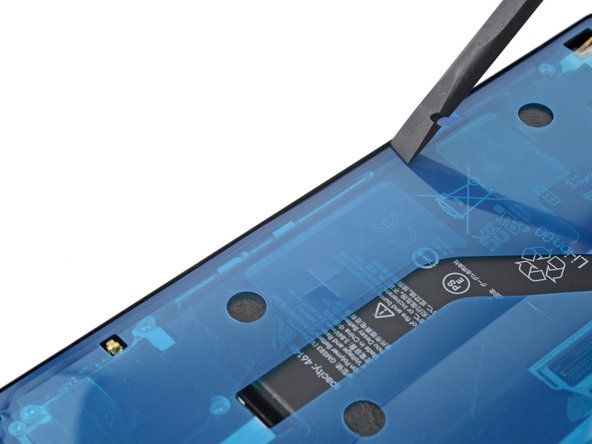
Alright, let’s make sure that screen sticks like glue! Any sticky stuff or dust bunnies hanging around will get in the way of a perfect seal. Give it a good clean, and we’re golden.
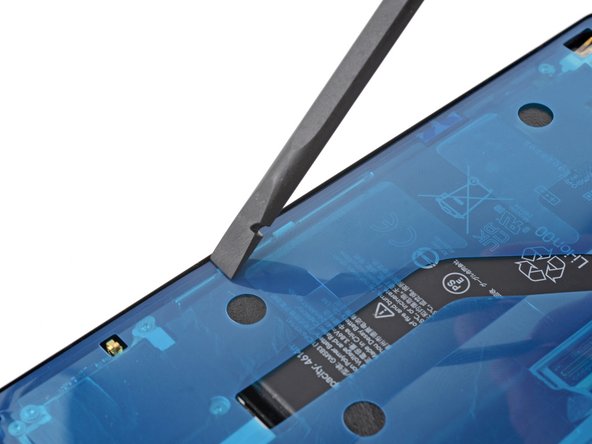
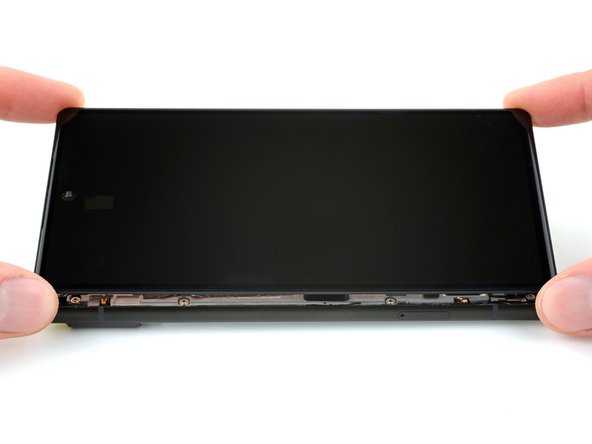
– Get started by using the flat end of your trusty spudger to gently scrape away as much adhesive as possible – you’re making great progress already!
– Next, grab some tweezers or use your fingers to carefully peel and remove any remaining adhesive. You’re doing fantastic!
– Now, let’s get the perimeter of the frame squeaky clean. Dampen a lint-free or microfiber cloth with a small amount of highly-concentrated isopropyl alcohol (we’re talking over 90% here) and wipe it down. If you need help, you can always schedule a repair with the experts at Salvation Repair.
Tools Used


Step 5


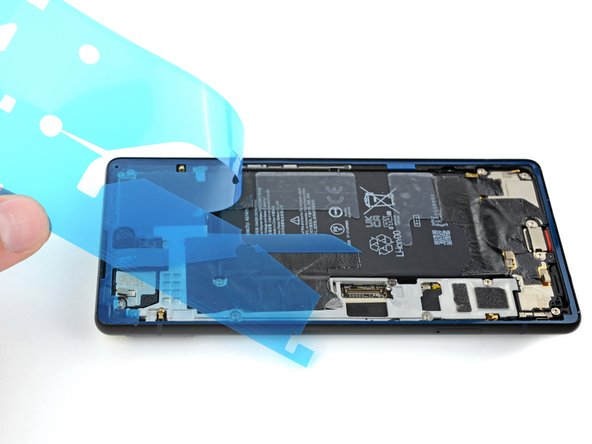
Take it easy during this step! The adhesive is super sticky and once it grabs on, it won’t let go. If you don’t line it up just right, you might end up with a seal that just doesn’t seal. But no pressure! You’ve got this!
Check out the handy holes in the bottom left and top right corners to make lining up the adhesive a breeze. If you need help, you can always schedule a repair
Step 6

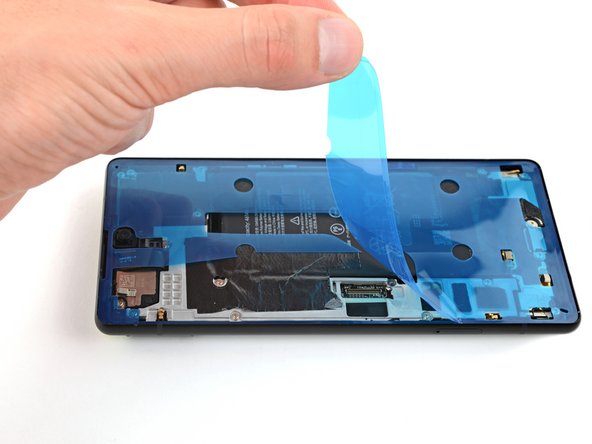
Watch out for those spring connectors hanging out near the edge of the frame! They’re a bit delicate, so let’s keep them safe and sound.
– Now it’s time to get the adhesive to stick to the frame. Use a spudger or your fingers to press along the edges of the adhesive, making sure it’s securely attached. If you need help, you can always schedule a repair
Tools Used
Step 7

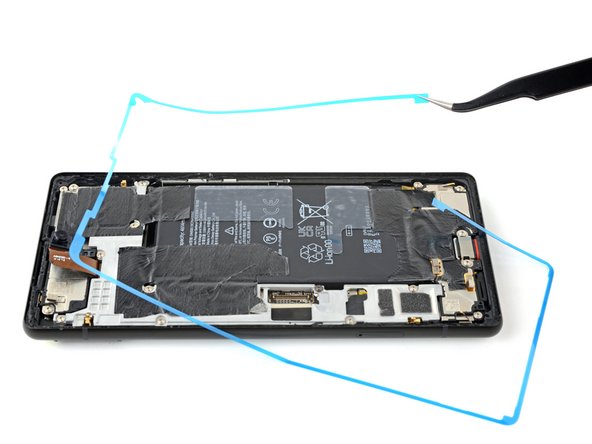
– Give that pull tab on the upper left of the frame a gentle tug and peel off the main liner like a pro!
Step 8

– Okay, champ, you swapped out that screen! Now, give that front-facing camera hole and sensor cutout a quick glance. Make sure any leftover protective films are gone. You got this!

Step 10

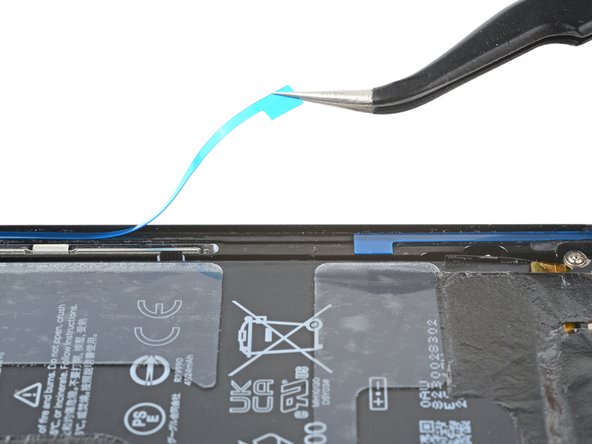
Be careful not to poke holes in the battery with your tweezers—a punctured battery might leak some not-so-nice chemicals or even catch fire. If you need help, you can always schedule a repair.
Ensure that the adhesive stays put and doesn’t lift off with the liner. Keep it in place for a smooth repair journey!
– Alright, let’s get this party started! Grab that pull tab on the lower right side of the frame and peel off the liner covering the perimeter adhesive. You’ve got this!
Tools Used
Step 12


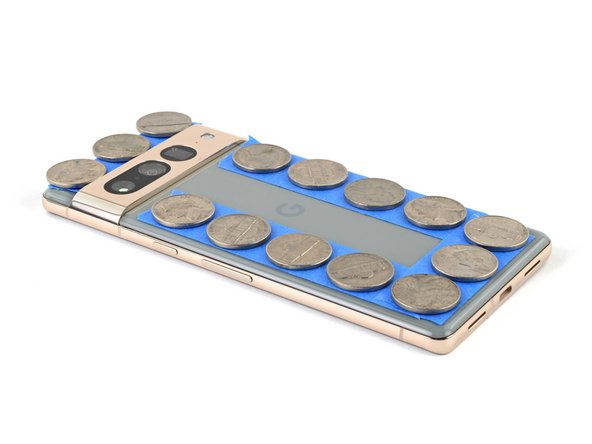
To make sure your Pixel’s screen is nice and snug with the frame, you’ll need to give that camera bar a little extra love during the compression process. No worries, it’s super easy! If you need help, you can always schedule a repair
– First things first, grab some tape and stick it all around the edges of your rear glass to keep its shine safe and sound!
– Next up, gather some coins or similar thick buddies and line them up along the edges of the rear glass. Just make sure they’re as thick or thicker than that camera bar!
– Now it’s time to stack up! Get your hands on some hefty books or other substantial items and pile them on top of your phone. Let them chill there for at least thirty minutes, but hey, if you can swing it, let them lounge overnight for the best results.
– Got some screen vise clamps? Awesome! You can work around that pesky camera bar. Just snugly attach the clamps to the perimeter of your device. You’re doing great!