Google Pixel 5a Speaker Assembly Replacement Guide
Duration: 45 minutes
Steps: 39 Steps
Hey there! The awesome folks at Salvation Repair put this guide together, and while it’s not a Google-endorsed masterpiece, it’s got your back!
Quick heads up for your safety: make sure to let that battery dip below 25% before you dive into disassembling your device. It’s a smart move!
This handy guide was put together by the awesome folks at Salvation Repair, and while Google hasn’t given it a thumbs up, we’re here to help you every step of the way! Ready to tackle that speaker assembly on your Google Pixel 5a? Just a quick reminder – for your safety, make sure to discharge your battery below 25% before diving in. This little precaution helps minimize the risk of any fiery surprises if the battery gets a little too wild during the repair. And hey, if you notice your battery is looking a bit swollen, please take the right precautions. If you need help, you can always schedule a repair.
Step 1
Don’t stress if you can’t find a perfect fit for your tiny SIM card rescue. Just use a bendy paperclip or a cool SIM eject bit instead, but please don’t shove it in forcefully. If you need help, you can always schedule a repair.
– Time to get started! Insert a SIM card eject tool into the small hole on the right side edge of your phone’s frame – it’s a tiny hole, but the right tool will fit perfectly.
– Give it a firm press until you feel the SIM card tray pop out – you’ll know it when you feel it.
– Now, carefully remove the SIM card tray from your phone. If you need help or feel unsure, you can always schedule a repair with Salvation Repair.
Step 2
First things first, give your device a little break by turning it off before you dive into the repair process.
Next up, you’re going to need to gently coax that screen out of the phone – it’s like giving it a little hug. Just make sure to read the following notes thoroughly before you get to work.
– Pay attention to the two seams on the edge of the phone:
– Screen seam: This seam divides the screen from the rest of the phone. Avoid prying here.
– Bezel seam: This is where the plastic bezel that protects the screen meets the frame. It’s secured with plastic clips. This is where you should pry.
Step 3
If your device’s adhesive is feeling a bit stubborn, you might have to give the iOpener a few extra rounds to loosen it up just right!
You could also try using a hair dryer, heat gun, or hot plate for some extra warmth, but keep an eye on things! Overheating your phone can lead to issues, as both the display and battery aren’t fans of too much heat.
– Grab your heated iOpener and give the right edge of the display a cozy warm-up for a minute to loosen that adhesive. If you need help, you can always schedule a repair
Tools Used
Step 4
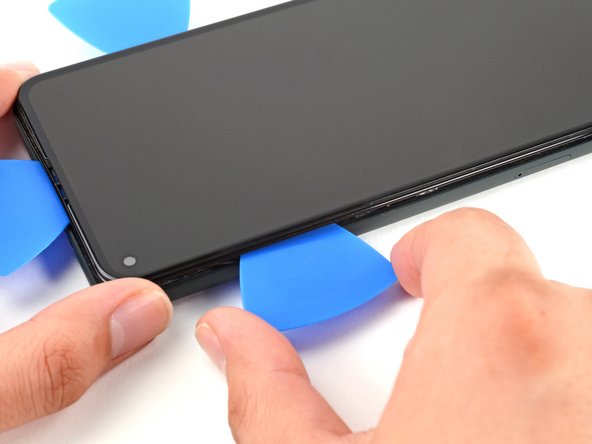
To say goodbye to the screen, grab your trusty opening picks and slide them in between those sneaky black clips holding the bezel snugly to the midframe. You’ve got this!
– Take a moment to spot the best entry points before diving in.
Step 5
Hey, if your screen is super cracked, you might have trouble getting the suction cup to stick. No worries! You can try covering the cracks with clear packing tape, or even use some strong tape instead of the suction cup. If all else fails, you can always try super-gluing the suction cup to the screen. If you’re having trouble, you can always schedule a repair
– Position a suction cup near the right edge of the screen – as close as you can get it.
– Now, gently lift the suction cup with a steady force until you see a small gap between the bezel and midframe. If you need help, you can always schedule a repair
Step 6
The bezel is held snugly to the midframe with some clever little plastic clips. You can easily pop them loose by slipping an opening pick into the seam at various points. Easy peasy, right? Just remember, if you need help, you can always schedule a repair.
– Now it’s time to get started – insert the tip of an opening pick into the bezel seam, about 4-5 cm from the bottom of the phone. Remember to take your time and be gentle, and if you need help, you can always schedule a repair
Step 7
– Gently slide the tip of your opening pick into the bezel seam, aiming for about 3-4 cm down from the top of your phone. You’re on your way to success!
Step 8
If you’re having a tough time with this step, don’t worry – just slide the pick along the top right corner of the phone until you’ve got enough of a gap at the top to fit the opening pick. If you need help, you can always schedule a repair
– Now it’s time to get started – insert the tip of an opening pick into the bezel seam at the top of the phone. If you need help, you can always schedule a repair
Step 9
If you’re having a tough time with this step, give it a little wiggle! Slide that pick right along the bottom corner of your phone until you create just enough space at the bottom for the opening pick to slide in. You’ve got this!
– Alright, let’s get this party started! Grab your trusty opening pick and gently slide the tip into the seam at the bottom of your phone. Think of it like you’re giving your phone a little tickle.
Step 10
– Let’s get that phone open! Slide the tip of an opening pick into the seam on the left side of the phone, about 2 cm from the bottom. You got this! If you need help, you can always schedule a repair
Step 11
– Slide the tip of your trusty opening pick into that bezel seam, about 3-4 cm down from the front-facing camera. You’ve got this!
Step 12
– First, carefully release all the clips. If there’s any stubborn adhesive left, use an opening pick to gently slice through it.
– Now, open your device from the right side – think of it like opening a book. If you need help, you can always schedule a repair
Step 13
As you dive into this repair adventure, make sure to keep an eye on every screw and return it to its original cozy spot. You’ve got this!
– Grab your trusty T3 Torx driver and carefully twist out that 4.6 mm-long screw holding down the screen connector bracket. You’ve got this!
Step 15
– Hey there! Time to get your fix game on point, no sweat. Poppin’ that screen flex cable is as easy as pie – just get your favorite spudger and give it a gentle nudge, and bam! It’s disconnected. Next up, reattaching those pesky press connectors? You got this! All you gotta do is align the sucker and snap it, snap it, SNAP! in place. Remember, don’t apply too much pressure, or we’ll have a misaligned mess on our hands. So, keep it cool and breezy, and you’ll rock this repair in a jiffy. If you’re feeling like, ‘Hmm, this might be a bit much’, no worries, you can always schedule a repair with our homies at Salvation Repair, and we’ll take it from here! Ready, set, fix!
Tools Used
Step 16
Hey, you’re almost there! One more thing – don’t forget to reconnect that screen bracket. You’re doing great, and if you need some extra help, you know the deal: schedule a repair.
– Let’s get started by removing the screen from your phone – it’s the first step to getting it back in working order.
– When you’re putting everything back together, keep the following tips in mind:
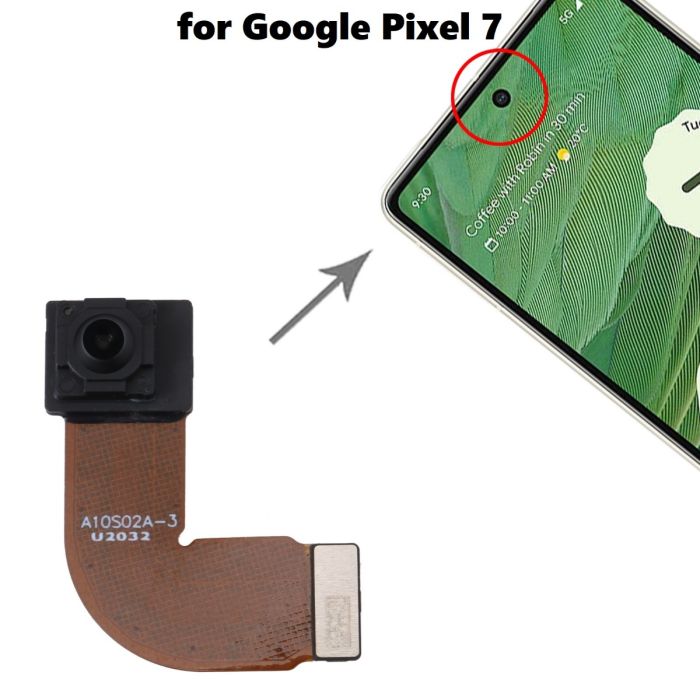
– If you’ve replaced the screen, take a moment to check the front-facing camera hole and remove any protective liners that might be covering it.
– Using a custom-cut adhesive? No problem – just follow our guide to apply new screen adhesive like a pro.
– Tesa tape more your style? We’ve got you covered – follow our guide to reattach the screen with ease.
– After you’ve finished reassembling your phone, it will go through a calibration sequence during the boot-up process. Just let it do its thing – don’t touch the screen until it’s done, or you might end up with some touch issues. And if you need help at any point, you can always schedule a repair with Salvation Repair.
Step 17
– Grab your trusty T3 Torx driver and carefully unscrew those six little screws that are keeping the midframe cozy with the motherboard:
– Since some of these screws play a game of hide and seek with their lengths, make sure to keep an eye on each one and put them back where they belong. It’s like a puzzle, but much more rewarding!
– Four screws measuring 4.6 mm
– One screw measuring 4.0 mm
– One screw measuring 2.0 mm
Step 20
– Time to get a little handy! Use a pair of tweezers to carefully pry back the tape that’s hiding the two screws that hold the charging port bracket in place. If you need help, you can always schedule a repair
Tools Used
Step 21
– Alright, let’s take care of those last four screws holding the midframe to the motherboard. Grab your trusty T3 Torx screwdriver and go to town!
– You’ll see three 4.6 mm screws and one 4.0 mm screw – no sweat, you’ve got this!
– If you need help, you can always schedule a repair
Step 22
Be gentle with that battery! Avoid poking or bending it with your tool—doing so could lead to a leak of some nasty chemicals or even a fire. If you need help, you can always schedule a repair.
– Grab your trusty spudger or a pair of tweezers and gently lift the tape that’s holding the charging port bracket to the speaker assembly. You’ve got this!
Step 23
Alright, let’s be super careful here! We don’t want to accidentally poke or tear the battery while grabbing that graphite sheet. Just be gentle, and we’ll be good to go!
– Time to get those fingers nimble! Carefully peel back the graphite sheet covering the battery using a pair of tweezers or your fingers. Be gentle, we don’t want to cause any damage. If you need help, you can always schedule a repair
Tools Used
Step 24
– Slide the sharp tip of your trusty spudger right underneath the top right corner of the midframe. It’s like playing a little game of hide and seek!
– Now, there’s a cheeky black plastic clip hanging out at the top of the midframe, holding it secure and tight. To free it, gently tug the midframe down with your spudger and then give it a little pry upward. You’re doing great!
Tools Used
Step 26
– Alright, let’s talk about those tiny plastic bits that keep the midframe snug and secure. Keep an eye on them; without that midframe to help you out, they might just wander off and hide!
– When it’s time to put everything back together, make sure to slide those little guys back into their corners before you pop the midframe in place. You got this!
Step 30
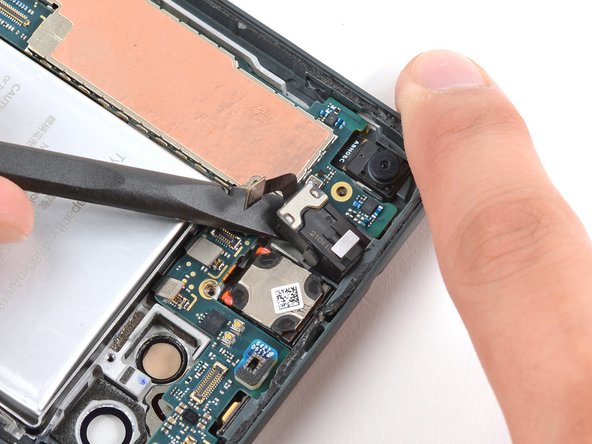
– Grab your trusty spudger and gently use its pointed tip to lift up the headphone jack connector. Time to disconnect and let the magic happen!
Tools Used
Step 31
– Time to give that headphone jack a little nudge! Use the flat end of a spudger to gently pry up the headphone jack and pop it out of its socket.
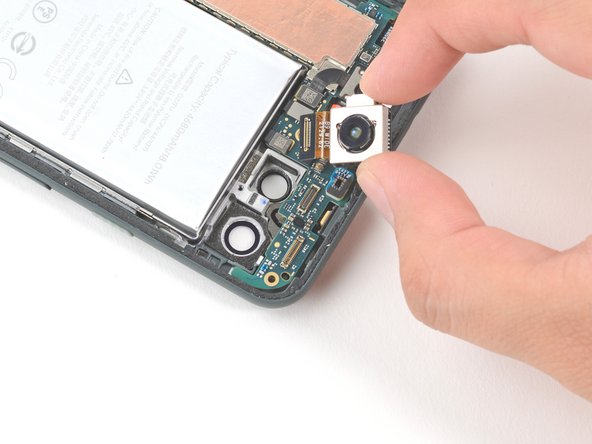
– Now that it’s loose, carefully remove the headphone jack. If you need help, you can always schedule a repair.
Tools Used
Step 32
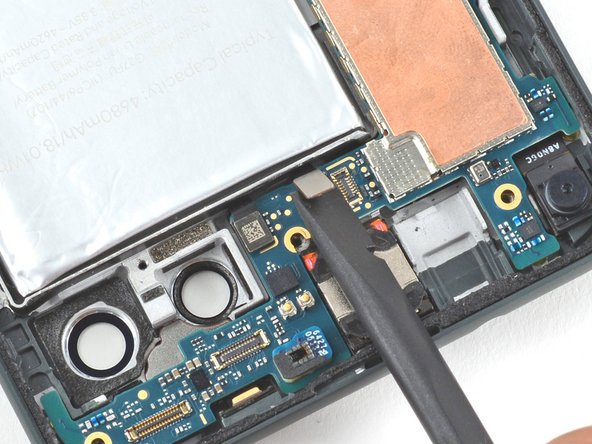
– Grab your trusty spudger and gently lift the fingerprint sensor connector. Easy peasy! If you need help, you can always schedule a repair.
Tools Used
Step 33
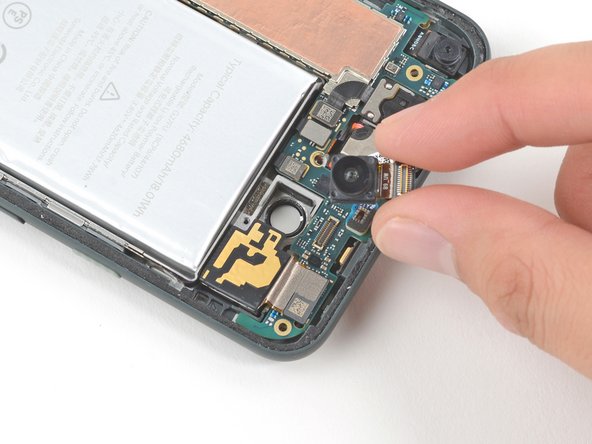
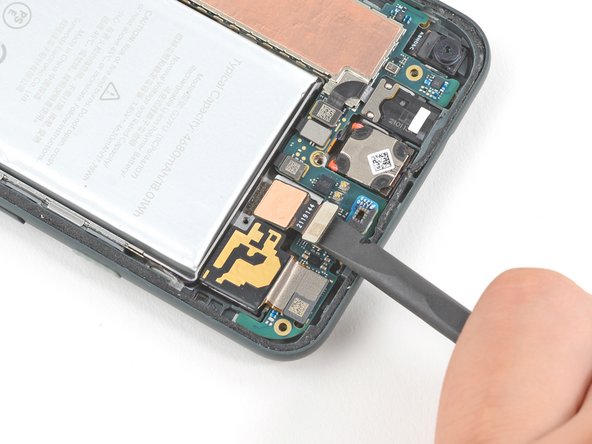
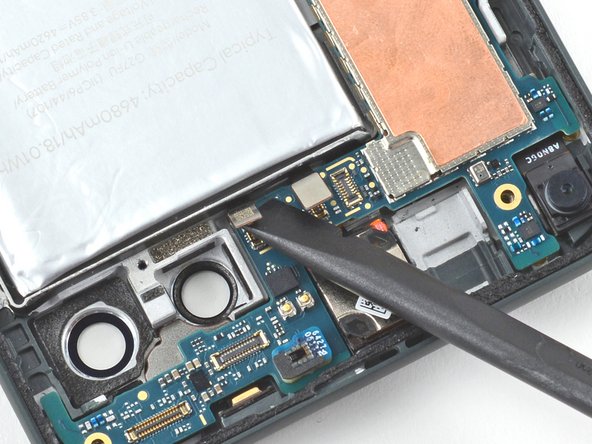
– Time to give that camera flash connector a little nudge! Use the flat end of a spudger to gently pry it up and disconnect it. If you’re feeling a little unsure about this step, you can always schedule a repair with us.
Tools Used
Step 34
– Alright, let’s get this motherboard out! Grab your T3 Torx driver and unscrew those three tiny 2.9 mm screws holding the motherboard in place. You got this!
Step 35
Hey, before you go on, make sure that SIM card tray is outta there. It’s holding the motherboard to the frame, so don’t forget to give it the boot. You got this!
– Now it’s time to gently pry the motherboard loose – insert the flat end of a spudger under the top right corner and carefully lift it away from the frame. If you need help, you can always schedule a repair
Tools Used
Step 36
– Gently slide the flat end of your trusty spudger beneath the top left corner of the motherboard and give it a little lift to free it from the frame. You’re doing great!
Tools Used
Step 37
Take it easy when prying at the speaker assembly; we wouldn’t want the battery to feel squished!
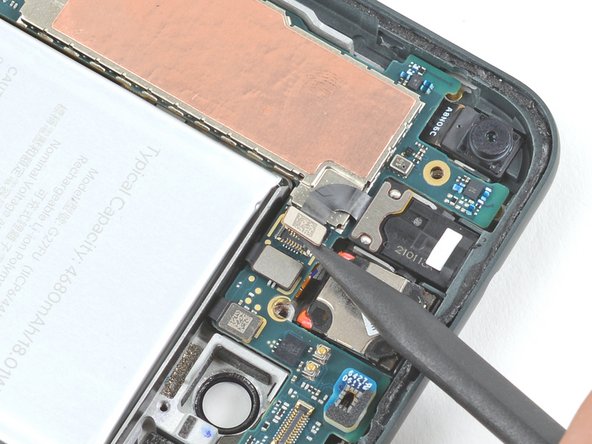
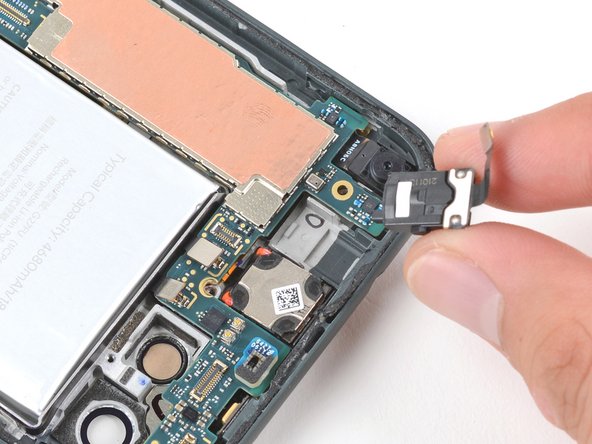
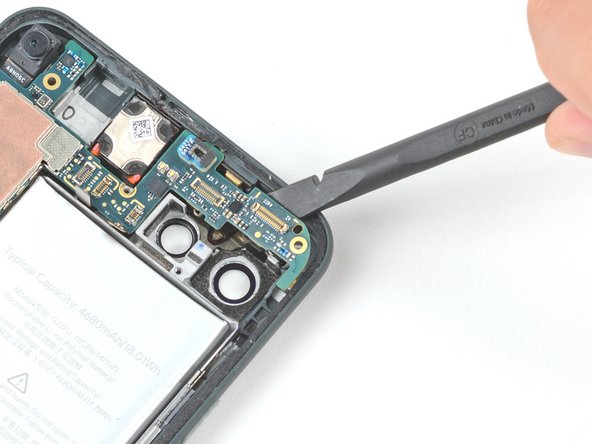
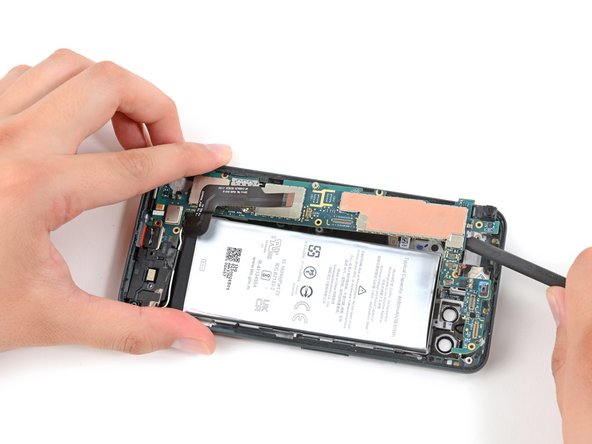
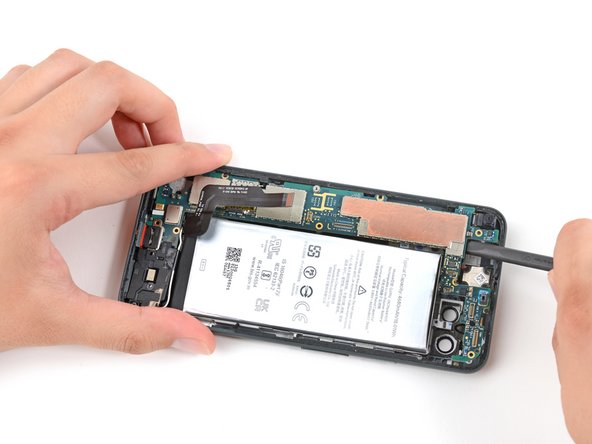
– Let’s get this speaker assembly outta there! Carefully slide the pointed end of your spudger under the screw slot to the top right of the speaker assembly. Give it a gentle wiggle to release it from the frame.
Tools Used
Step 39
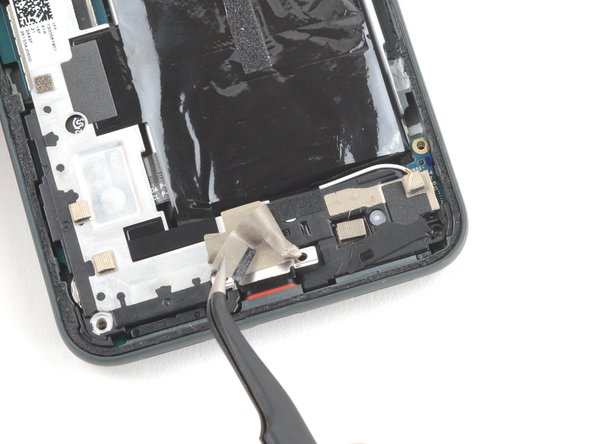
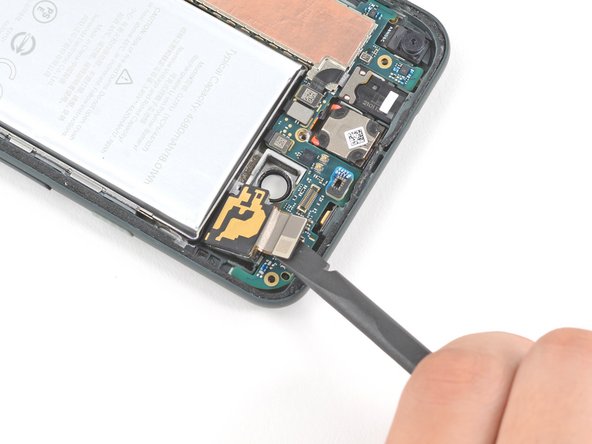
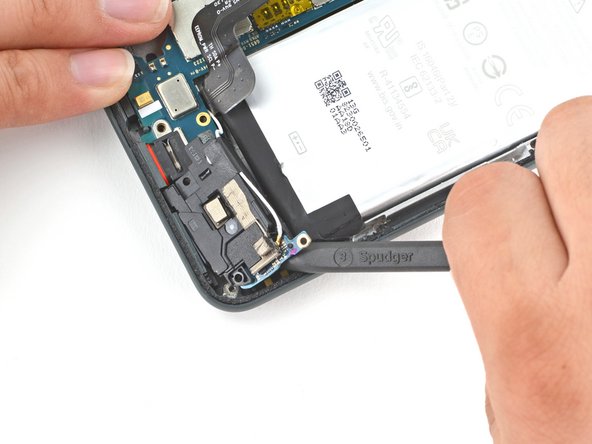
– Gently slide one tip of those trusty tweezers under the white wire until it’s cozily nestled against the connector, then lift it straight up from the board like you’re giving it a little high five.
– When it’s time to bring the connector back home, just hold it in place and press it down directly. It’ll click right into its spot, like those satisfying snaps on your favorite jacket.
Hey there! If you’re looking to disconnect a coaxial connector, we’ve got your back! Check out our in-depth step-by-step guide that’ll have you taking that bad boy off in no time. If you’re feeling stuck, just remember, we’re here to help! Head over to schedule a repair and let’s get your device back in tip-top shape!


