Garmin Nuvi 205 Teardown
Duration: 45 minutes
Steps: 11 Steps
Step 1

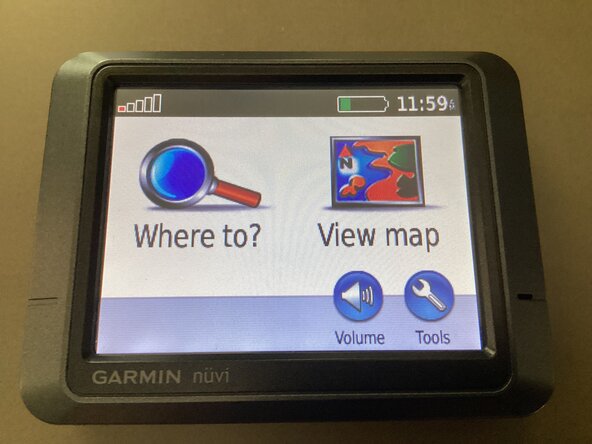

– The Garmin Nuvi 205, released back in 2008, was a budget-friendly GPS navigator designed to get you from point A to point B with ease. Packed with a Mediatek MT335NA processor and 32MB of RAM, it’s a solid little device for its time. It also comes with 2 GB of NAND flash storage. Found at a thrift store not too long ago, it still surprisingly works like a charm—talk about a vintage gem!
Step 2
– Start by removing the specifications sticker on the back of your Garmin Nuvi 205. It’s the first step in getting your device ready for a little TLC.
Step 3
– Grab your screwdriver and gently unscrew the two screws holding the case together in Step Two. And hey, keep those screws safe—losing them is no fun! If you need a hand, you can always schedule a repair.
Step 4
– After removing both screws, grab a flathead screwdriver to gently pry open the clips that are holding the device together. Once that’s done, take an opening pick and carefully slide it around the device to pop off the remaining clips.
Step 5
– Once the last clip is out, gently pop the device open—almost there!
– Take it slow when opening, because the flex cable connecting the screen is super delicate.
– To free the screen, peel off the tape holding the cable to the motherboard connector. Flip up the latch, and carefully slide the flex cable out of its spot.
Step 6
– With the screen out of the way, you’ve unlocked a peek at the brains behind this gadget’s operation.
– Now to reveal those hidden chips—grab an opening pick or a flathead tool and gently pop off the EMI shields from the motherboard.
Step 7
– With those EMI shields out of the way, the navigator’s core components are finally on display.
– Red: That’s the Mediatek MT335NA microprocessor—think of it as the captain of the ship.
– Blue: Next up, the blue-highlighted SanDisk iNAND 2GB flash chip, which handles all the main storage duties (besides a tiny microSD slot).
– Green: And in green, you’ve got the 32MB SK Hynix RAM chip, giving your device its memory boost.
Step 8
– Grab your trusty Philips screwdriver and unscrew the three screws that are holding the motherboard in place. Make sure to keep them safe!
– And seriously, keep an eye on those screws! We don’t want any of them wandering off on their own.
Step 9
– Alright, let’s get the motherboard free! First, unplug the speaker cable by gently pulling it out. Easy does it!
– Now that the cable is out, grab an opening pick and carefully work the motherboard loose. A little nudge goes a long way!
– Just a heads up: the battery cable is still connected on the other side of the PCB, so handle with care as you go!
Step 10
– Once you’ve lifted the motherboard out of the frame, go ahead and disconnect the battery cable to completely free the motherboard from the device’s frame. If you notice extra EMI shields on the back, I skipped removing them—mainly because of the antenna and because one side is fully soldered to the board. If you need help at any point, you can always schedule a repair.
Step 11
– Great job on taking apart your Garmin Nuvi 205 GPS navigator! Now, to put it back together, just follow these steps in reverse order. Take your time and double-check each connection as you go. If you run into any tricky spots or need a hand, you can always schedule a repair. Keep at it—you’re almost there!