Pixel 3 XL Adhesive Replacement Guide: Step-by-Step DIY Repair Tutorial
Duration: 45 minutes
Steps: 8 Steps
This repair guide was put together by the experts at Salvation Repair and isn’t officially backed by Google. But hey, we’re here to help, and if you run into trouble, you can always schedule a repair.
This guide was created by the Salvation Repair team, and it’s not officially supported by Google. Ready to apply new back cover adhesive to your Pixel 3 XL after your repair? Great! Just make sure you’ve already removed your Pixel’s back cover and set it aside. Need a hand with that? You can find detailed instructions for that step here. If you hit any snags along the way, feel free to schedule a repair.
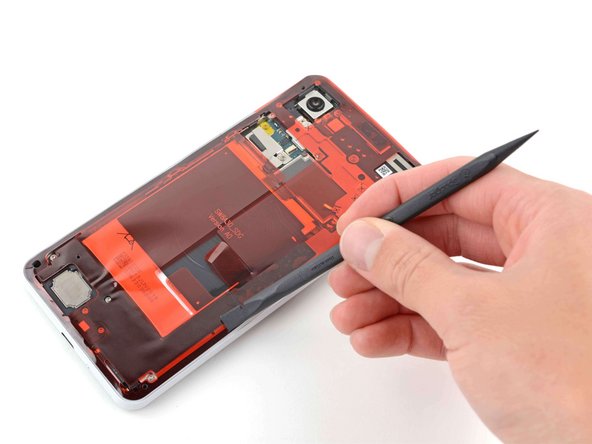
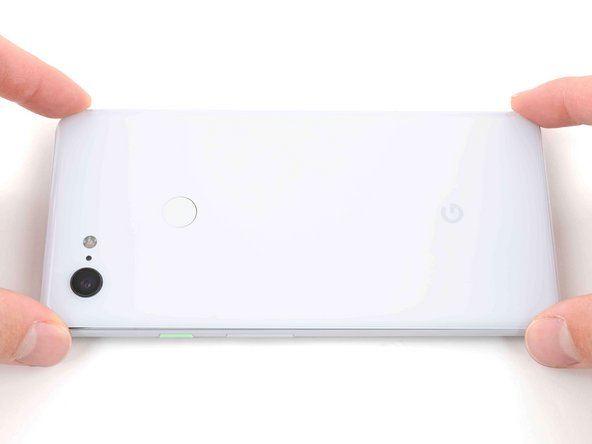
Step 1


Hey, cool it with the metal tools! They can scratch up your phone’s frame. If you need help, you can always schedule a repair.
– Alright, let’s get that old adhesive off the frame! Use your fingers or a tool to carefully pick and scrape it away.
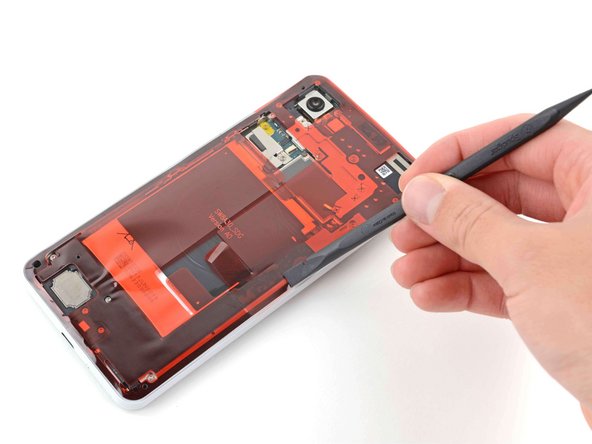
– Next, use your trusty spudger to get rid of any stubborn adhesive that’s hanging around.
– Now for the grand finale! Clean the area where the adhesive was with some 90% or higher isopropyl alcohol. This will make sure the new adhesive sticks like glue. If you need help, you can always schedule a repair.
Tools Used

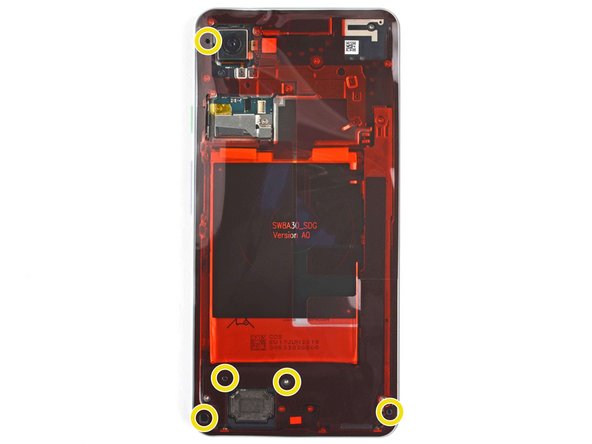
Step 2


Avoid using metal tools to scrape away adhesive – it’ll mess up the back cover coating. Stick to plastic tools for the job.
Keep isopropyl alcohol away from the rear camera bracket – it can damage the adhesive and foam around it. Stay focused on the screen and other areas for cleaning.
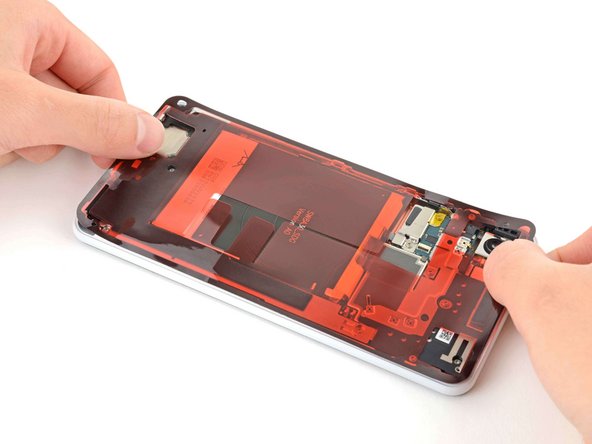
– Give the back cover adhesive some love by repeating the previous step!

Step 4

Handle this step with care! The adhesive is super sticky and once it sticks, there’s no going back. If it’s not aligned just right, you might end up with a less-than-perfect seal.
Step 5

– Use a spudger or your trusty fingernail to gently press down on the adhesive – it’s like securing a sticky note, but way more important.
– Now, slide along the perimeter to make sure that adhesive is nicely stuck to the frame. If you need help, you can always schedule a repair
Tools Used
Step 6
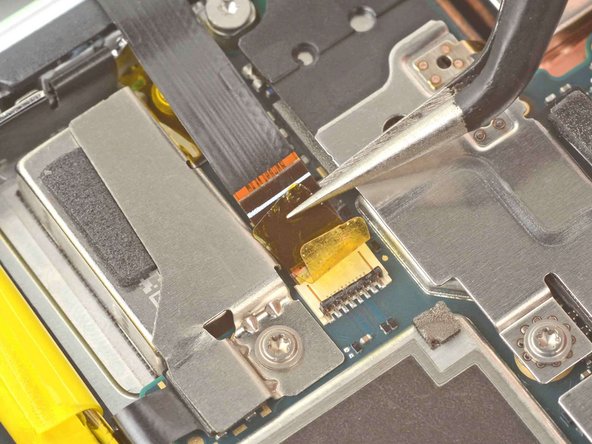

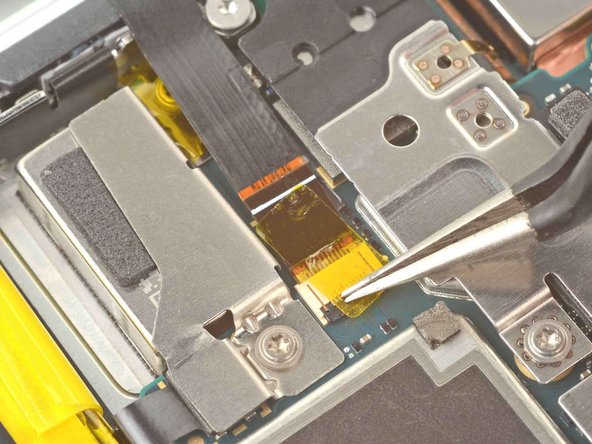
– Grab those tweezers and gently guide the fingerprint sensor cable into its cozy little socket.
– Give that latch a firm press to lock everything in place.
Tools Used

Step 7


– Gently peel back the plastic lining to reveal the adhesive on the back cover side. You’re almost there!
Step 8

– Now, gently place the back cover onto the frame. It should fit right in.
– Press down all around the edges of the back cover to make sure it’s snug. You’re basically giving it a big hug!
– For some extra love, heat the edges of the back cover with a hairdryer and then rest your phone face-down under a stack of heavy books for 30 minutes. This will help the adhesive bond securely. If you need help, you can always schedule a repair.