Google Pixel 2 XL Camera Replacement Guide
Duration: 45 minutes
Steps: 17 Steps
Hey there, tech wiz! This repair guide was put together by the folks at Salvation Repair. It’s a step-by-step guide to help you out. If you need a little extra help, you can always schedule a repair.
Alright, let’s get this Pixel 2 XL back in tip-top shape! This guide will walk you through replacing the rear camera. We’ve got your back (literally), so don’t sweat the details. If you need help, you can always schedule a repair. Let’s do this!
Step 1


Got a cracked display glass? Don’t worry, we’ve got you covered. Tape over the glass to prevent any injuries and further damage. This will also give you a smooth surface to work with, making it easier to get a good bond with the suction cup.
Keep in mind that the suction cup might not stick as well to curved parts of the glass. If you need help, you can always schedule a repair
– Come on, buddy, let’s give it our best shot! Grab a suction cup near the SIM slot, stay away from the curvy edge, and let’s get this show on the road! If you need help, you can always schedule a repair.
Step 2


Getting that screen off might require a bit of elbow grease and a sprinkle of patience! If you’re facing a challenge, try gently rocking the suction cup while lifting the screen. This little dance can help loosen the adhesive. If that doesn’t do the trick, don’t hesitate to bring some warm vibes with an iOpener, heat gun, or hair dryer.
– Now, get ready to do some magic! Hold onto that suction cup and pull upward with a steady, firm pressure. Once you feel a little give, slide an opening pick between the front panel and the back case. You’ve got this!
Tools Used

Step 3


During the upcoming steps, keep your eyes peeled and take a little extra care in certain spots to keep your phone safe and sound!
– When using the pick, be gentle and don’t insert it more than 0.25 inches (6 mm) into the bottom edge of the phone. We want to avoid damaging that beautiful OLED display.
– Take care not to cut along the left edge, as there are some delicate display cables hiding out that can get damaged easily.
– In the upper left corner, make your cuts super shallow. Prying too deeply can put the front-facing camera at risk of damage. If you’re not feeling confident, you can always schedule a repair with the pros at Salvation Repair.
Step 4


– Glide your trusty opening pick down the right side of the phone to smoothly peel away the display adhesive. If you need help, you can always schedule a repair!
Step 5


As you dive into these steps, remember to use the flat side of the opening pick instead of the corners. This little trick helps keep the pick from going too deep, so you can work that repair magic safely!
– Let’s get this party started! Slide the opening pick around the lower-right corner and along the bottom edge of the phone. It’s like giving your phone a little hug, but with a tool instead! 😉
Step 6


– Slide that trusty pick into the top-right corner of the phone, and take a little joyride along the corner and the top edge. You’ve got this!
Step 7


Hold your horses! Don’t go ripping that display off just yet. There are some delicate ribbon cables still holding it to the motherboard. We wouldn’t want to cause any unwanted damage, now would we? 😉 If you need help, you can always schedule a repair.
– Gently pop open the display from the right side of your phone, just like flipping through your favorite book.
– Carefully lay the display down flat on your table, keeping it close to the rest of your phone. This way, you’ll avoid any unnecessary strain on those delicate display and digitizer cables!
Step 8


Be gentle when prying to avoid damaging the cable underneath or misplacing the cover. If you’re not feeling confident, don’t worry – you can always schedule a repair and let the pros handle it.
Hang on to this part, you’ll need it later to put everything back together.
You’ll find a clip holding this cover in place along the bottom edge.
– Grab an opening tool and gently nudge the corner to lift and pop off the lower edge of that digitizer cable connector cover. You’ve got this!
– Now, go ahead and remove the connector cover. Easy peasy!
Step 9


– Pop up that digitizer cable connector using a trusty spudger tool. Get it out of the socket, right off the motherboard!
– When it’s time to press connectors back, line them up carefully, push down on one side till it clicks, then do the same on the other. No middle-pressing! Misalignment can bend the pins, and that’s a no-go.
– If your screen’s not responding after the fix, re-seat the connector, ensure it clicks fully, and check for dust or any other blockages.
Tools Used


Step 11


Hang onto this component – you’ll need it again when you’re putting everything back together.
– Gently slide the point of your spudger into that tiny hole on the edge of the display connector cover.
– Now, give it a little nudge with the spudger to pop the cover out of its snug little spot.
– And voilà! You’ve successfully removed the connector cover.
Tools Used
Step 12


– Alright, time to get that display connector loose. Use the flat side of your trusty spudger to gently lift it right out of its little socket.
– Now, carefully remove the display – you’re doing great!
– When you’re putting things back together, you can add some new adhesive around the edges of the display, if you want to keep things nice and secure. If you need help, you can always schedule a repair.
Tools Used
Step 13

– Peel off eleven 3.8 mm Phillips smiles from the midframe, because you’ve got the right tools for this! Just keep track of each one like they’re your BFFs, making sure they go back to their original spots. d’OH-lah! 😉🔧
Step 14


– Slip a tool into the notch near the volume buttons and gently pry up the midframe away from the phone.
– Take off the midframe.
Step 15


– Let’s get started by using the flat end of a spudger to carefully disconnect the battery connector. Remember to take your time and be gentle, and if you need help, you can always schedule a repair
Tools Used
Step 16

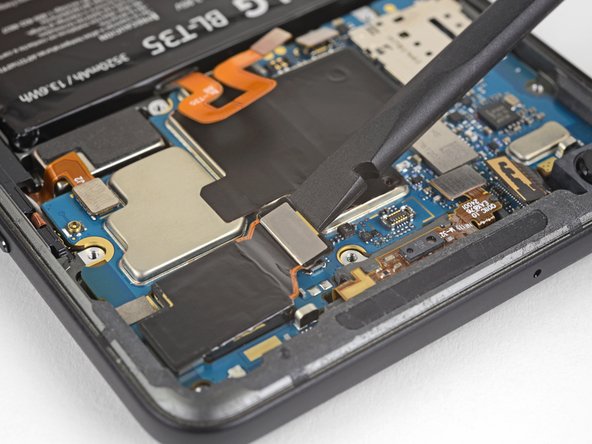
– Time to get that rear camera up and running. Use the flat edge of a spudger to carefully disconnect the rear camera connector. If you need help, you can always schedule a repair
Tools Used
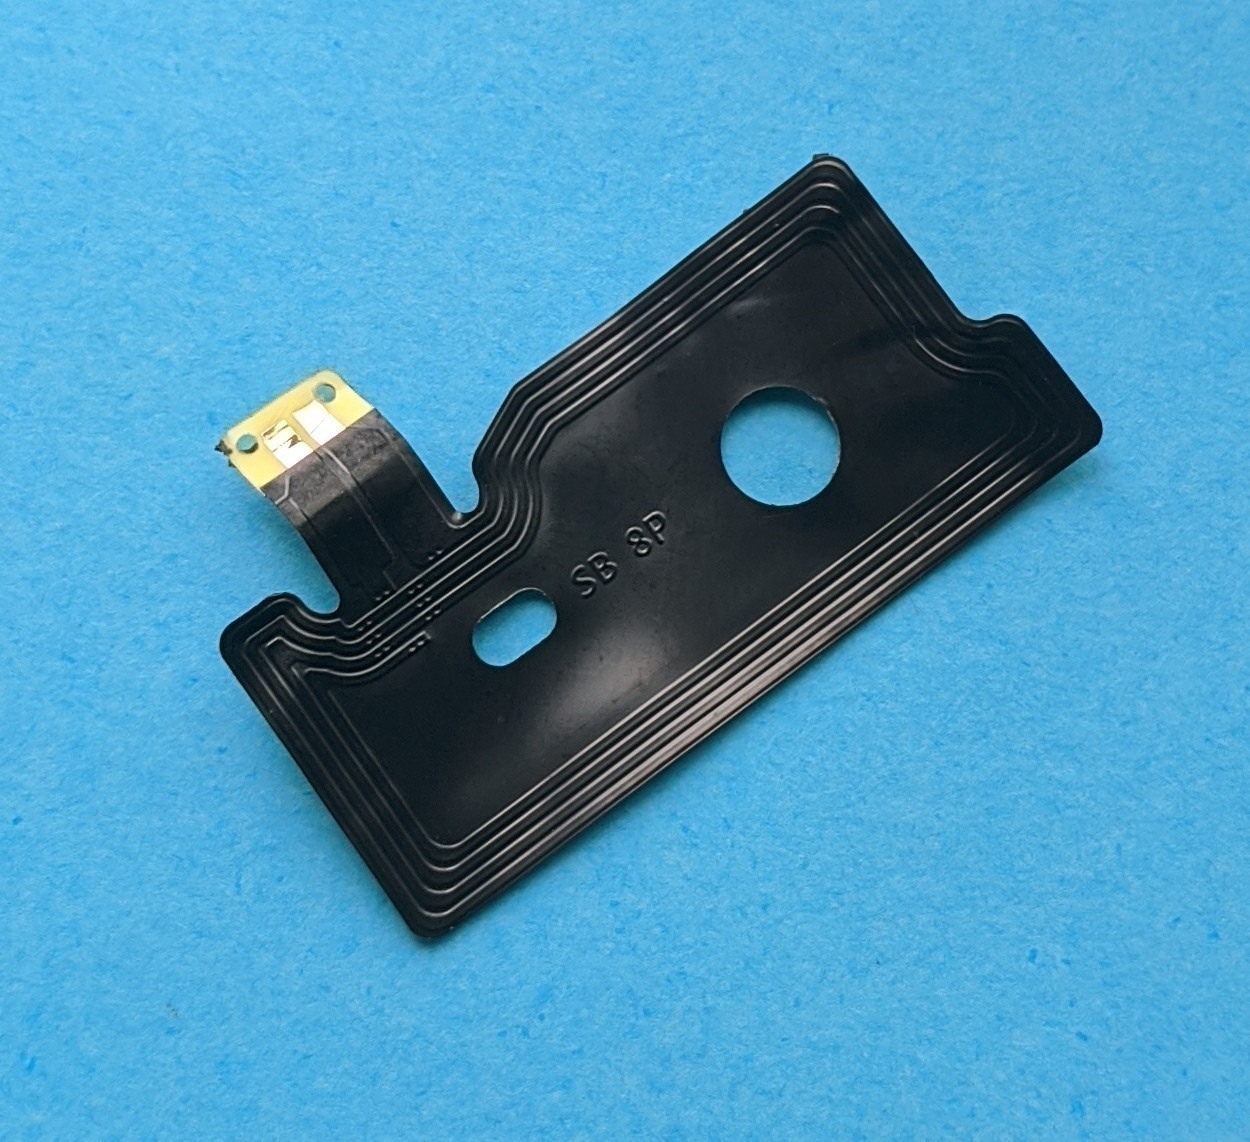
Step 17

– Time to say ‘goodbye’ to that rear camera module! Let’s gently remove it – don’t worry, it’s just a quick swap. If you need a hand, you can always schedule a repair.