Google Pixel 2 XL Display Adhesive Replacement Guide: DIY Tutorial
Duration: 45 minutes
Steps: 5 Steps
Hey there! This repair guide is from the awesome folks at Salvation Repair. We’re all about DIY and giving your tech a new lease on life. Want to skip the fix and just have us take care of it? No problem! You can always schedule a repair.
Hey there, repair enthusiast! This guide will help you apply fresh adhesive to your Pixel 2 XL’s display. It’s like giving your phone a brand-new hug! You’ve already tackled the tricky part of removing the display, so you’re practically a pro! If you need help with anything, you can always schedule a repair. Let’s get this Pixel looking good as new!
Step 1

Be extra careful to scoop up any tiny glass bits!
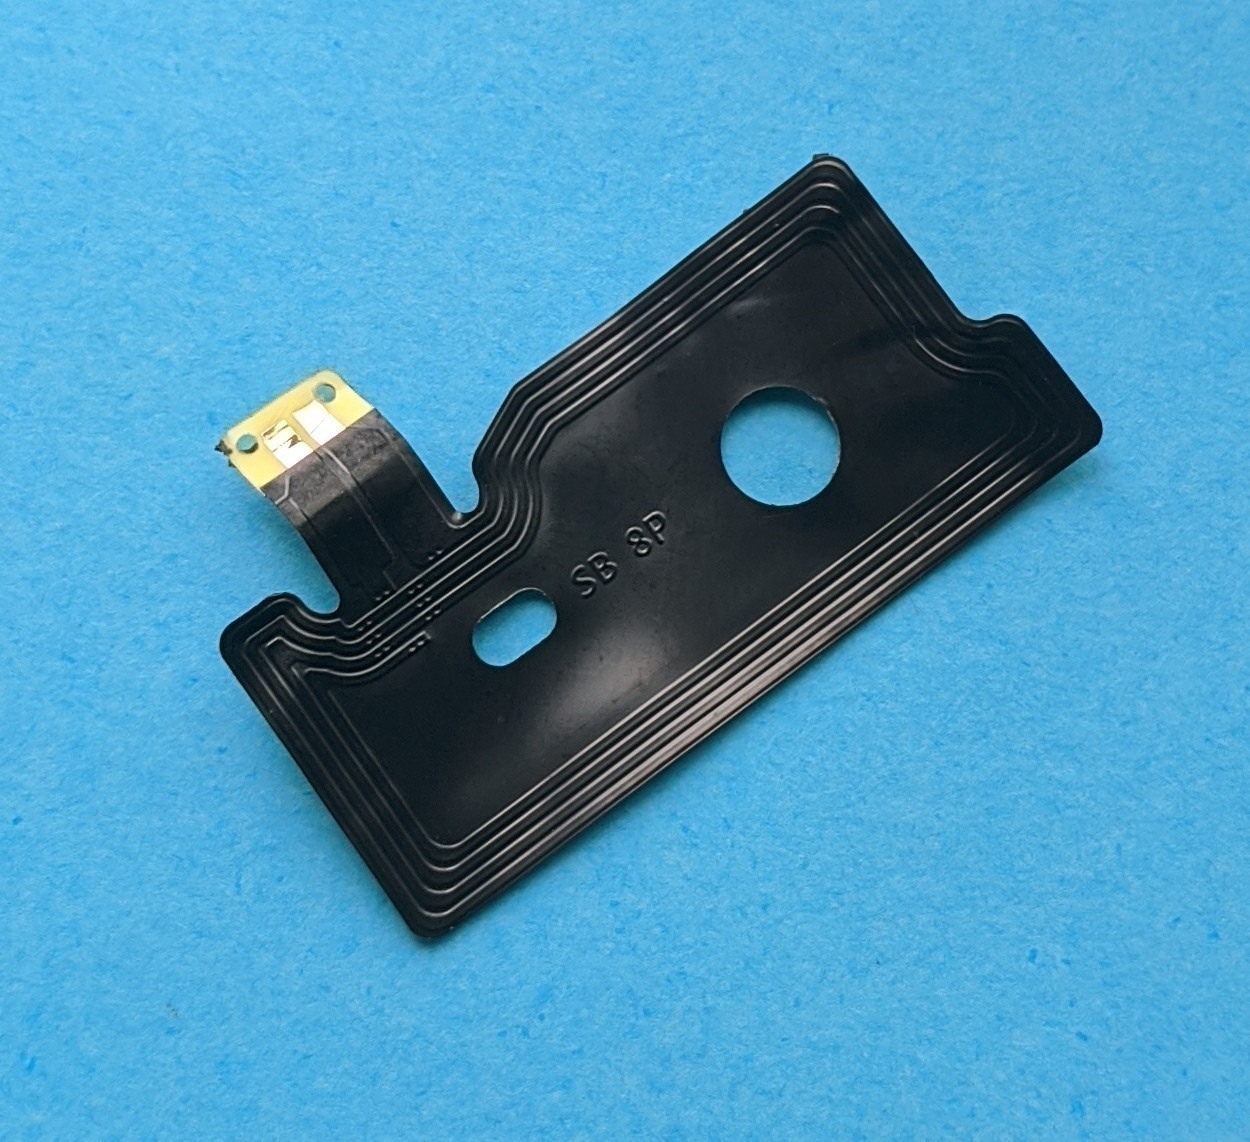
Before you dive into the adhesive fun, just a quick heads-up! If your shiny new display is missing those speaker grilles or the front-facing camera gasket, be sure to pop those on first. Your device will thank you later!
– Say goodbye to the remnants of the old adhesive on your Pixel’s case—it’s time for a fresh start!
– If you’re giving your old display a second chance, make sure to bid farewell to any leftover adhesive clinging to the back as well.
– Once you’ve cleared away all the old glue and glass, give those adhesion areas a good scrub with high concentration isopropyl alcohol (at least 90%). This little step will help create a strong bond for your display!

Step 3

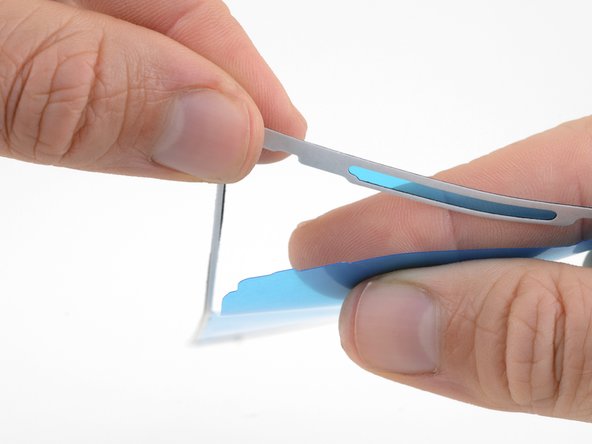
Be extra gentle, folks! Do not damage the adhesive, white layer, or the blue layer beneath it. Gently remove the blue plastic surrounding the adhesive strip only. If you need help, you can always schedule a repair.
You’ll see some tiny holes around the edges of the adhesive strip. Don’t worry, it’s normal!
Once you’ve got it peeled off, you’ll be left with a phone-shaped ring of adhesive. One side is blue, the other is white – just like a little phone cookie!
– Time to get started! Carefully tear along the perforations to separate the outer portion of the adhesive backing from the adhesive strip – it’s easier than you think.
– Now, let’s move on to the next step. Carefully tear along the inner perforations to separate the inner portion of the blue backing from the adhesive strip. If you need help, you can always schedule a repair
Step 4


– Alright, let’s peel back that white backing to reveal the sticky side of the adhesive strip.
– Now, carefully place that sticky strip on your phone case, with the sticky side down and the blue backing up.
– Make sure the speaker holes on the adhesive strip line up perfectly with your phone’s speakers. That’s how you know it’s in the right spot.
– With the adhesive lined up, use your finger or a spudger to press it down against the case. You’ve got this!
Tools Used

Step 5

For an easier time removing the backing, go ahead and tear or cut through the blue backing right next to the pull tab. If you need help, you can always schedule a repair.
– Once you’re ready to seal the phone, gently peel away the blue backing. Make sure you don’t pull the adhesive off the phone! That’s a total no-no.
– Now, head back to the Pixel 2 XL replacement guide and finish assembling your phone. You’re almost there, champ!