Google Pixel XL Rear Glass Replacement Guide: DIY Step-by-Step Tutorial
Duration: 45 minutes
Steps: 10 Steps
This handy repair guide comes to you courtesy of the talented folks at iFixit, and just a heads up – it hasn’t received a thumbs up from Google.
Crafted by the talented crew at Salvation Repair, this guide isn’t officially backed by Google, but it’s packed with helpful insights! Dive in to discover how to swap out that cracked rear glass panel or refresh its color on your Google Pixel XL. Need a hand? Feel free to schedule a repair anytime!
Step 1

When using a hair dryer, heat gun, or hot plate, be gentle – your phone’s display and internal battery can get damaged if they get too hot. If you need help, you can always schedule a repair
– Warm up an iOpener and give the phone’s back glass panel some toasty love for about two minutes.
Tools Used

Step 2


If your back glass is looking like a puzzle, a simple layer of clear packing tape might just save the day and let that suction cup stick like a pro! Or, if you’re feeling adventurous, some super strong tape could do the trick instead of the suction cup. Got superglue? You could even glue that suction cup right onto the shattered screen.
For those pesky edge cracks, grab an opening pick and gently slide it under the crack, easing out the glass bit by bit. Patience is key here!
A little extra heat can work wonders by loosening the adhesive and making your repair journey smoother. Just a little warmth goes a long way!
– Once the glass feels pleasantly warm, grab a suction cup and place it near the edge.
– Gently pull on the suction cup and slide an opening pick into the gap that forms.
Step 3


While you’re carefully cutting the adhesive away, take a look to avoid slicing close to the NFC pad. If you need help, you can always schedule a repair
– Grab your trusty opening pick and gently glide it along the edges of the glass panel to break through that pesky adhesive.
– If you find yourself struggling with the slicing, just give the panel a little extra heat to keep things smooth.
Step 4


Watch out for those sharp edges! Cracked glass can be a real sneaky hazard. Take your time while prying and make sure to tidy up any glass pieces. Safety first, right?
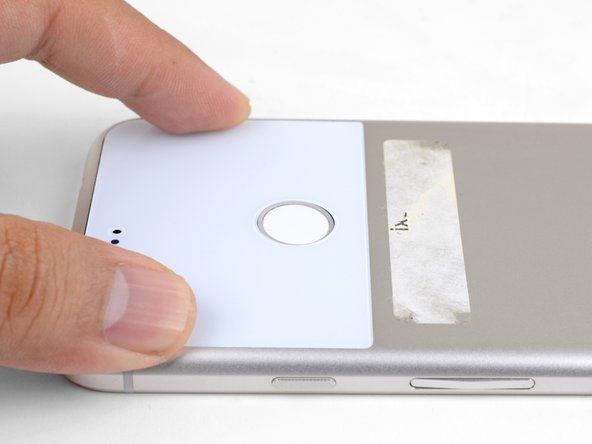
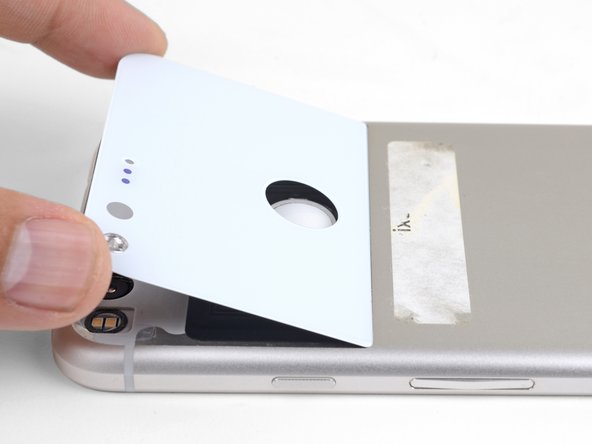
– When you’ve freed the back glass around the fingerprint sensor, give it a firm press until it comes loose from the back glass. You’re making great progress!
– Keep slicing through the adhesive underneath the back glass until the panel is ready to come off. If you need help, you can always schedule a repair
Step 5

If your new rear glass doesn’t have a microphone mesh, don’t worry! Just gently move the original one over to the new piece. You’ve got this!
– Grab your trusty opening pick and some tweezers, and gently lift that mesh right off. You’ve got this!
Step 6

– Grab a spudger or an opening tool and gently scrape away all that adhesive from the frame. You’re doing great!
– Next up, take some high concentration isopropyl alcohol (we’re talking over 90% here) and give it a good wipe to remove any stubborn residue. Keep going, you’re almost there!
Tools Used


Step 7
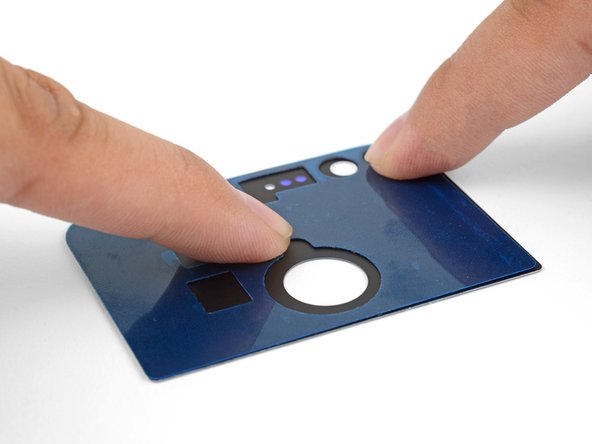

Ensure the glass panel’s backside is facing up, just like a proud peacock showing off its feathers!
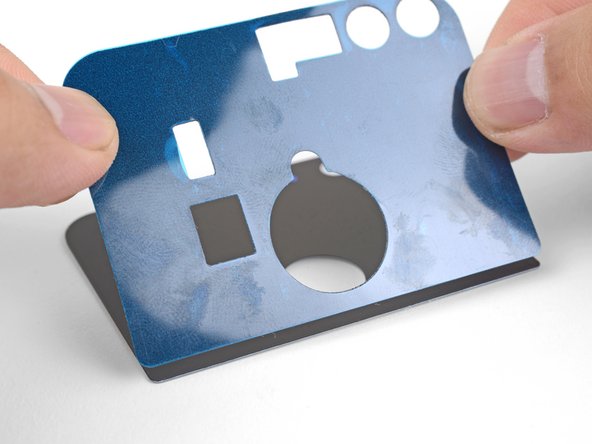
– Gently peel off the white backing from the adhesive sheet, and don’t forget to pop out all those little cutouts!
– Align the bottom edge of the adhesive with the bottom edge of your shiny new glass panel.
– Carefully lower the adhesive onto the glass panel like you’re placing a delicate treasure.
– Give it a little love by rubbing your fingers over the adhesive to help it stick like best friends.
Step 8

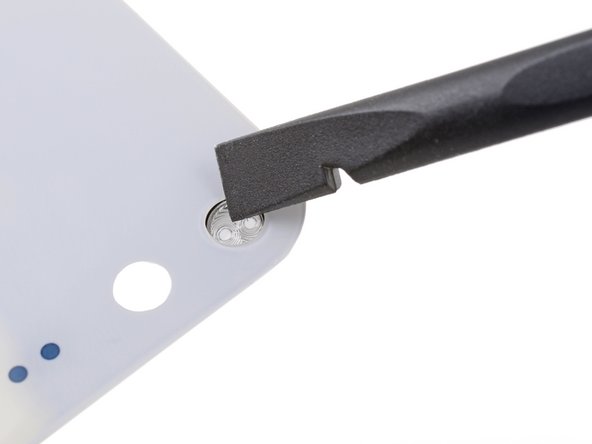
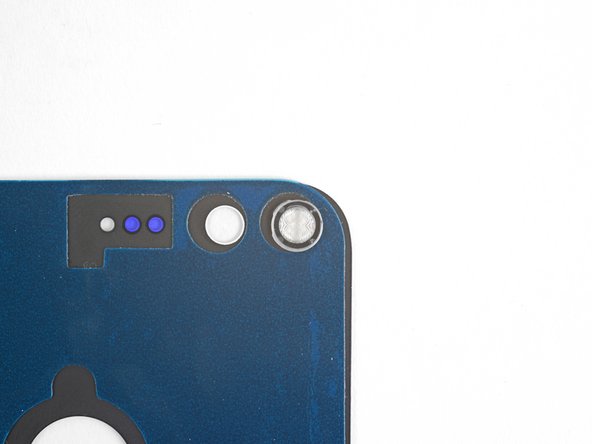
If your new part didn’t come with a flash lens, no worries! Just grab the one from your old panel and give it a new home.
When you place the flash lens, make sure to line it up just right so those fresnel rings are stacked vertically like a pro.
– Get ready to give that lens a little love! Use a spudger or your finger to gently press on the lens from the outside of the glass panel, like you’re giving it a friendly nudge. Keep pressing until it pops loose from its cozy little spot.
– Time to swap the lens! Carefully remove the lens and move it to the back of the new panel. It’s like a little lens swap party!
Tools Used
Step 9

– Start by gently peeling the backing off the adhesive glass panel—it’s like unwrapping a present!
– Next, line up the glass panel with the bottom edge of the indentation—make sure it’s a perfect match.
– Finally, carefully lower the glass panel into place. You’ve got this; just take it one step at a time!
Step 10

– Now, here’s the fun part. To make sure that back glass adhesive sticks like glue, grab some heavy books and pile them on top of the phone for about half an hour. Let those books do their magic!