Samsung Galaxy Amp Prime Battery Replacement Guide: DIY Step-by-Step
Duration: 45 minutes
Steps: 5 Steps
Hey, this step is for the **Samsung Galaxy J3 (2017)** model number **SM-J320AZ**. If you’re working on a different device, make sure you’ve got the right guide! And hey, if you need a helping hand, you can always schedule a repair with us!
Ready to breathe new life into your Samsung Galaxy Amp Prime? You’ve come to the right place! We’re going to guide you through replacing the battery of your SM-J320AZ model with ease, and guess what? The steps are pretty much the same for other Amp Prime models too! This repair is a breeze and should only take about five minutes of your time. No prior experience is needed—just a little bit of enthusiasm! Remember, batteries power your device, and after countless charging cycles, it’s normal for the old one to kick the bucket. So roll up your sleeves, follow our easy step-by-step guide, and soon enough, your phone will be back in action. Just make sure to turn off your device and unplug it before we dive in!
Step 1


Alright, champ, before we get started, let’s make sure your phone is powered down and unplugged from the charger. We wouldn’t want any unexpected sparks flying around, now would we? 😉
– Alright, let’s get this party started! Grab a spudger or your trusty fingernails and give that back case a little nudge. Start at the small slit on the side of your phone and gently pry it open. You’ve got this!
Tools Used

Step 2


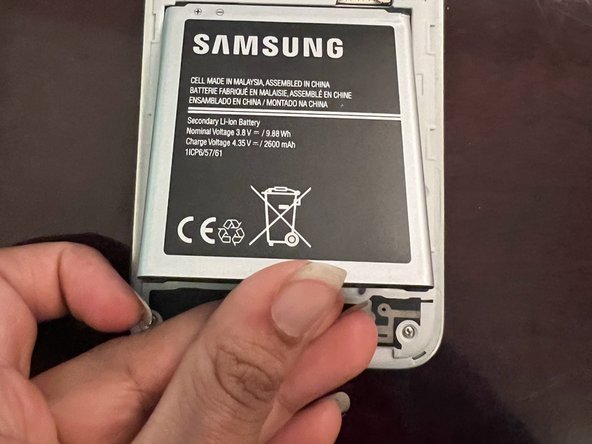
– Whoa, get ready for this! Gently sneak your spudger or nail into the tiniest slot at the bottom right, that’s where your battery resides. Now, push the battery out of your phone like it’s a game of cat and mouse. If you need help, you can always schedule a repair.
Tools Used
Step 3
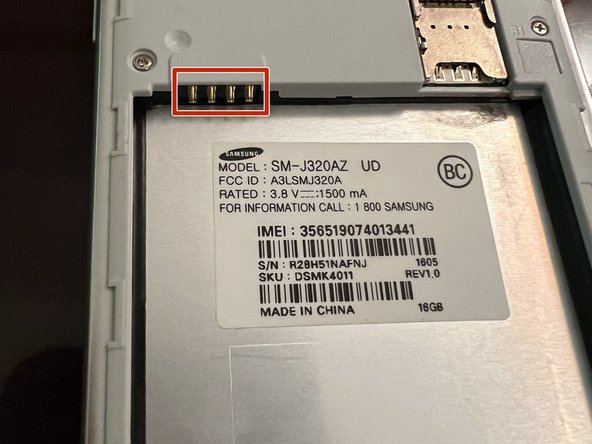

– Get those four shiny gold contacts at the top of your new battery lined up perfectly with the top of the battery compartment. It’s like a high-five waiting to happen!
– Now, gently slide that replacement battery in, making sure those gold contacts connect snugly with their matching socket. You’re almost there!
Step 4

– Let’s rock and roll, tech enthusiasts! Time to replace that phone back case and show it who’s boss. Don’t worry, you’ve got this! If you need help, you can always schedule a repair.
Step 5

– Alright, time to give your phone a little juice! Plug it in and let it charge up. Once it’s all powered up, you can turn it on.
