DIY Guide: Samsung Galaxy Sol Camera Replacement Tutorial
Duration: 45 minutes
Steps: 7 Steps
Hey there! If your Cricket Samsung Galaxy Sol camera needs some love, you’ll be wanting to grab an OEM CRICKET SAMSUNG GALAXY SOL SM-J321AZ rear camera. If your camera’s seen better days (like a dip in the pool or a crack in the lens), then it’s time for a refresh! Don’t worry, replacing it is a breeze. If you need help, you can always schedule a repair.
Step 1

– Let’s pop open that back case! You can use an opening tool or just your trusty fingernail to gently pry up the little divot on the top left side.
Step 2

– Let’s get started by removing the battery. To do this, simply lift it from the bottom up using an opening tool or a small flat tool, like a credit card. If you need help, you can always schedule a repair
Step 3

– Let’s get started by removing the grey back of the phone – simply unscrew all ten 0.4mm screws using a Phillips #00 screw bit. If you need help, you can always schedule a repair

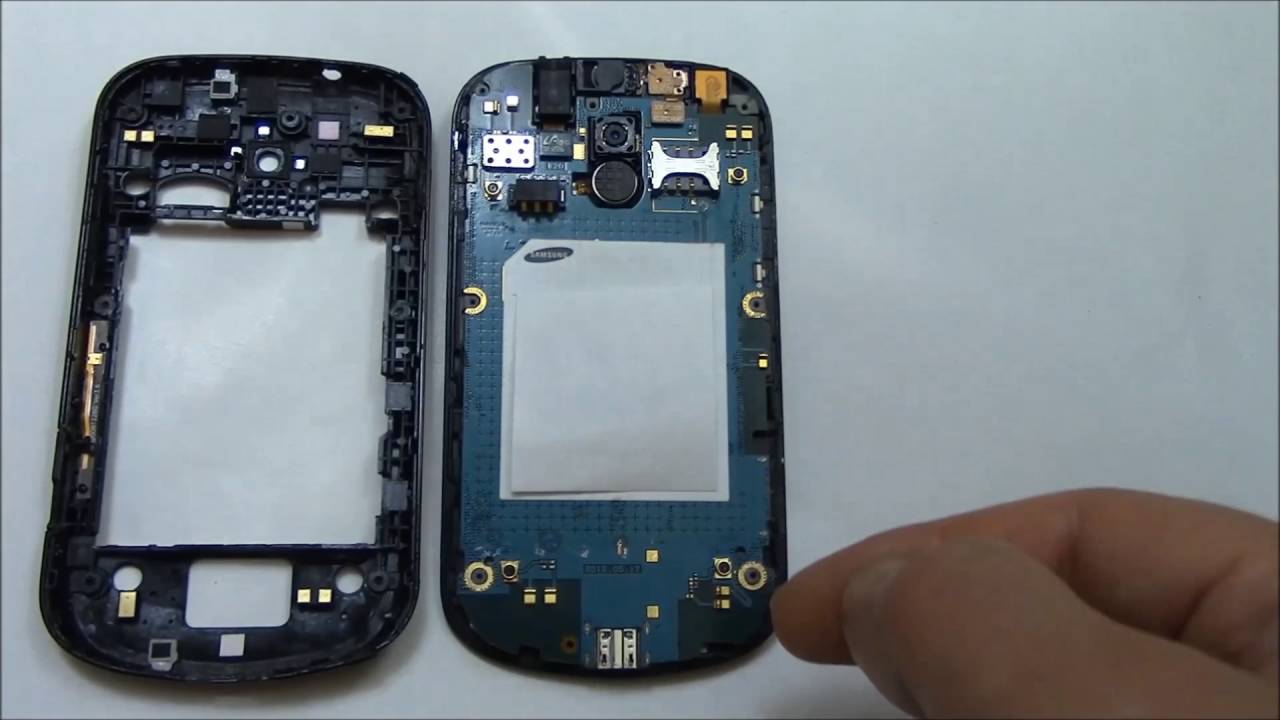
Step 5


– Alright, time to get that motherboard out! Once you’ve removed the grey part, you’ll need to detach all the chips. Don’t worry, it’s easier than it looks! If you need help, you can always schedule a repair.
Step 6

– After you’ve expertly detached the chips, go ahead and take out the hard drive to get to the rear camera. You’ve got this!
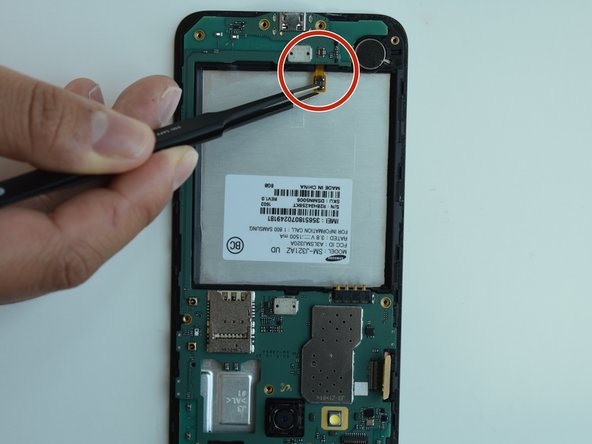
Step 7


– Ready to give that rear camera a little freedom? Just flip the tab up, and then give the camera a gentle pull. It’s like a little camera party, and you’re the guest of honor!