DIY Guide: Step-by-Step Samsung Galaxy Prime Camera Replacement
Duration: 45 minutes
Steps: 7 Steps
Step 1

– Start by inserting an opening tool or your trusty fingernail into the tab on the power button side of the phone – it’s time to get this repair started!
– Gently lift on the tab to pry the back cover off the phone, working your way around the edges.
– Keep prying all around the edges of the phone until the entire cover is fully removed – you’re making great progress! If you need help, you can always schedule a repair
Step 2

– To get started, simply lift up on the thumb tab located at the bottom right corner of the battery bay to remove the battery. If you need help, you can always schedule a repair
Step 3


– Ready to tackle that SD card and SIM card? Just peek above the battery bay and give that card a gentle slide to set it free.
– Now, grab your trusty opening tool and pop up the plastic plate that’s keeping the LCD ribbon cable cozy. It’ll come off with a little lift!
Step 4

Keep those screws safe and sound on a magnetic mat or in a cozy spot. You wouldn’t want them to wander off on their own adventure!
– Grab your PH000 Phillips screwdriver and remove the nine screws from the back. If you need help, you can always schedule a repair
Step 5


Be careful and work quickly when separating the screen and plastic bezel, as the glue can cool and re-bond the two parts. If you need help, you can always schedule a repair
Hey, you can even push the screen into the sweet, empty spot where the battery used to be to unattach. If you’re feeling stuck, just remember, you’ve got this! Don’t forget, if you need help, you can always schedule a repair
– Time to get this screen loose. Use a heat gun or a heating device to gently warm up the edges of the phone’s screen
– Now it’s time to pry things open. Carefully insert an opening tool between the screen and the plastic bezel, and apply some pressure to separate them. If you need help, you can always schedule a repair
Step 6


No need to go digging for the motherboard on this one! You can get this done without taking it out.
– Grab your trusty plastic spudger and gently detach the ribbon cable from the loudspeaker unit. You’ve got this!
– Now, with a little lift from the top, free that loudspeaker unit from the phone. Easy peasy!
Tools Used

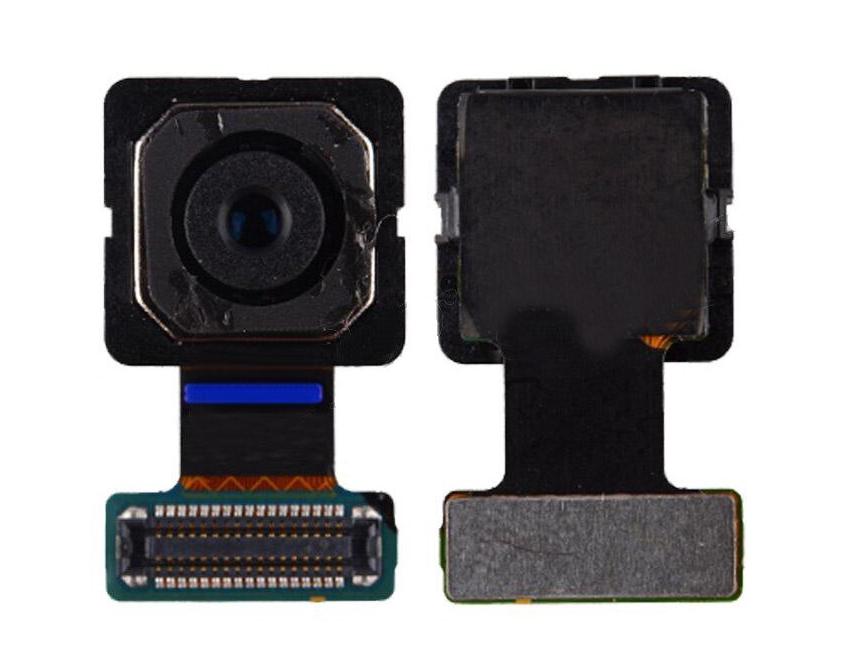
Step 7

– Time to get started – use a plastic spudger to carefully disconnect the ribbon cable from the motherboard. You’re making great progress!
– Now that the ribbon cable is out of the way, the camera should be free to remove. If you need help, you can always schedule a repair
Tools Used