DIY Samsung Galaxy Prevail 2 Camera Replacement Guide
Duration: 45 minutes
Steps: 8 Steps
Hey there! This guide will show you how to locate and replace the camera on your Samsung Galaxy Prevail 2. Don’t worry, you don’t need to be a tech wizard to follow along. We’ll take it step by step, making it a breeze. If you get stuck or need a helping hand, you can always schedule a repair with us. We’re here to make sure your phone is back in tip-top shape!
Step 1


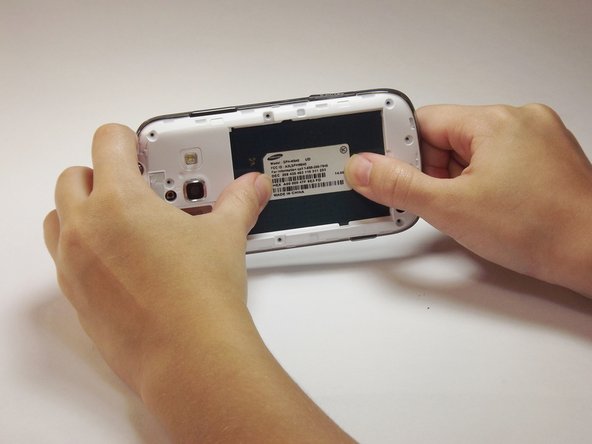
– With a little finesse, use your fingernails or a spudger to gently pry open the plastic casing, then carefully pull it away from the phone’s body.


Step 3


Don’t forget to stash those screws in a safe spot, so they don’t get lost in the chaos.
– Let’s get started by removing all the screws.
Step 4

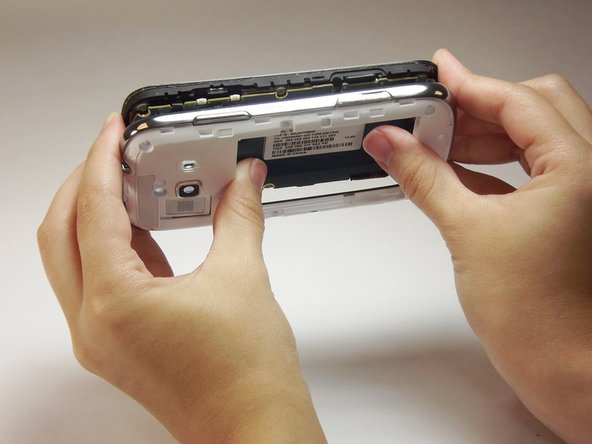
Before you dive in, give a gentle pry all around the frame to avoid any surprises while loosening it up.
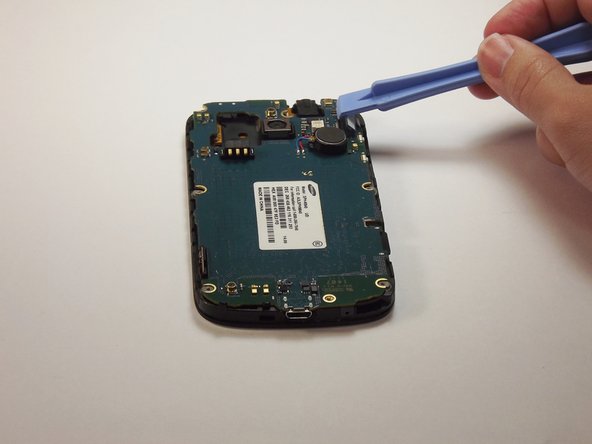
– Time to get started – carefully insert the plastic prying tool between the silver frame and the white face of the phone to release the front frame. Take your time and work your way around.
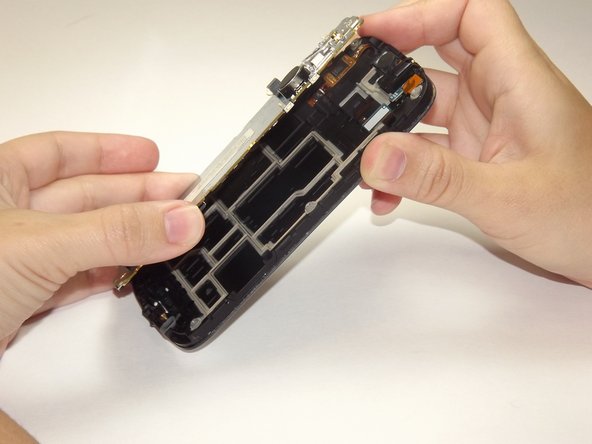
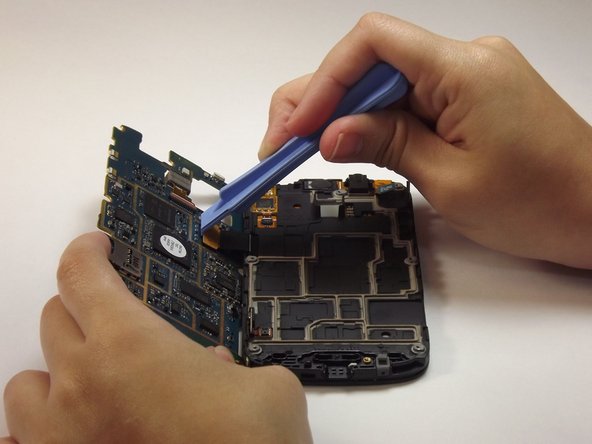
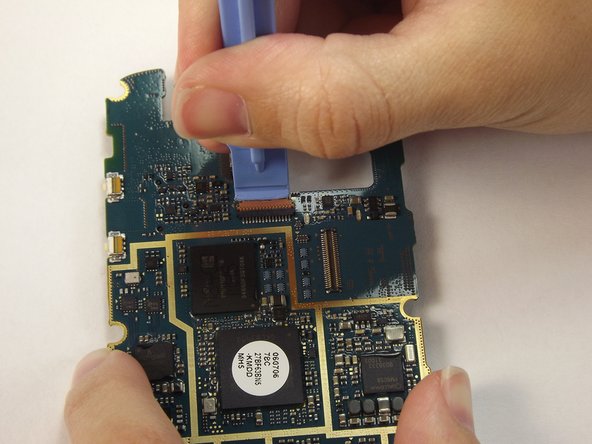
– Now, use your thumbs to gently push the motherboard out, just like you see in the example. If you need help, you can always schedule a repair
Step 5

– Time to get this flap up! Use your plastic prying tool to gently lift it up. If you need help, you can always schedule a repair.
Step 6
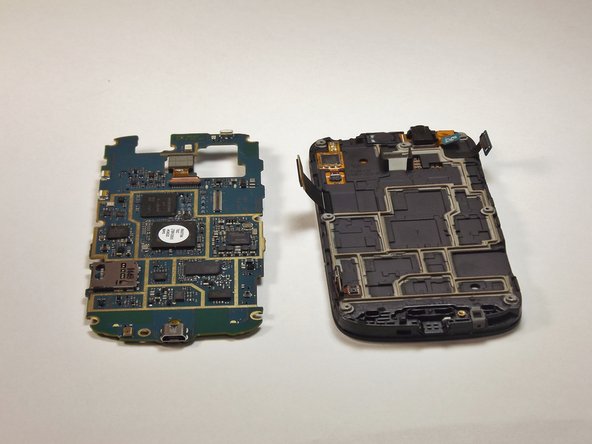

– Get ready to party as you unfurl the second flap and say goodbye to the motherboard’s clingy embrace!
Step 7

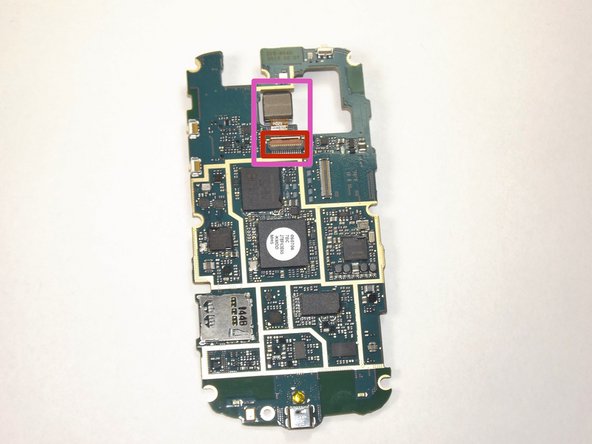
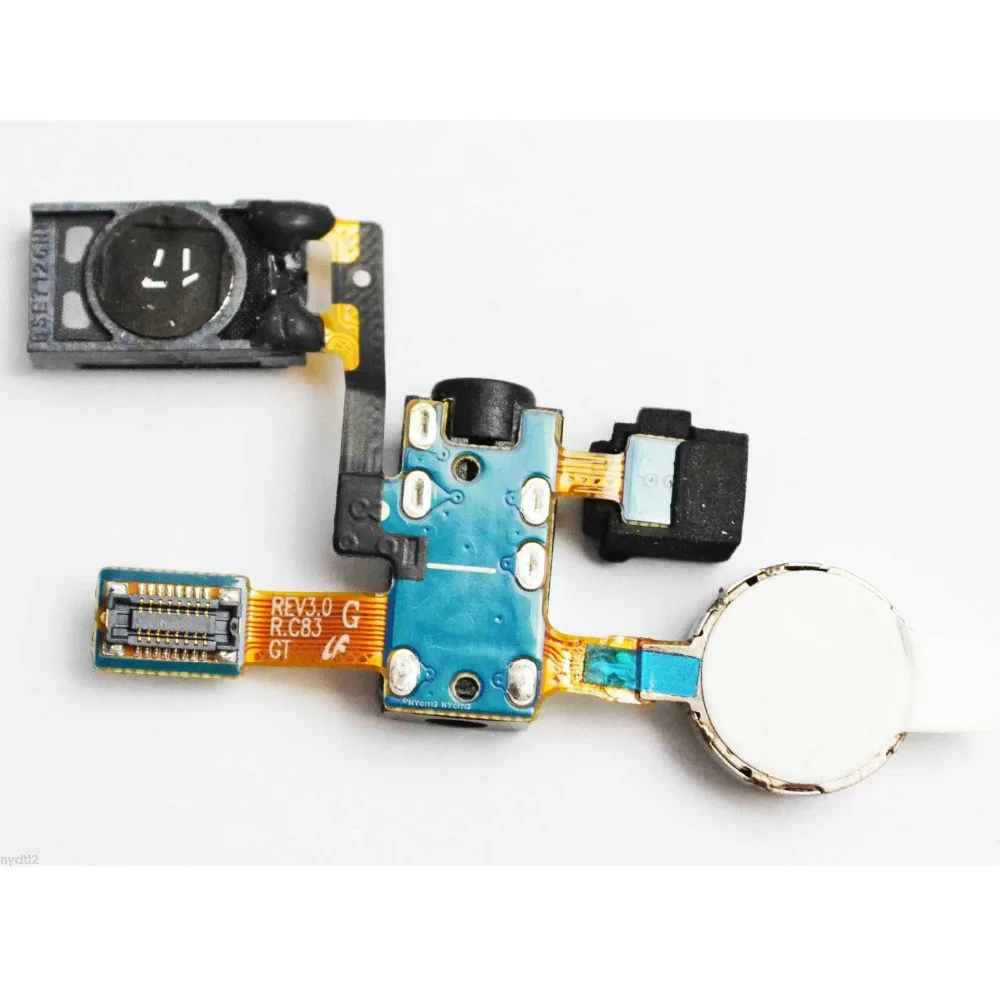
Make sure you’re checking out the back of the motherboard – it’s where the magic happens.
– Alright, let’s get this party started! Using your trusty plastic prying tool, gently lift that flap connected to the camera (you know, the red one). It’s gonna pop right off. Piece of cake, right?
Step 8

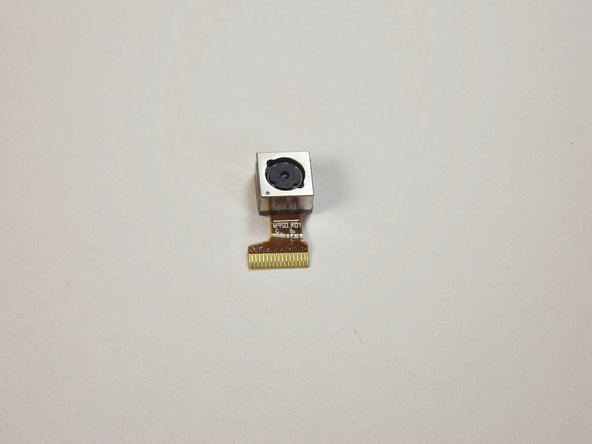

– Alrighty, tech lover! Let’s shake things up. Now, let’s lift and remove that camera with finesse. If you need help, you can always schedule a repair!