Step-by-Step DIY Guide: Replace Your Samsung Galaxy On5 Speaker
Duration: 45 minutes
Steps: 9 Steps
The speaker for the Samsung Galaxy On5 is nestled at the back of the phone. Getting to it is a breeze, and once you’re inside the phone’s chassis, everything else is smooth sailing!
Step 1

– Alright, let’s get this party started! You’ll spot a little notch on the side of your device. That’s your key to opening up the back casing. Go for it!
Step 2


– Grab a trusty plastic prying tool or even your fingernail, and gently work your way around the edges to pop that back cover off your phone. You’ve got this!
Step 3


Handle the battery with care! These lithium-ion powerhouses can catch fire if they get a little too cozy with oxygen. Stay safe and keep it cool!
– Let’s get started by locating the battery notch. You can use your finger or a plastic prying tool to carefully remove the battery. If you need help, you can always schedule a repair
Step 4

Be careful not to use a metal pry tool – it could damage the cards or the card holder, and that’s the last thing we want. If you need help, you can always schedule a repair
– First things first—let’s get that SIM card and microSD card out of the way before we dive into the phone. It’s like clearing the stage for the main act!
– Grab a trusty plastic pry tool and gently slide both cards out. You’re doing great!
Step 5


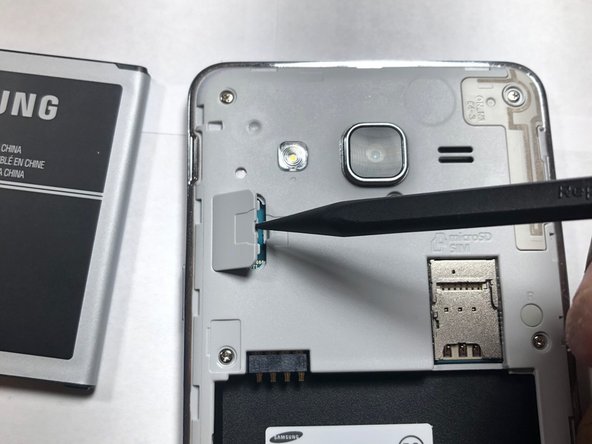
This part might be a little tricky to open. Take it slow and steady, and be careful not to push too hard, you don’t want to cause any trouble for the ribbon! If you need help, you can always schedule a repair.
– Grab your trusty plastic Spudger tool and gently ease open that LCD ribbon cable cover.
Tools Used

Step 6
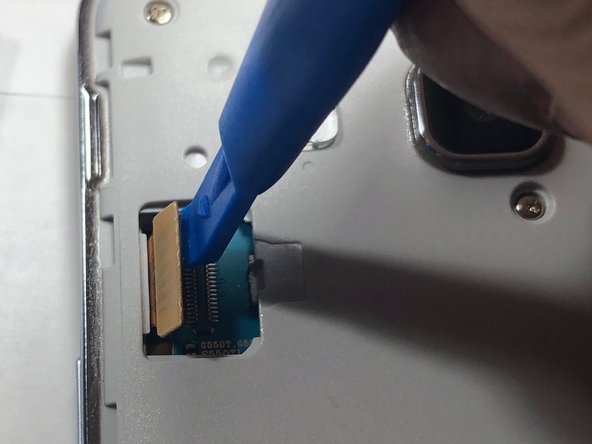

Be careful not to use a metal pry tool, as it can cause damage to the logic board and ribbon cable. If you’re not sure, don’t worry – you can always schedule a repair and let the pros handle it.
This snazzy LCD ribbon cable is the superstar that carries signals from the logic board straight to your LCD screen. Keep it happy, and your display will shine bright!
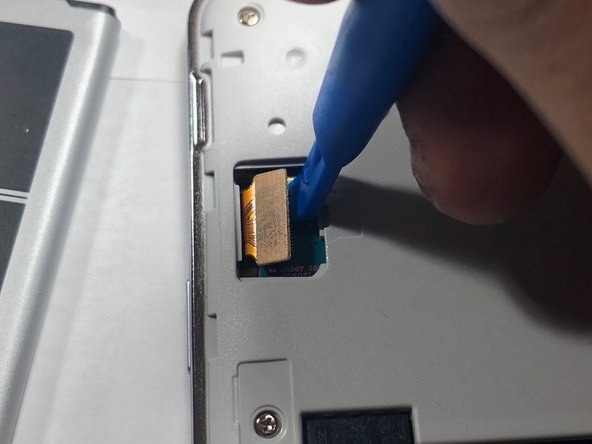
– Grab your trusty plastic pry tool and gently wiggle the LCD ribbon cable off the logic board. It’s like giving it a little high-five!
Step 7


All 9 screws are the same, so no playing musical chairs with them!
– Grab your trusty Phillips #00 head screwdriver and give those 9 screws the boot! Once you’ve liberated them, stash them somewhere safe – you don’t want to lose your little buddies. 😉
Step 8


Get ready to break free from that stubborn glue holding your LCD and back assembly together. Take your time and gently work your way around the edge of the screen to loosen things up.
If you’ve got a heat gun, now’s the time to bust it out. Heating up the glue will make it way easier to separate the LCD and back assembly. And if you need help, you can always schedule a repair
– Gently, like a good friend, use your trusty iFixit plastic pick to separate the LCD from the back assembly. Take it slow, we’re in this together!
Step 9
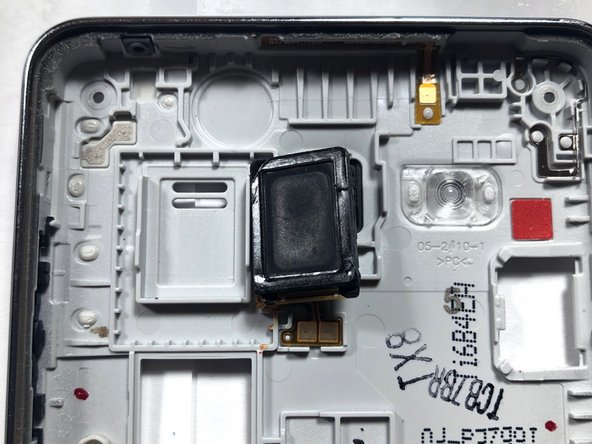

– Alright, let’s get those LCD and back assembly parts separated! Once they’re apart, you’ll see the speaker chilling out on the back assembly. It’s like a little party back there!
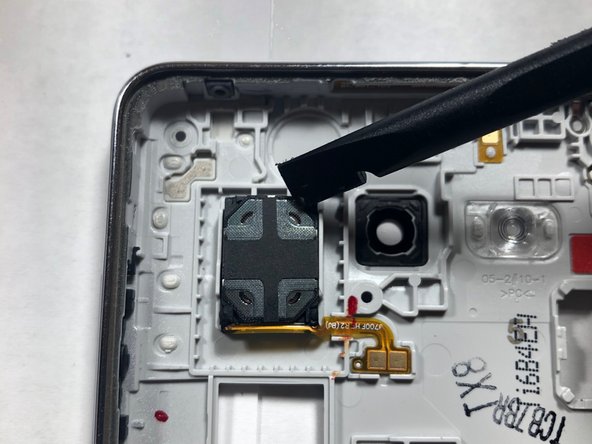
– Time to break out that trusty plastic pry tool and gently remove the speaker from its cozy home. Then, you can pop in that brand new speaker and get ready for some sweet, sweet sound! If you need help, you can always schedule a repair.