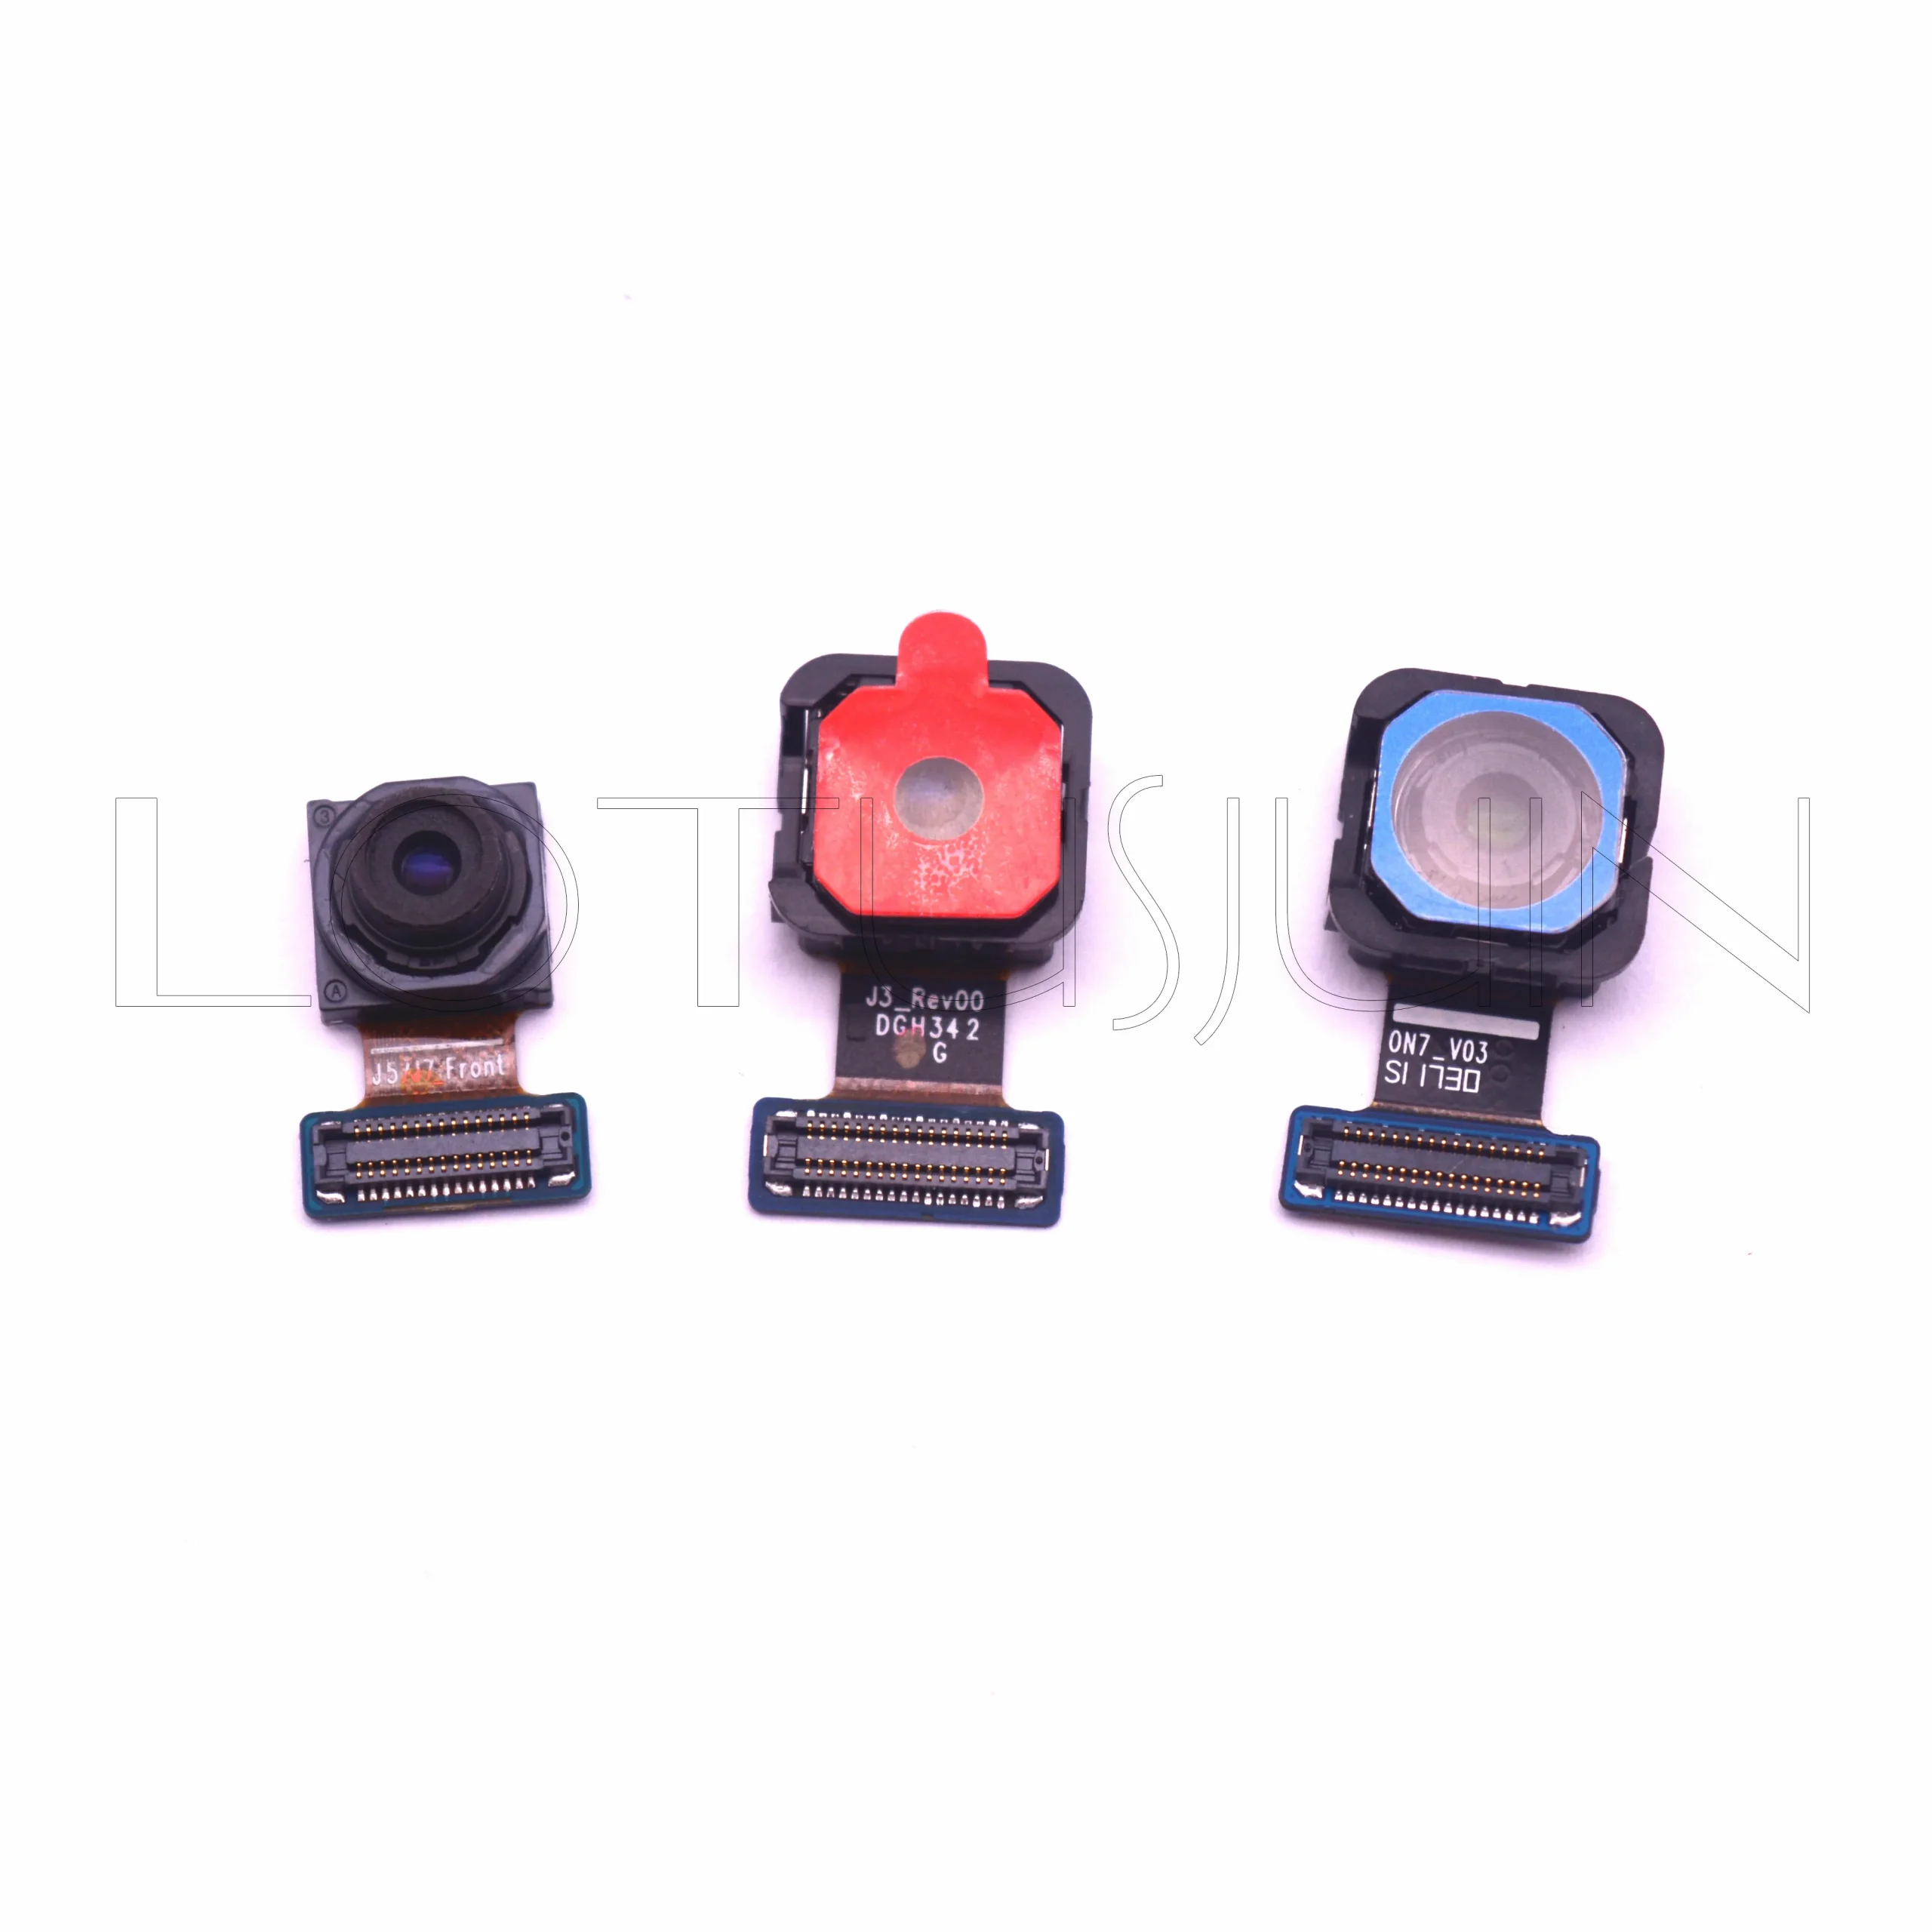
How to Replace Samsung Galaxy J3V Camera: Step-by-Step Guide
Duration: 45 minutes
Steps: 8 Steps
Get ready to dive into the fun world of tech repair! In this guide, we’ll help you swap out that pesky back camera that’s gone on vacation in your Samsung Galaxy J3V. Let’s roll up those sleeves and get started!
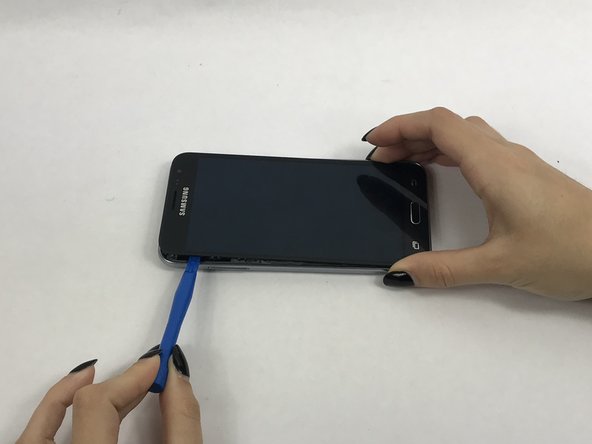
Step 1


– Let’s get started by placing your thumb on the top left corner and gently prying the tab open – then, carefully lift off the back cover. If you need help, you can always schedule a repair
Step 2


– Alrighty,scaling those tiny screws can be a pain,but worry not! You’ve got this! Just loosen the ten 2.0 mm screws using the cool Phillips #J000 screwdriver and soon you’ll be one step closer to mending your tech. If you need help, you can always schedule a repair.
Step 3

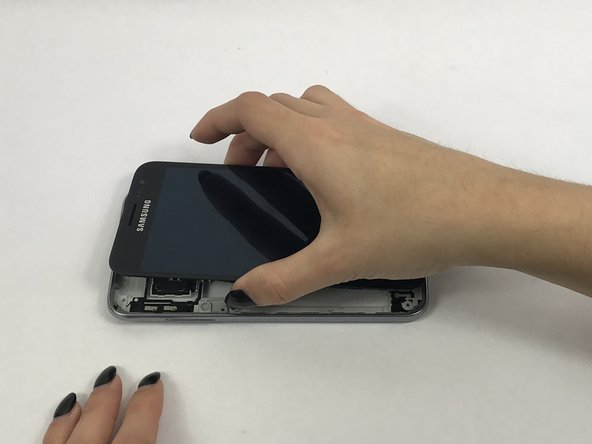
– Grab a small suction cup and gently pull the screen up. Next, slip a small plastic opening tool under the screen and carefully pry it upwards. If you need help, you can always schedule a repair
Whoa there, rookie! First time taking off this screen? No worries, it’s all part of the fun. You’ll probably find a sticky friend around the edges, so it might take a few tries and some muscle to get it off. Just remember to breathe, take it slow and don’t get discouraged. And if you need any help, you can always schedule a repair with us. Let’s rock and roll!
Step 4

– Time to get a little handy – use tweezers to carefully flip the tab on the front camera, and you’ll be able to remove it in no time. If you need help, you can always schedule a repair
Tools Used

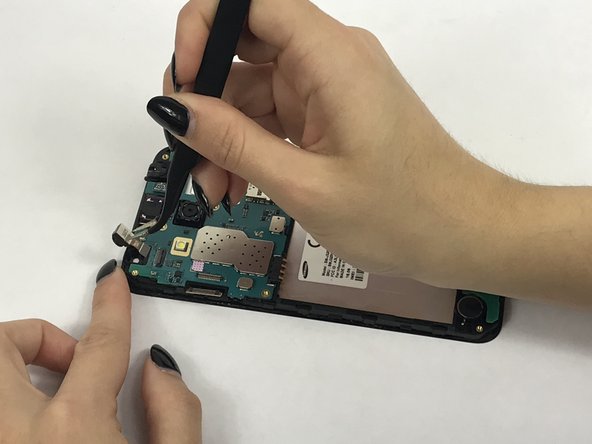
Step 5

– Let’s get started by carefully prying off the connector tab with your trusty spudger, then gently pluck out the headphone jack with tweezers – you’re doing great! If you need help, you can always schedule a repair

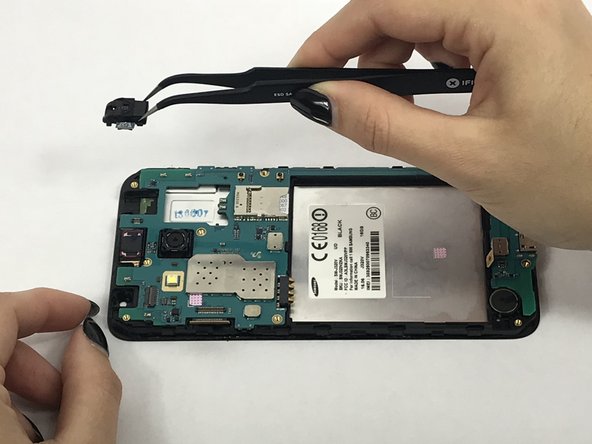
Step 6

– Now, let’s gently remove those connectors from the motherboard using a spudger. It’s like a tiny dance between your tool and the device! If you’re feeling a bit unsure, you can always schedule a repair
Tools Used
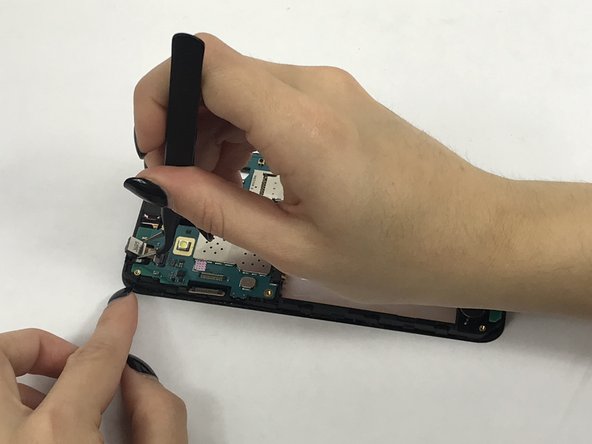
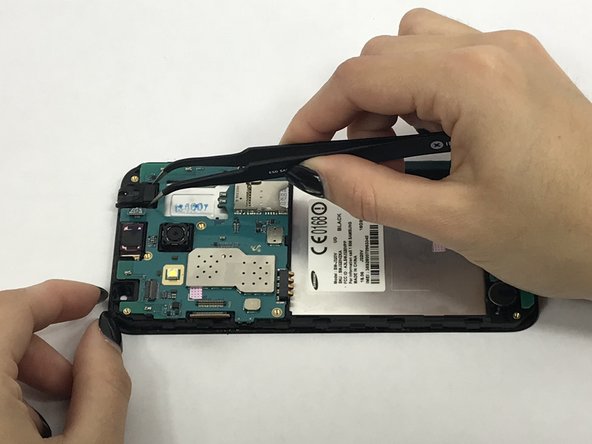
Step 7

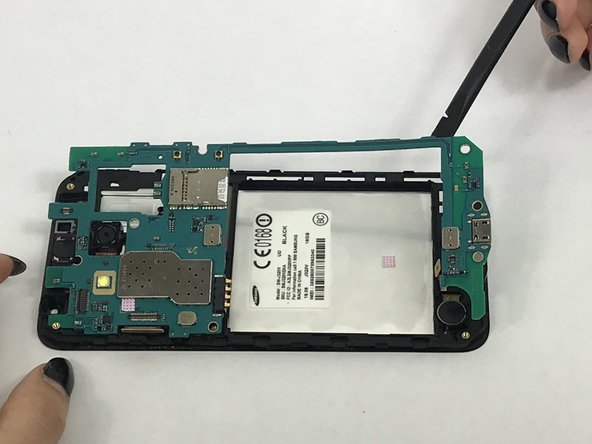
– Now, let’s gently coax that motherboard out of its plastic home using our trusty spudger. Just be careful and take your time – you’ve got this! If you need help, you can always schedule a repair.
Tools Used
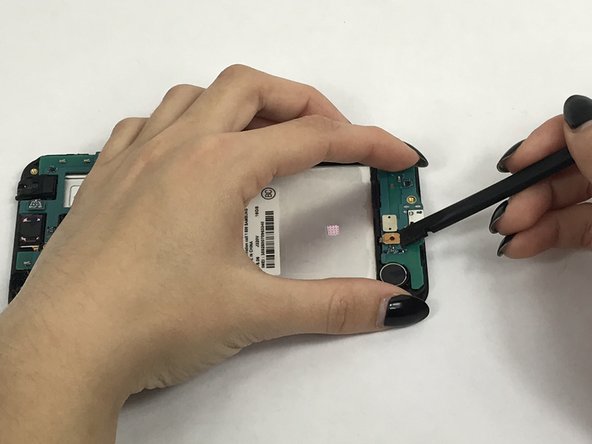
Step 8

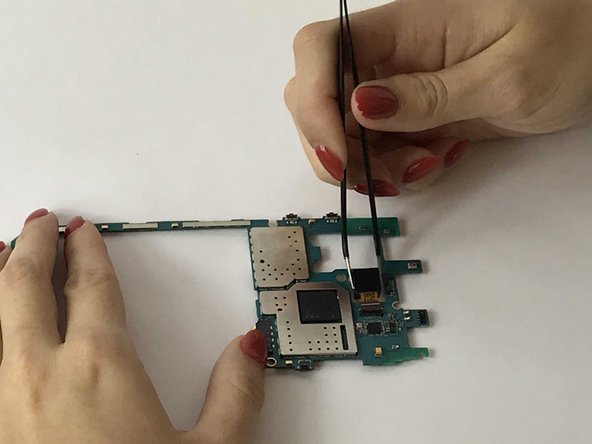
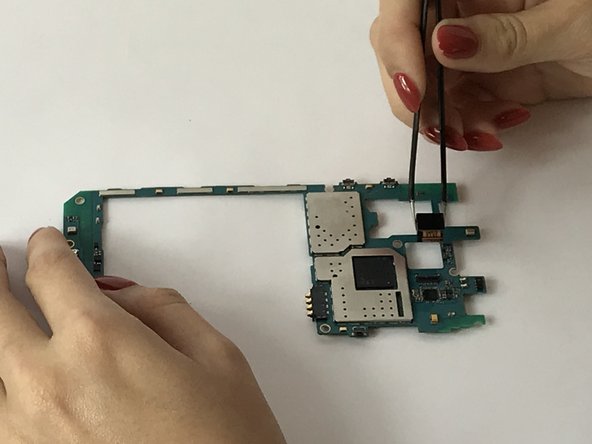
– Now that the motherboard is out, it’s time to track down the tab that’s holding the rear camera’s connector in place – gently flip it up to release it.
– Next, carefully use your trusty tweezers to remove the connector and the camera – you’re making great progress! If you need help, you can always schedule a repair
