Samsung Galaxy Express 3 Screen Replacement Guide – DIY Tutorial
Duration: 45 minutes
Steps: 6 Steps
Time to give your device a little TLC! Swap out that cracked glass digitizer and the LCD screen for a fresh new look. If you need help, you can always schedule a repair.
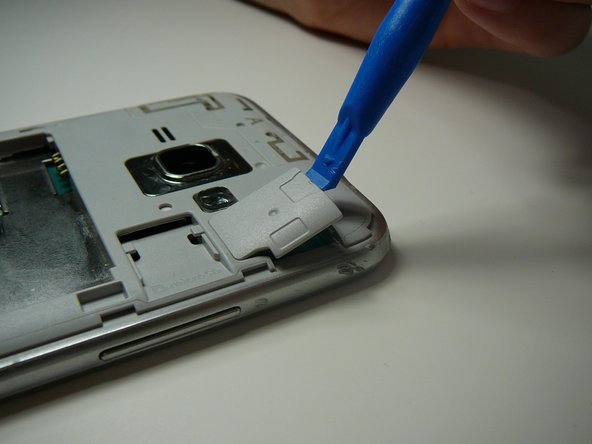
Step 1


– Let’s get started by finding the indent area marked in red. Use your fingernail or a handy Prying Tool, like a guitar pick, to carefully pry the back away from the phone’s body. If you need help, you can always schedule a repair


Step 4

– Let’s get started by detaching the screen connector. This is a crucial step, so take your time and make sure it’s done correctly. If you need help, you can always schedule a repair
Step 5

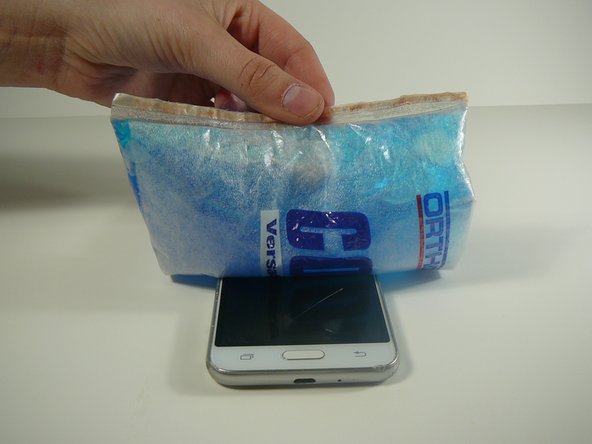
Don’t miss this crucial step! Skipping it could lead to a broken screen or LCD, and that’s not what we’re going for. If you need help, you can always schedule a repair
This step helps to gently break the grip of the glue that’s been keeping the screen snug and secure.
– Get that screen nice and toasty! Use a blow dryer or heating pad to warm it up. Don’t worry, we’re not going to melt anything. Just a little heat to loosen things up.
Step 6
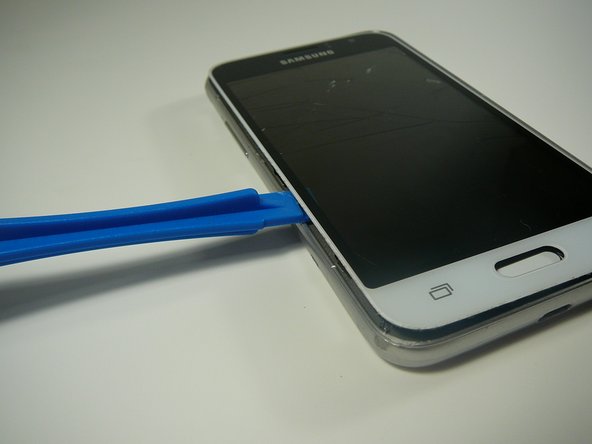

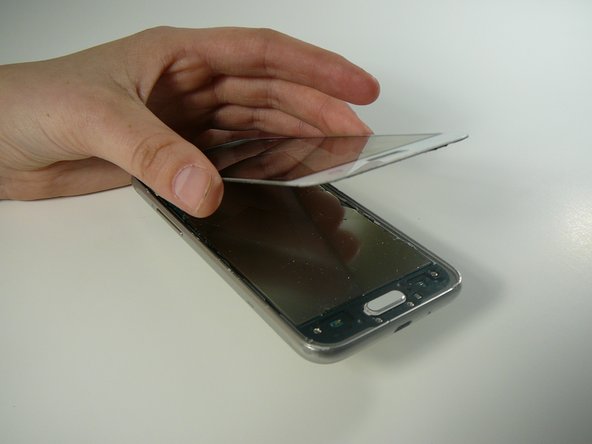
Hey there, let’s keep things chill! Use a plastic tool for this step – metal tools can be a bit too excited and scratch your screen.
Take your time with this step! Both parts are a bit delicate, so handle them with care to avoid any unwanted cracks.
– Grab a thin plastic tool (like a guitar pick) or a plastic prying tool (like a spudger) and gently lift the glass digitizer and LCD screen around the edges. If you need help, you can always schedule a repair.
Tools Used