
Samsung Galaxy Express 3 Motherboard Replacement Guide
Duration: 45 minutes
Steps: 10 Steps
Are software gremlins messing with your device and traditional fixes just won’t cut it? It might be time to swap out that motherboard and get everything back on track!
Step 1


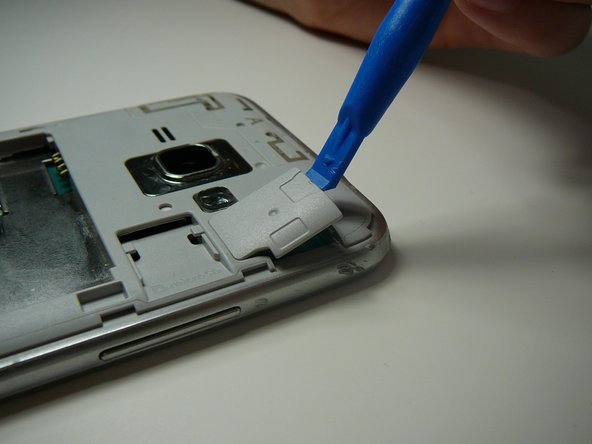
– Find the red-highlighted indent area and gently use your fingernail or a Prying Tool, like a guitar pick, to carefully pop the back off the phone. Remember, you’re the boss here—take it slow and steady!
Step 2


Be careful not to use any metal tools, as they can cause injury. If you’re not comfortable with this step, don’t worry – you can always schedule a repair and let the pros handle it.


Step 6
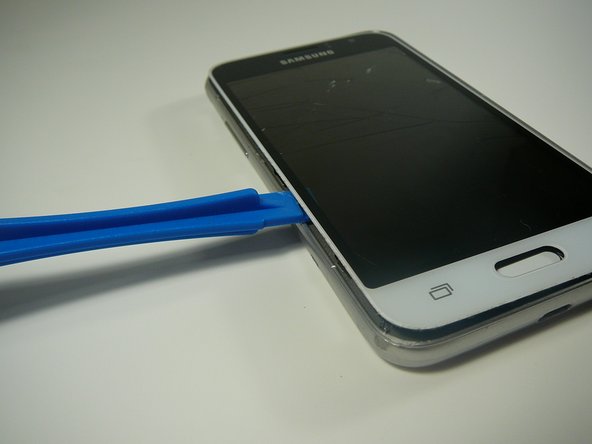

Yo, make sure your tool is made of plastic, dude! Metal tools can wreck your screen, you know? Keep it chill with the plastic tools, peace out! schedule a repair if needed, no worries!
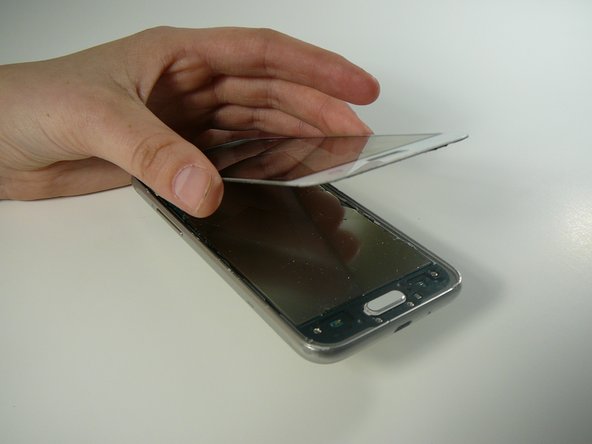
Take your time with this step—both parts are a bit delicate and could crack if you’re not careful!
– Use a thin plastic tool, like a guitar pick or a spudger, to carefully pry the glass digitizer and LCD screen away from the edges. Take your time and work your way around – it’s easier than you think! If you need help, you can always schedule a repair
Tools Used
Step 7


– Let’s get started by removing the nine screws using a Phillips #0 screwdriver – easy peasy.
Tools Used

Step 8


Hey, let’s be careful here! Don’t use any metal tools, we don’t want to risk hurting ourselves or that motherboard. And be super gentle taking off that top black piece – it’s snug as a bug in a rug, and we don’t want to break anything! No worries, if you need a hand, you can always schedule a repair.
– Let’s get started by using a spudger to carefully remove the black plastic pieces from the top and bottom of the screen. If you need help, you can always schedule a repair
Tools Used
Step 9


This little screw is unique, so keep it safe! You don’t want to lose it and then be stuck trying to find a replacement.
– Alright, let’s get this party started! First things first, you’re going to want to give that little black screw under the bottom plastic piece a friendly nudge with your screwdriver. See ya later, screw!
Step 10

Hey, if you’re having a tough time with the motherboard, make sure you double-checked those screws. Don’t get discouraged, though! If you need help, you can always schedule a repair
– Use a spudger to gently lift the motherboard, like you’re giving it a little high-five, and carefully remove it from the plastic frame. You’ve got this!
Tools Used