Samsung Galaxy Nexus Display Replacement Guide: Step-by-Step DIY Tutorial
Duration: 45 minutes
Steps: 9 Steps
Ready to give your Samsung Galaxy Nexus a brand new look? This guide will walk you through replacing the display. Keep in mind that your model may have some slight differences from the one shown in the pictures. If you’re feeling a little overwhelmed, remember you can always schedule a repair with the experts.
Step 1

– Let’s get this party started! First things first, we need to open up the back of your phone. You can do this by gently prying it open with your fingers or using those handy plastic opening tools we all love.
– Now, let’s give that battery a little wiggle and pop it out of its little home at the bottom.
– Time to take a break! Keep those parts safe and sound in a bowl, ready for when we get back to putting everything back together.
Step 2

– Let’s get started by removing the four 4.5 mm Phillips screws from the back of your phone. Take your time and make sure they’re all out before moving on to the next step. If you need help, you can always schedule a repair
Step 3


Hey there! Remember, this device is delicate, so take it easy with the tools. A little gentle pressure goes a long way. If you’re feeling a bit nervous, you can always schedule a repair.
– First things first, flip your phone over so the screen is facing up, ready to shine!
– Grab a trusty plastic opening tool and gently slide it into the seam between the screen and the outer case. Keep that tool moving around the phone, but don’t pull it out of the seam just yet!
– Now, take your time and carefully pry the outer case away from the screen. You’re doing great!
Step 4

– Let’s get started by removing a single 4 mm Phillips #00 screw from the bottom of your phone – easy peasy.
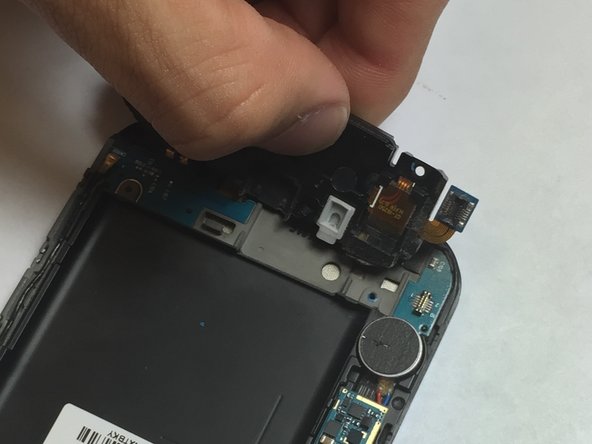
– Next, gently lift up the flat connector from its socket on the motherboard. Take your time and be careful.
– Now, carefully lift the entire headphone jack assembly from the phone. If you need help, you can always schedule a repair
Step 5

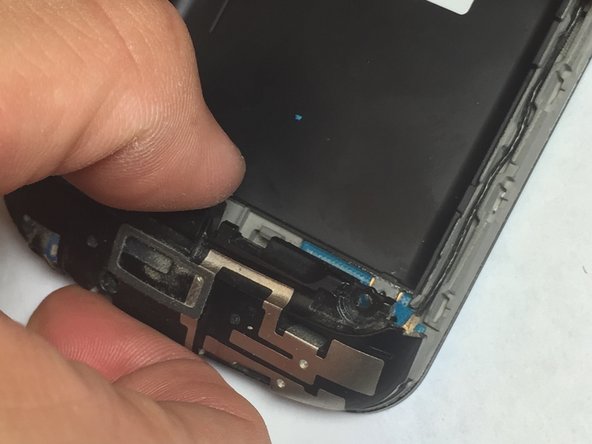
– Time for some cable juggling! Unplug those two ribbon cables from their cozy spot on the motherboard. Need help? No worries, you can always schedule a repair
Step 6

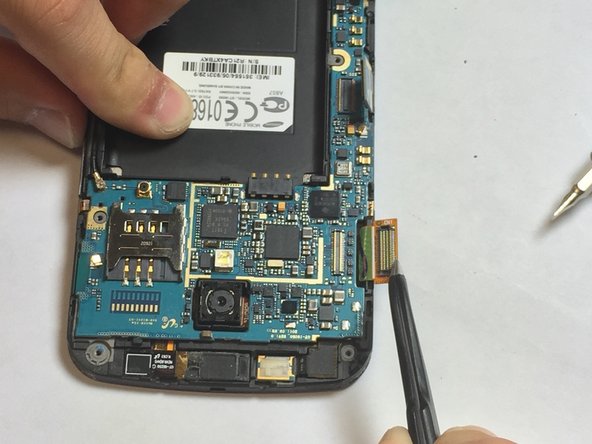
– Time to get a little handy – use tweezers or a spudger to carefully lift the vibrator motor out of its spot in the midframe. If you need help, you can always schedule a repair


Step 7

– Whoa there, tech wizard! Grab your tweezers and delicately pry the antenna cable away from its cozy spot on the motherboard. Need a hand? No worries, buddy, you can always schedule a repair with the folks at Salvation Repair!
Tools Used
Step 8


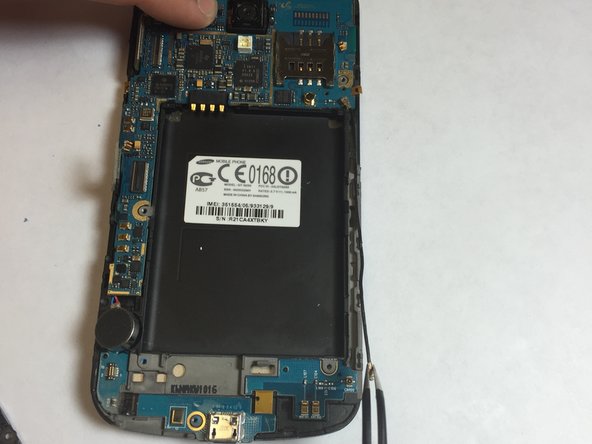
Be careful when working on this step. Depending on your device’s model, there may be ribbon cables still connected to the display assembly on the underside of the motherboard. If you need help, you can always schedule a repair
– Grab those tweezers and gently coax the motherboard out of the phone. You’ve got this!
Tools Used
Step 9
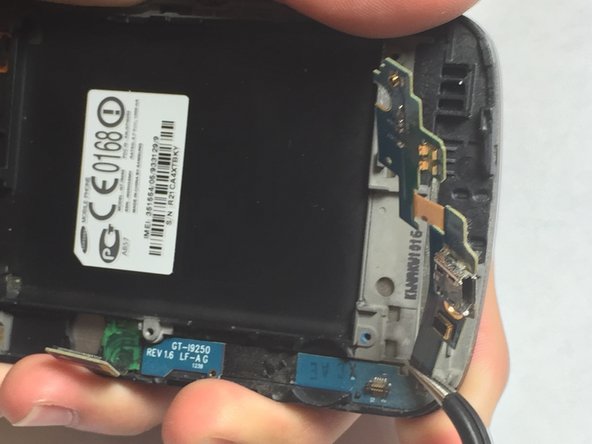

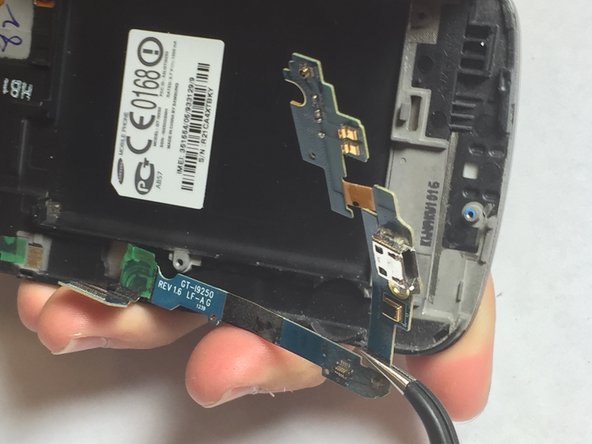
– Alright, time to give that little daughterboard a nudge! Starting near the USB port, grab your trusty tweezers and gently pull it away from the phone. It’s like giving it a little high five, but with tools instead of hands. Don’t worry, it’ll come right off. If you need help, you can always schedule a repair.
Tools Used


