Replace Galaxy Camera: Samsung Galaxy Mega DIY Guide
Duration: 45 minutes
Steps: 9 Steps
Ready to give your camera a fresh new look? This guide will walk you through replacing your rear-facing camera. Get ready to capture those epic selfies and memories with a crystal-clear lens! If you need help, you can always schedule a repair.
Step 1


– Alright, first things first, make sure your device is completely powered down. You don’t want to get a shock (or a surprise!), right?
– Now, on the back of your phone, you’ll see a little slot up in the top left corner. It’s like the back door to your phone!
– Grab your trusty plastic opening tool or your fingernail – either one will do the trick – and gently pry up on that back plate. We’re talking a gentle lift, no need to get rough!
– With that corner free, you can slide your finger all the way around the device between the back plate and the phone. It’s like giving the phone a little hug – but from the outside! As you slide, you’ll release those connectors holding the back plate in place.
Step 2


– Slide your fingernail into the slot at the bottom of the battery and gently lift it out – you got this!
– Now, go ahead and remove the battery. If you need help, you can always schedule a repair
Step 3


Feel free to use a metal spudger in place of a plastic opening tool to get that seam started. Just keep in mind, it might leave a little love mark on the exterior.
– Take out the 14 Phillips #000 screws (3.45 mm) from the assembly.
– Carefully slip the plastic opening tool into the seam above the volume buttons of your phone.
Tools Used

Step 4


Alright, buddy, time to put it all back together. Just make sure those volume and power buttons are in their happy places. You got this!
– Use your plastic opening tool to carefully pry around the device and release the internal connectors – it’s like setting the insides free.
– Once you’ve made your way around the entire device with the tool, it should come apart nicely – if you need help, you can always schedule a repair
Step 5

– Carefully take out the 2.55 mm Phillips #000 screw from the motherboard panel. You’ve got this!
Step 6


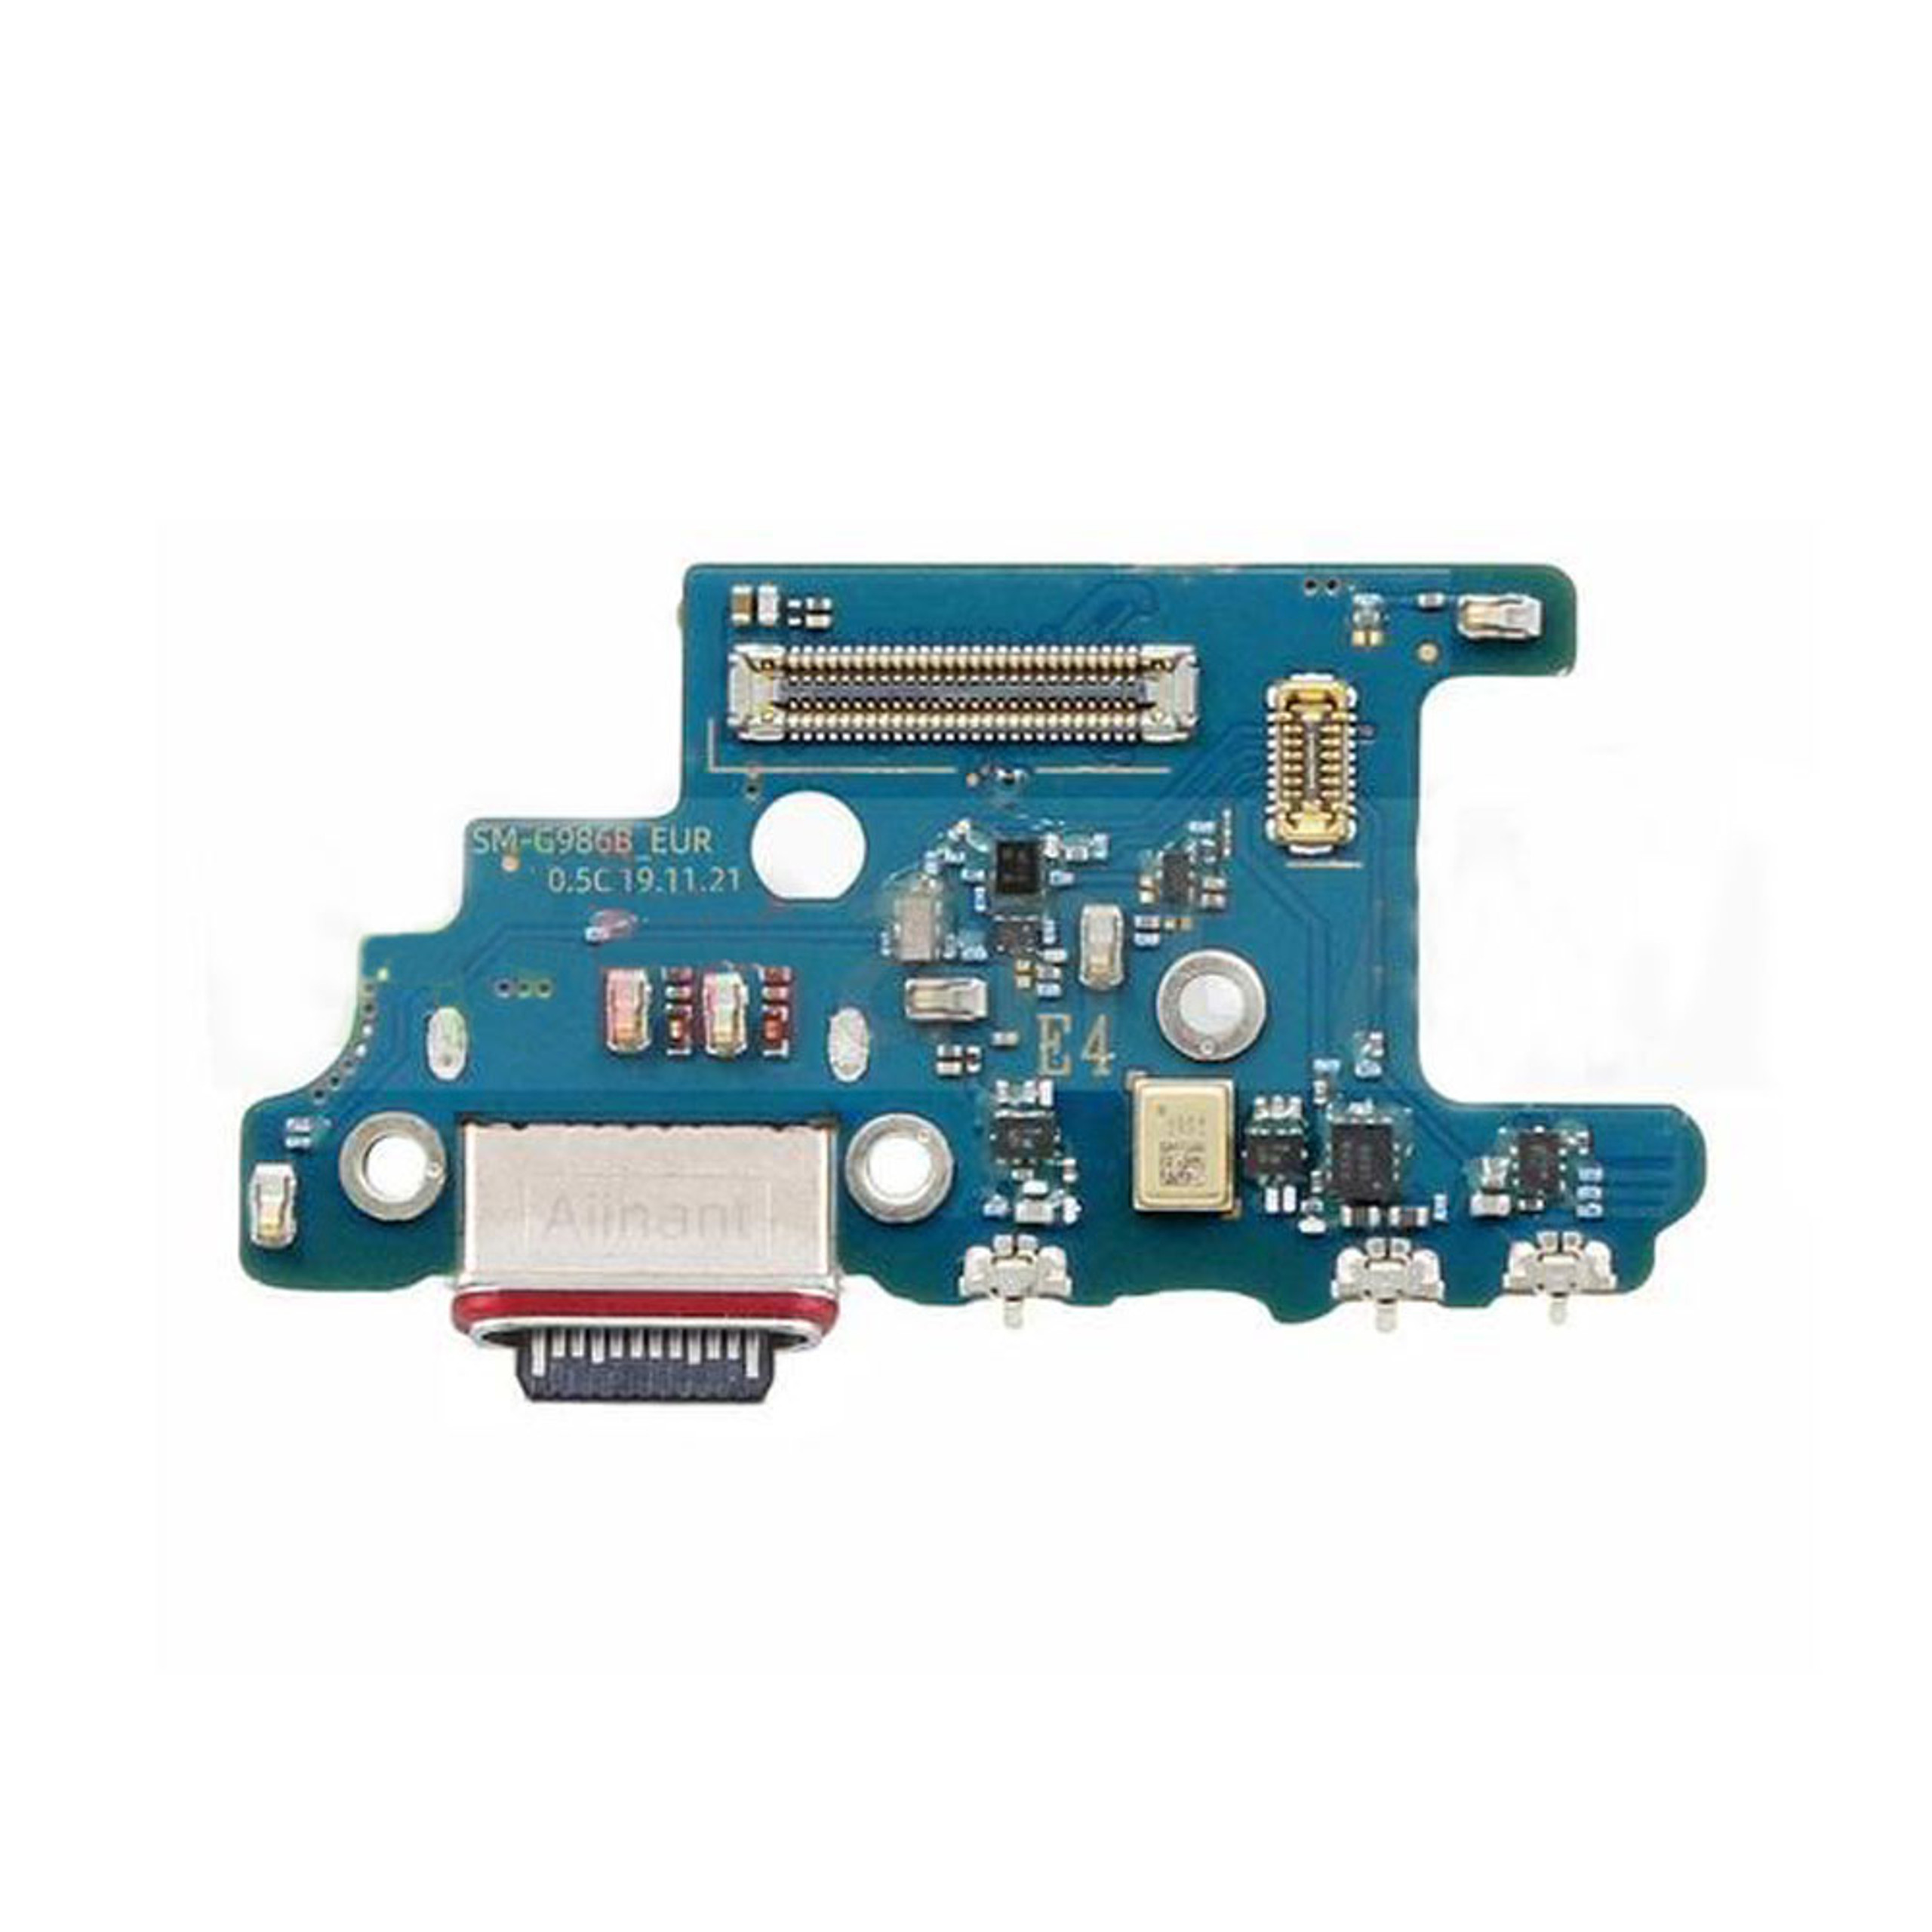
– Let’s get started by removing the connector clips from the motherboard. This is a crucial step, so take your time and make sure they’re completely removed.


Step 8


Alright, folks! Time to tackle those six connectors on the motherboard. They’re all highlighted in the pictures throughout this guide, so be sure to disconnect each one before you move on. You’ve got this!
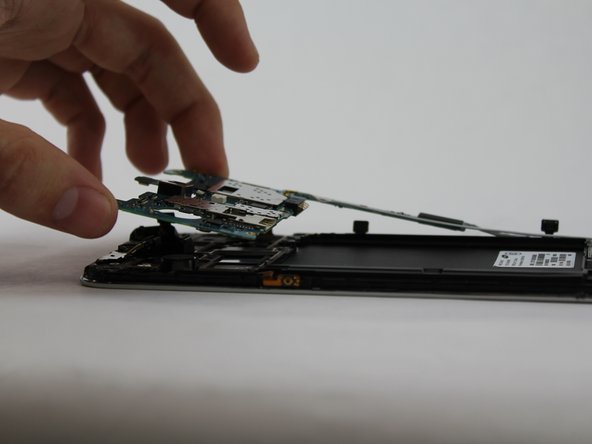
– Lift the motherboard snugly using your finger.
Step 9


– Time to say goodbye to that camera connector! Gently lift it off the motherboard on the back of the device.
– The camera is now ready to hang out on its own, free from the device. Awesome!