Samsung Galaxy Light Motherboard Replacement: DIY Guide & Tutorial
Duration: 45 minutes
Steps: 5 Steps
Hey you, let’s give that Samsung Galaxy Light motherboard a little refresh! Don’t worry, we’ll walk you through every step of the process – we’ve got your back. If you need help along the way, you can always schedule a repair!
Step 1

Before you pop that back cover off, make sure your Samsung Galaxy Light is totally powered down. If you need help, you can always schedule a repair.
– Time to get started! Use a plastic opening tool or your trusty fingernails to carefully pry up the back cover of your device.
– Now, go ahead and remove the back cover. If you need help, you can always schedule a repair

Step 3

– Grab your trusty Phillips #0 screwdriver and get ready to tackle this! Carefully unscrew all nine (9) screws that are holding the midframe snugly against the front of your device. You’ve got this!
Tools Used

Step 4

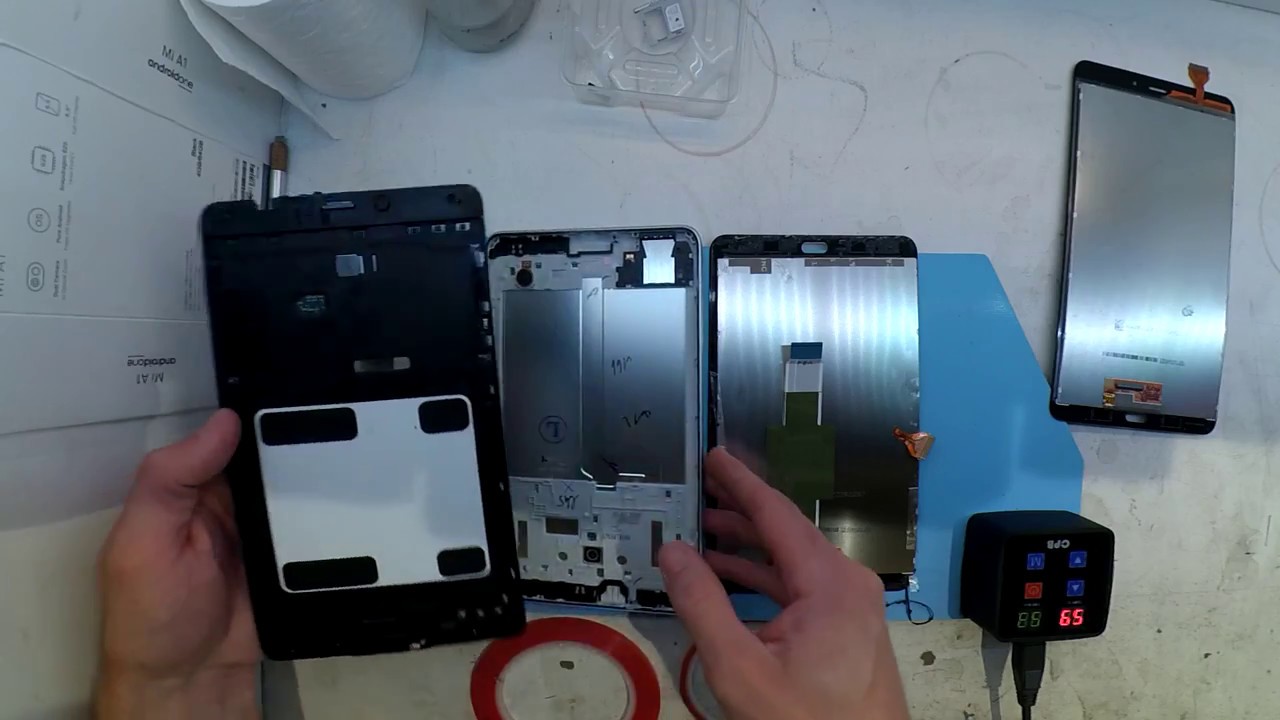
– Time to get started! Use your trusty plastic opening tool to carefully separate the midframe from the front panel of your device.
– Now that the midframe is loose, go ahead and remove it. If you need help, you can always schedule a repair
Step 5


– Let’s get that motherboard out of the device! Here’s how:
– Grab your trusty plastic opening tool and gently nudge the digitizer connector away from the motherboard. Take your time!
– Now, with a bit of care, lift the motherboard and slide it over to the left side of your device.
– Next up, use your plastic opening tool again to carefully pop up the display connector on the back of the motherboard.