Samsung Galaxy Grand Prime Motherboard Replacement Guide
Duration: 45 minutes
Steps: 11 Steps
Ready to give your Samsung Galaxy Grand Prime a new heart? This guide will walk you through replacing the motherboard, which is like giving your phone a fresh start! If your phone’s acting up and nothing else seems to fix it, this might be the answer. No fancy skills needed – just follow along, and you’ll be back to using your phone in no time. We’re here to help! If you need a hand, you can always schedule a repair.
Step 1


– To kick things off, gently pry off the back cover of your phone by lifting up on that handy blue plastic opening tool tab. Easy peasy!
– Now, make your way around the edges of the back cover and keep going until it’s completely liberated. You’re doing great!
Step 2


– Time to ditch that old battery – simply lift up on the thumb tab to remove it.
– Keep those brass terminals on the battery and phone in top shape by cleaning them regularly. Dip a Q-tip in a tiny bit of ISO and gently wipe down the connections. If you need help, you can always schedule a repair
Step 3


– Time to get down to business! Let’s kick things off by unscrewing those nine 4mm screws from the midframe using your trusty Phillips #000 screwdriver. You’ve got this!
Tools Used

Step 4


– Let’s gently pry that front panel off! Wedge the blue plastic opening tool in between the front and side panel.
– Now, let’s work our way around the edges. Keep moving the blue plastic opening tool around the edges between the front and side panel. You’re doing great!
Step 5


– Don’t forget to unclip the mid-frame from the inside too. If you need help, you can always schedule a repair.
Step 6


– Alright, let’s get this audio jack out! Grab that handy plastic opening tool and give that ribbon cable clip a little nudge. It’s like giving it a high-five, but with less enthusiasm. Once it’s unhooked, you can gently remove the audio jack – it’s like a little dance move, except with less music. If you need help, you can always schedule a repair.


Step 9


– Now, let’s get that other ribbon cable clip off the screen. Use your trusty blue plastic opening tool and give it a gentle wiggle to release it. You’ve got this!
Step 10


– Time to free that front camera! Unhook the ribbon cable clip holding it in place.
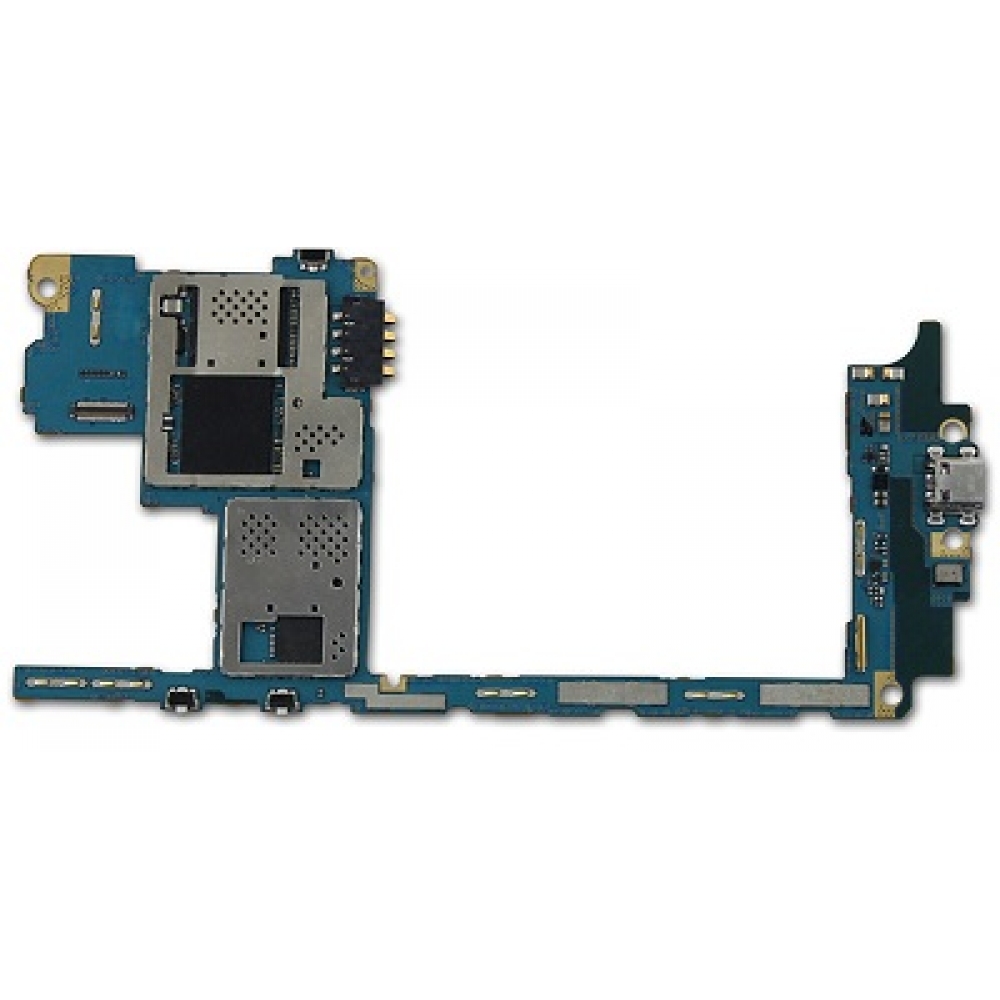
– Now, gently lift that motherboard right out. You’ve got this!
Step 11


– Pop out that motherboard and gently unclip the ribbon cable to free up the back camera. If you need help, you can always schedule a repair.
