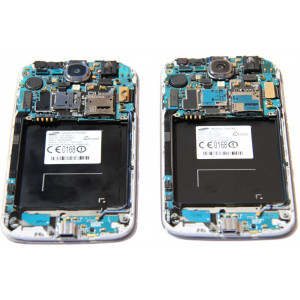
Samsung Galaxy Fame S6812i Camera Replacement Guide – DIY Tutorial
Duration: 45 minutes
Steps: 6 Steps
Step 1

– Alright, champ, time to power down your phone! Give those mitts a good wash too, we’re gonna be getting up close and personal. Use your trusty thumbnail or a plastic spudger to gently pry open the back cover – you’ve got this!
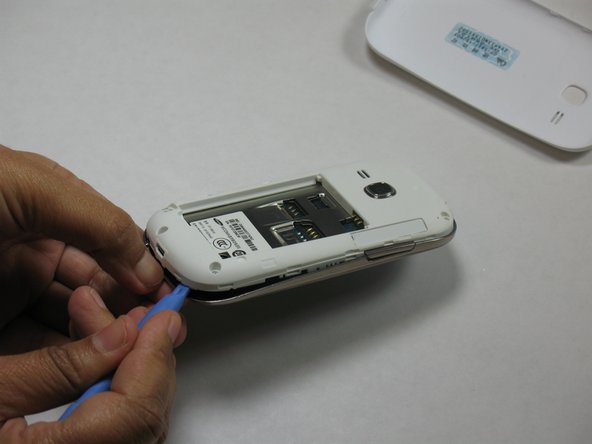
Step 2

– Grab your handy-dandy plastic opening tool (or even your trusty fingernail!) and gently pry that battery right out of its little home.
Step 3

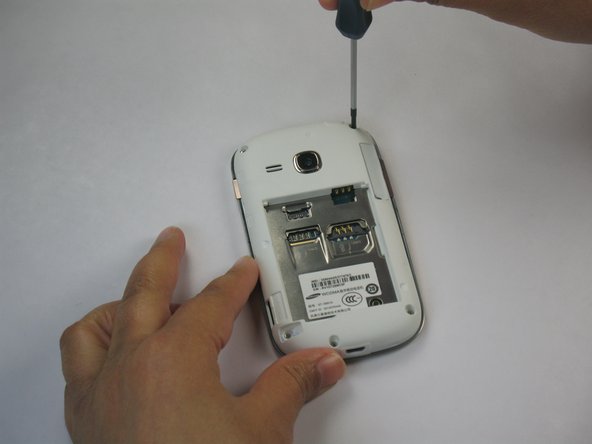
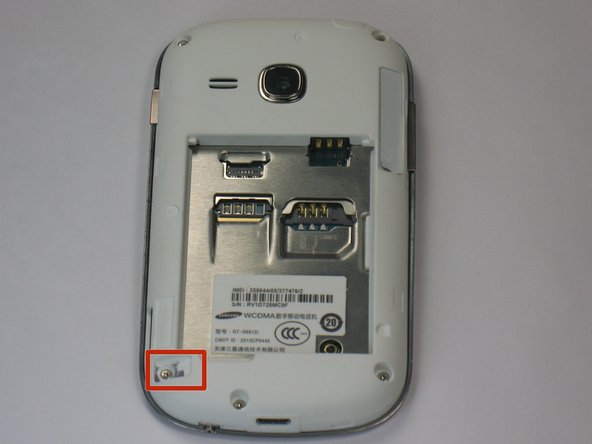
– Alrighty, it’s time for a fun repair adventure! First up, locate those five 4 mm screws – they’re just waiting to be removed with your friendly neighborhood Phillips#00 screwdriver. After that, don’t forget to give a friendly wave to the sticker hiding the last screw in the bottom left corner. Don’t worry, you’ve got this! If you need help, you can always schedule a repair.
Step 4

Handle those plastic mounting clips with care—they’re a bit delicate! Keep an eye out when you’re near the volume button, and you’ll be just fine.
– Get ready to unlock your device’s potential – use a plastic opening tool to carefully pry into the bezel and remove the mid-frame. Take your time, it’s easier than it looks!
– Keep moving that plastic opening tool around the mid-frame, gently separating it from the display assembly. You’re making great progress! If you need help, you can always schedule a repair
Step 5

– Once you’ve successfully pried apart the two frames, you’ll be all set to access the camera!
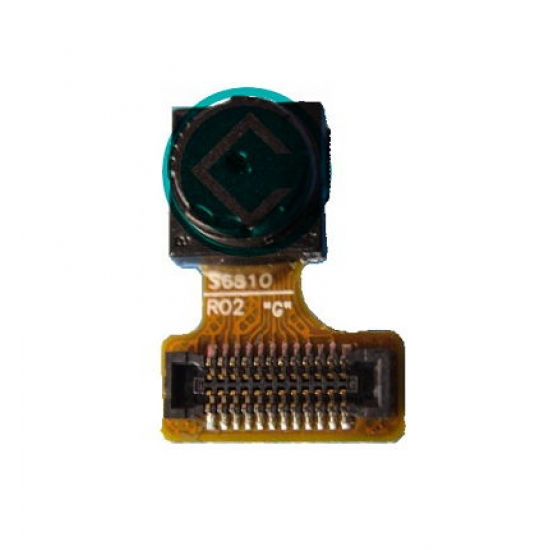
Step 6

Time to free that camera! Use the tweezers and carefully pull it off. If things get tricky, you can always schedule a repair.
Tools Used