Samsung Galaxy Core Prime Screen Replacement Guide – DIY Tutorial
Duration: 45 minutes
Steps: 14 Steps
Ready to tackle that cracked screen? Whether it’s shattered glass or an unresponsive touch, we’ve got you covered! Just grab a heat gun, a Phillips #00 screwdriver, an iFixit opening tool, and some tweezers. Remember to be extra cautious with those tools – safety first! If you need help, you can always schedule a repair.
Step 1

– Give your smartphone a little break and power it down by pressing the button on the right side. It’s like tucking it in for a nap!

Step 3

– Time to get this party started! Use your fingernail or a flat tool to gently lift the back cover. Don’t worry, it’s just like peeling off a sticker, but way cooler. If you need help, you can always schedule a repair.
Step 4


– Find the battery at the bottom of your phone – it’s a square, flat piece with ‘SAMSUNG’ printed on it. Take a look and get familiar with its location.
Step 5

– Time to get that battery out – use your fingernail or a flat tool to gently pry it loose. If you need help, you can always schedule a repair
Step 6
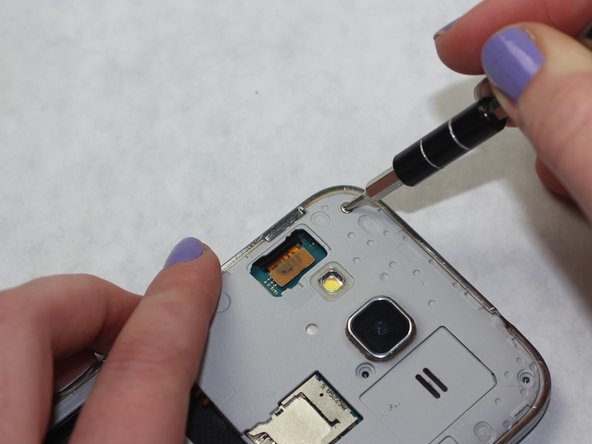

– Grab your trusty Phillips #00 screwdriver and get ready to tackle those eight 4 mm screws holding the midframe in place. You’ve got this!
Tools Used

Step 7

Be careful when using heat tools, we want you to stay safe while fixing your device. If you need help, you can always schedule a repair
– Grab a heat gun or a trusty hair dryer, and gently warm up the adhesive holding the midframe to the rest of your device. It’ll help loosen things up so you can get in there and do your thing!
Tools Used

Step 8

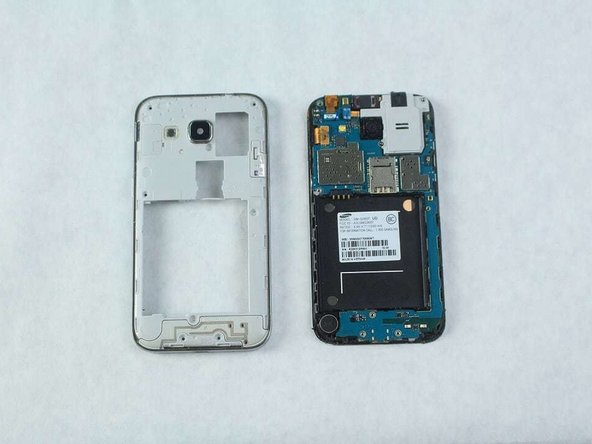
– Grab your trusty iFixit Opening Tool and gently lift the frame. You’ve got this!
Tools Used

Step 9
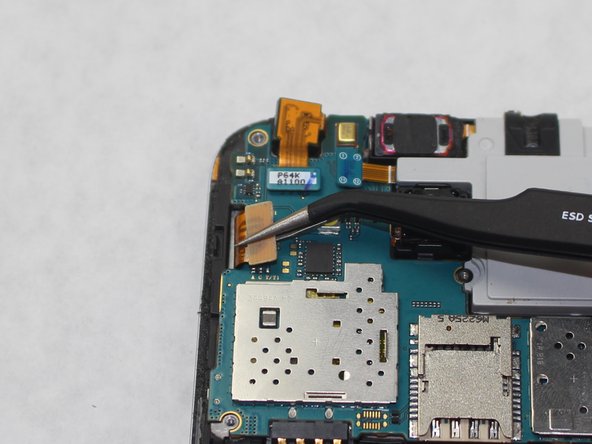

– Grab your trusty tweezers and gently disconnect the power ribbon from the motherboard. You’ve got this!
Step 10

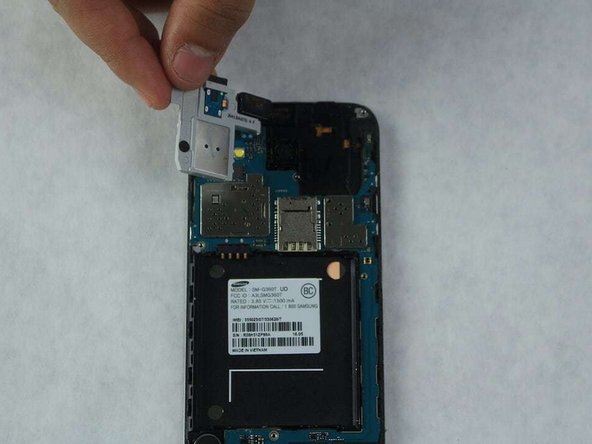
– Grab those tweezers or use your nimble fingers to pop out the audiojack. If you need help, you can always schedule a repair
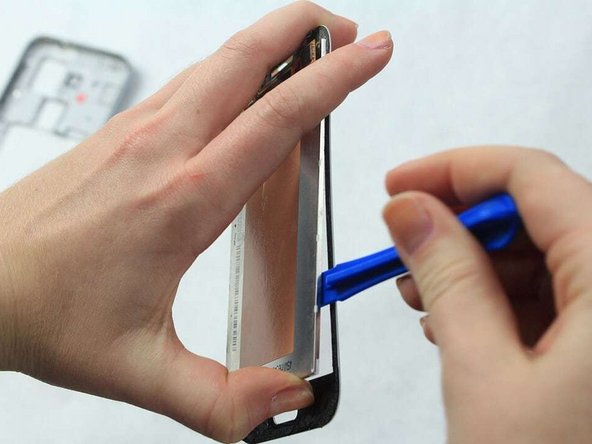
Step 11

– Grab your trusty iFixit Opening Tool and carefully lift out the motherboard like a pro!
Tools Used
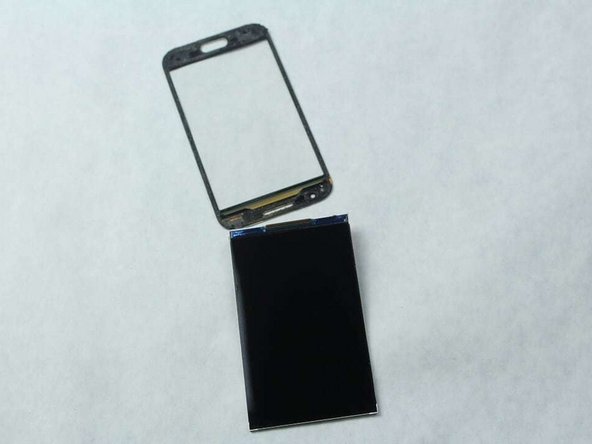
Step 12

– Gently pop up the plastic panel between the digitizer and the motherboard using an iFixit Opening Tool. If you need help, you can always schedule a repair
Tools Used