How to Replace Samsung Galaxy Alpha Screen – Step-by-Step Guide
Duration: 45 minutes
Steps: 8 Steps
Ready to give your Samsung Galaxy Alpha a brand new screen? This guide will show you how to replace the display in just six easy steps. It’s like giving your phone a stylish makeover! Don’t worry, it’s not as complicated as it sounds. We’ll guide you through the process with clear instructions and helpful tips. If you’re ever feeling unsure, you can always schedule a repair with us. Let’s get started!
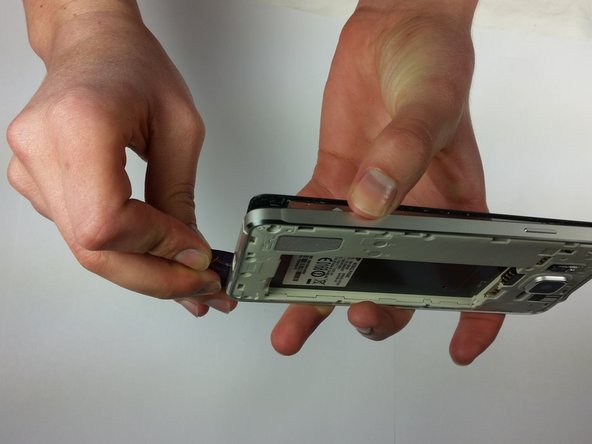
Step 1


– Take a look at the back panel of your phone and locate that sneaky little slot on the upper left side, right next to the flashlight. Got it?
– Now, grab your trusty fingernail or a prying tool, and gently wiggle it into that slot. Lift it up just enough to get the top left corner of the back panel to pop open a bit.
– Once you’ve got that corner lifted, slide your fingernail or prying tool all around the outer edge of the back panel. Keep it steady! You’re getting close to fully releasing it from your phone.
Step 2


Hey, heads up! The NFC antenna is glued to the battery, so make sure your replacement includes a new one too. No worries, you got this! If you need help, you can always schedule a repair.
Before diving into the repair fun, make sure your device is switched off. Let’s keep it safe and sound!
Step 3
– To get started, locate the slot next to the flashlight on your device. Now, take your trusty fingernail or a prying tool and gently insert it into the slot. Work your way around the perimeter, lifting carefully, until the back panel is completely removed. If you need help, you can always schedule a repair
Step 4
Don’t forget, the NFC antenna comes with the battery, so make sure your replacement does too!
Before you start, make sure your device is completely powered down – it’s an important safety step to avoid any potential risks.
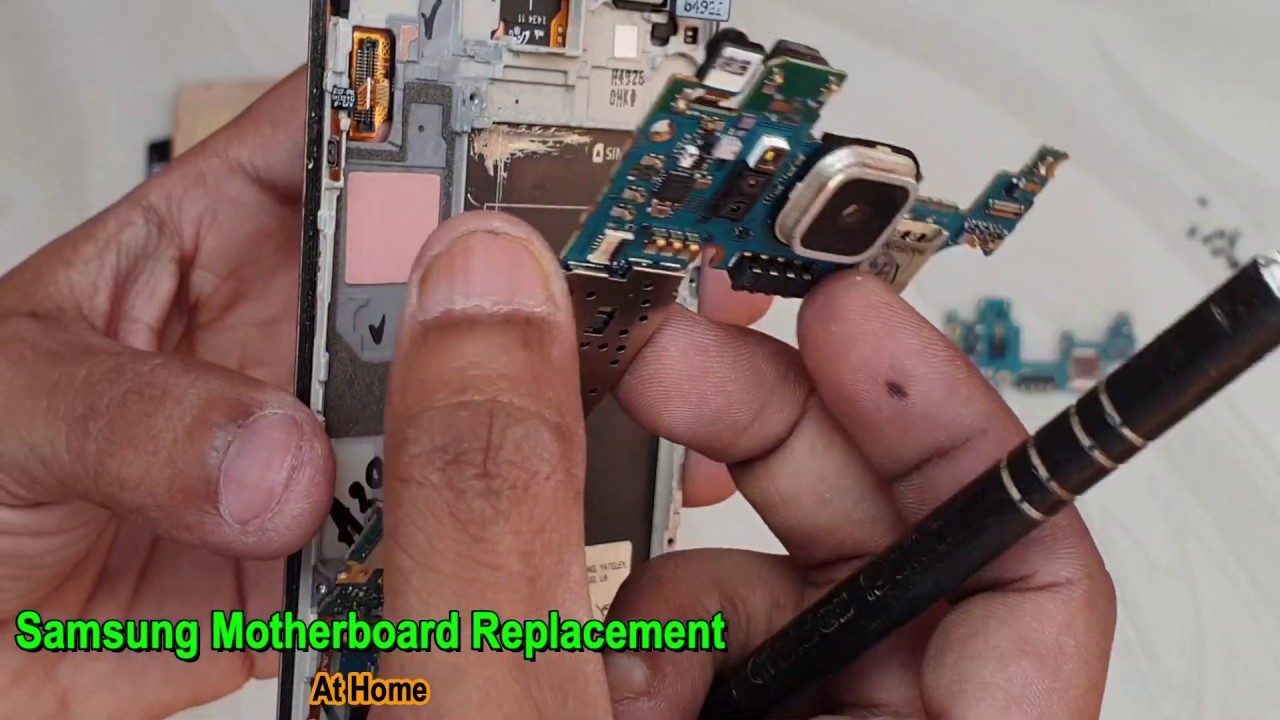
Step 5

– Grab a JIS #000 screwdriver and let’s tackle those twelve 3mm screws that are hanging out around the back of your phone. It’s time to show them who’s boss!
Step 6

– Heat your iOpener in the microwave for 30 seconds – it’s time to get this repair started!
– Place the iOpener on the front screen and move it around to make sure all parts are heated evenly. You’re doing great!
– After a few heating cycles, you’re ready to move on to the next step. Keep it up!
– Make sure the screen is thoroughly heated before moving forward. The more heat cycles, the easier the removal will be. If you need help, you can always schedule a repair
Tools Used

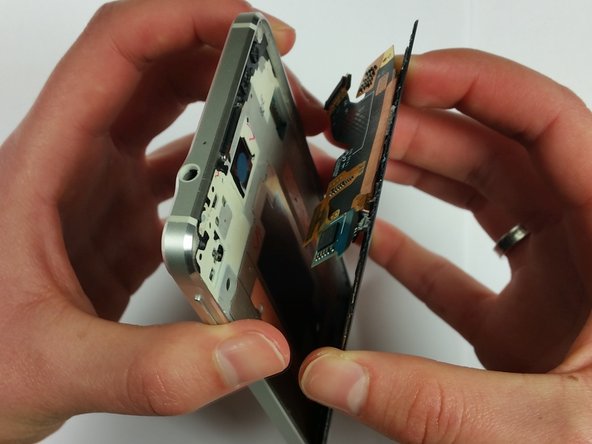
Step 7

Be gentle when lifting the screen – pressing on the back of the phone can cause cracks in the glass, and that’s not what we’re going for here. Let’s get this repair done smoothly!
When removing the adhesive from the bottom section of the touch screen, be careful not to damage the connections under the menu buttons. Take your time and work carefully to avoid any mishaps. If you need help, you can always schedule a repair
– Make sure to give that adhesive a good warm-up before you start prying the screen off. A little heat goes a long way!
– Gently slide the opening pick around the edges of the glass. Just be careful not to push it too far under the screen—keep it cool and steady!