How to Replace Samsung Galaxy Note20 Vibration Motor: DIY Guide
Duration: 45 minutes
Steps: 22 Steps
For your own safety, make sure to drain that battery below 25% before diving into your phone’s guts!
Hey there, tech wiz! This guide will walk you through replacing the vibration motor on your Samsung Galaxy Note20. Safety first, always discharge the battery below 25% before diving in. You don’t want any surprises, right? A low battery is a safe battery! And if your battery is looking a little puffy, handle it with care. You can always schedule a repair if you need help! Let’s do this!
Step 1

Before you start, make sure to completely power off your phone – it’s time to get started on this repair journey.
You can use a hair dryer, heat gun, or hot plate to get the job done, just be careful not to overheat your phone – the screen, battery, and plastic rear cover are sensitive to heat, so let’s take it easy.
– Let’s get this party started! Grab your iOpener and heat it up. Now, apply that hotness to the left side of the rear cover for a whole minute. You’ve got this!
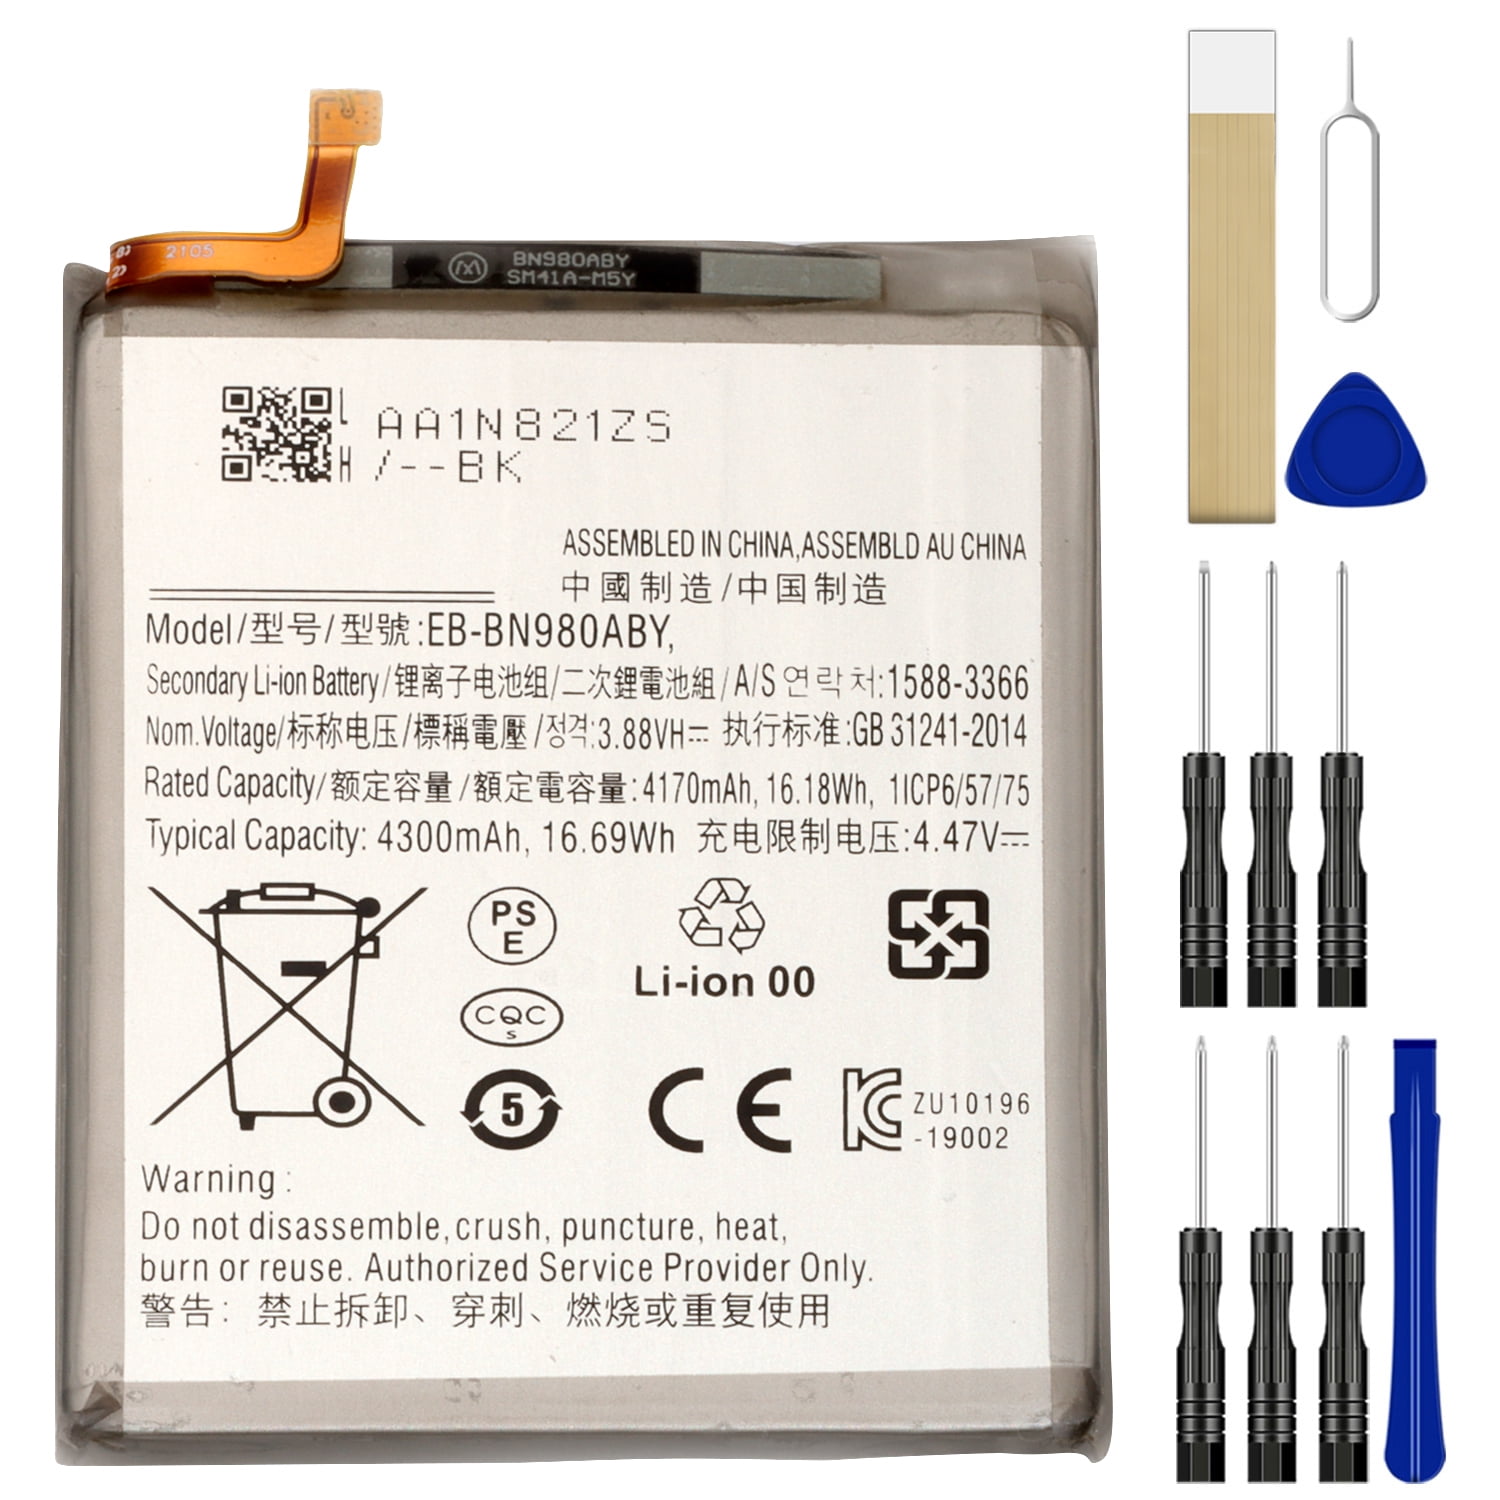
Tools Used

Step 2


Keep that opening pick to a safe depth—no more than 5 mm! Going deeper could lead to some unwanted damage to the internal components. Let’s keep your device happy and healthy!
This might be a little tricky depending on how old your phone is. Don’t worry, just give that edge a little more heat and try again! If you need help, you can always schedule a repair.
– First, attach a suction cup to the heated edge of the rear cover – get it as close to the edge as you can for the best results.
– Now, pull up on the suction cup with some steady force to create a gap between the rear cover and the frame. You got this!
– Next, take an opening pick and carefully insert it into the gap you just created. If you need help, you can always schedule a repair
Step 3


Be careful as you cut through the adhesive around the phone’s perimeter – only insert the pick about 5mm to avoid damaging the internal components. If you need help, you can always schedule a repair
– Let’s start by sliding that opening pick along the left edge, towards the bottom left corner. It’s gonna cut through that adhesive like butter!
– Leave the pick in the bottom left corner, keeping the adhesive from getting all cozy and re-sealing itself. You got this!
Step 4


If the rear cover is still hanging on tight after you’ve cut through all four sides, give that adhesive another go with your trusty opening pick. A little persistence goes a long way!
Feel free to slide in each new opening pick right into the gaps left by those corner picks. It’s like giving your device a little spa treatment!
– Keep on keepin’ on! Just repeat the steps we did on the first side, and heat and cut that adhesive on the remaining three sides of your rear cover.
– Now, to keep things from sticking back together, pop an opening pick into each corner like a friendly guard. You’re doing great!
Step 5


– Carefully lift the rear cover straight up – it’s time to set it free and get a glimpse of what’s inside.
Step 6

Hey, these screws might be a little stubborn if they haven’t been removed before. Don’t worry, it’s all part of the adventure! They have threadlocker on them, so they’re holding on tight. Just be gentle and take your time.
Throughout the repair, it’s a good idea to keep track of each screw and make sure you put it back where it belongs. Trust us, it’s way easier than trying to figure out which one goes where later!
– Alright, let’s get this party started! Grab your trusty Phillips screwdriver and give those six 4.0 mm screws holding down the motherboard shield a little love tap. They’ll come right off, no sweat! If you need help, you can always schedule a repair.
Step 7


Heads up! The motherboard shield is pretty delicate. It’s got some sharp edges, so be gentle with it. You got this! 😉
– Grab your trusty tweezers and give that motherboard shield a little lift and flip. Easy peasy, right?
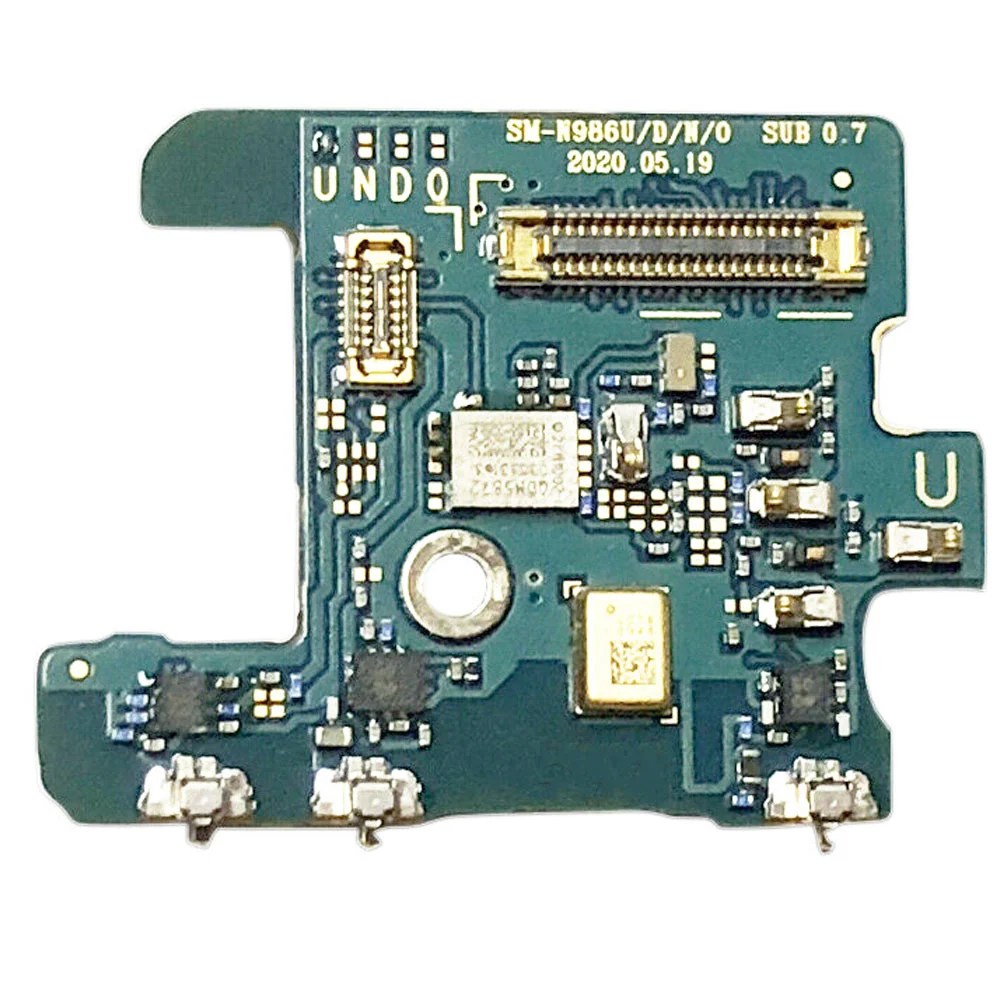
Tools Used

Step 8


Be careful, only pry under the edge of the connector! We don’t want to damage the socket or any other nearby parts. If you need help, you can always schedule a repair.
– Use a pair of tweezers to gently hold the motherboard shield out of the way, then grab your trusty spudger and carefully pry up the battery press connector – it’s like a little puzzle piece waiting to be removed.
– To put it all back together, line up the press connector and press down on one side until you hear that satisfying click, then repeat on the other side. Just remember, don’t press down on the middle or you might end up with bent pins – and that’s no fun. If you need help, you can always schedule a repair

Step 9


– While you gently hold the motherboard shield to the side with a trusty pair of tweezers, take the pointed end of your spudger and carefully pry up the wireless charging coil press connector. You’ve got this!
Step 10


The wireless charging coil is snugly held in place with a touch of adhesive, keeping it cozy and secure!
– Give the motherboard shield a gentle grip with your fingers.
– Carefully lift the wireless charging coil away from the device, like peeling a fruit.
– Now, go ahead and take out the wireless charging coil. You’ve got this!
Step 11

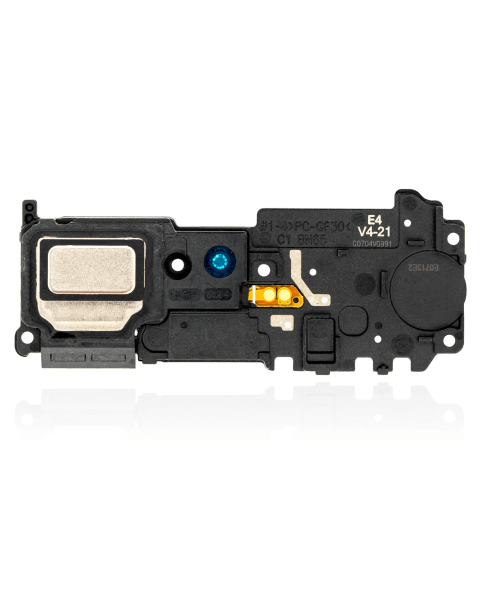
– Grab your trusty Phillips screwdriver and get ready to tackle those five 4.0 mm screws holding the loudspeaker snugly to the frame. Let’s get this party started!
Step 12


Be careful not to poke or bend the battery with your tweezers. A punctured or bent battery might leak some funky stuff or get a little too warm for comfort. If you need help, you can always schedule a repair.
– Time to get started – carefully insert the pointed end of a spudger under the loudspeaker, near the top left screw hole. Take your time and be gentle.
– Now, use that trusty spudger to pry the loudspeaker up and away from the frame. It’s like a little puzzle piece coming loose.
– Almost done – grab a pair of tweezers and carefully lift the loudspeaker out. If you need help, you can always schedule a repair


Step 15


– Grab your spudger and use the pointed end to give that secondary interconnect cable a little nudge away from the motherboard. It’s like a tiny dance! You’ve got this!
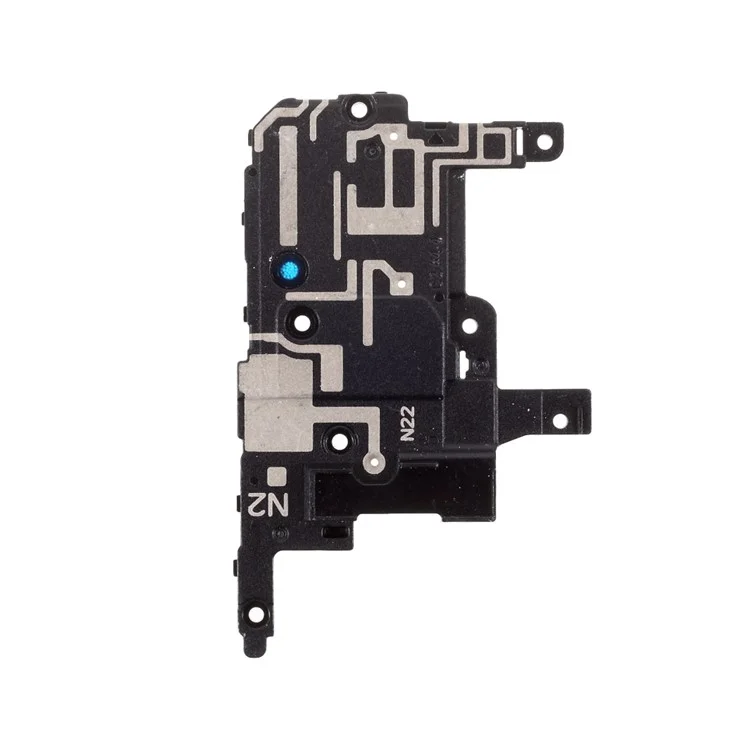
Tools Used
Step 16

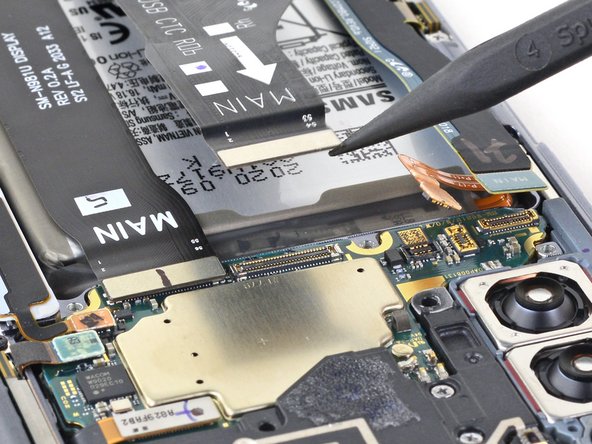
– Time to give that cable a little nudge! Gently use the pointed end of a spudger to disconnect the main interconnect cable from the motherboard.
Tools Used
Step 17

– Alright, let’s get this party started! Use your trusty Phillips screwdriver to loosen the 2.9 mm screw holding the daughterboard to the frame. Easy peasy, right?
Step 18


Heads up! There are some teeny tiny parts under the daughterboard. Just gently push the spudger in until you get what you need, no need to go overboard and risk hurting those little guys. If you need help, you can always schedule a repair.
The daughterboard is secured to the frame with three spring connectors along its bottom edge. If you need help, you can always schedule a repair.
– Slide the spudger’s pointed tip under the daughterboard’s right edge, near the screw boss – it’s time to set it free from the frame.
– Gently pry up and detach the daughterboard from the frame using your trusty spudger. If you need help, you can always schedule a repair
Tools Used


Step 20


Hey there! Those copper pads on the vibration motor are pretty sensitive, so be careful not to scratch ’em. A little scratch could make your device vibrate like a disco ball on a bad night. 😉
And watch out for that black stuff on top of the vibration motor – it’s delicate! Tweezers can be helpful but try to be gentle with them. 😉
– Give that vibration motor a little love with some high-concentration isopropyl alcohol (90% or higher)! Just a few drops next to it will do the trick.
– Let the alcohol work its magic for a minute – it’ll weaken the adhesive holding that motor in place, making it easier to remove.
Tools Used
Step 21

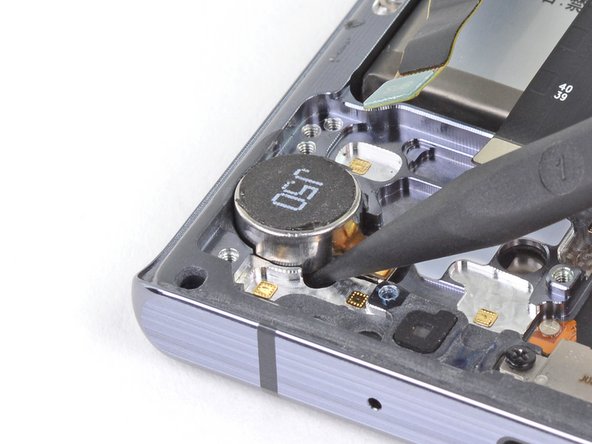
– Time to get this vibration motor out – carefully insert the pointed end of a spudger into the open space next to it.
– Gently pry up the vibration motor to loosen the adhesive that’s holding it in place – you’re making great progress! If you need help, you can always schedule a repair
Tools Used
Step 22

If the vibration motor is being stubborn and won’t budge, don’t worry – just add a few more drops of isopropyl alcohol and give the adhesive some time to loosen up. Keep repeating this process until it’s ready to come out. And remember, if you need help, you can always schedule a repair
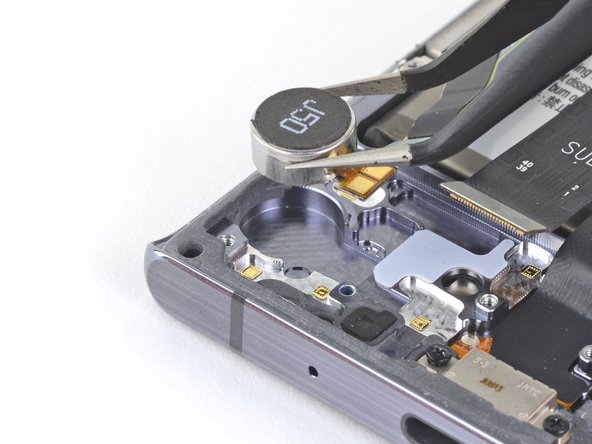
– Grab a trusty pair of tweezers and gently lift out the vibration motor like a pro!
– If you spot any leftover alcohol solution in your device, just give it a gentle wipe or let it chill and air dry before popping in your brand new vibration motor. You’ve got this!
Tools Used