Samsung Galaxy Note20 Earpiece Speaker Replacement Guide
Duration: 45 minutes
Steps: 13 Steps
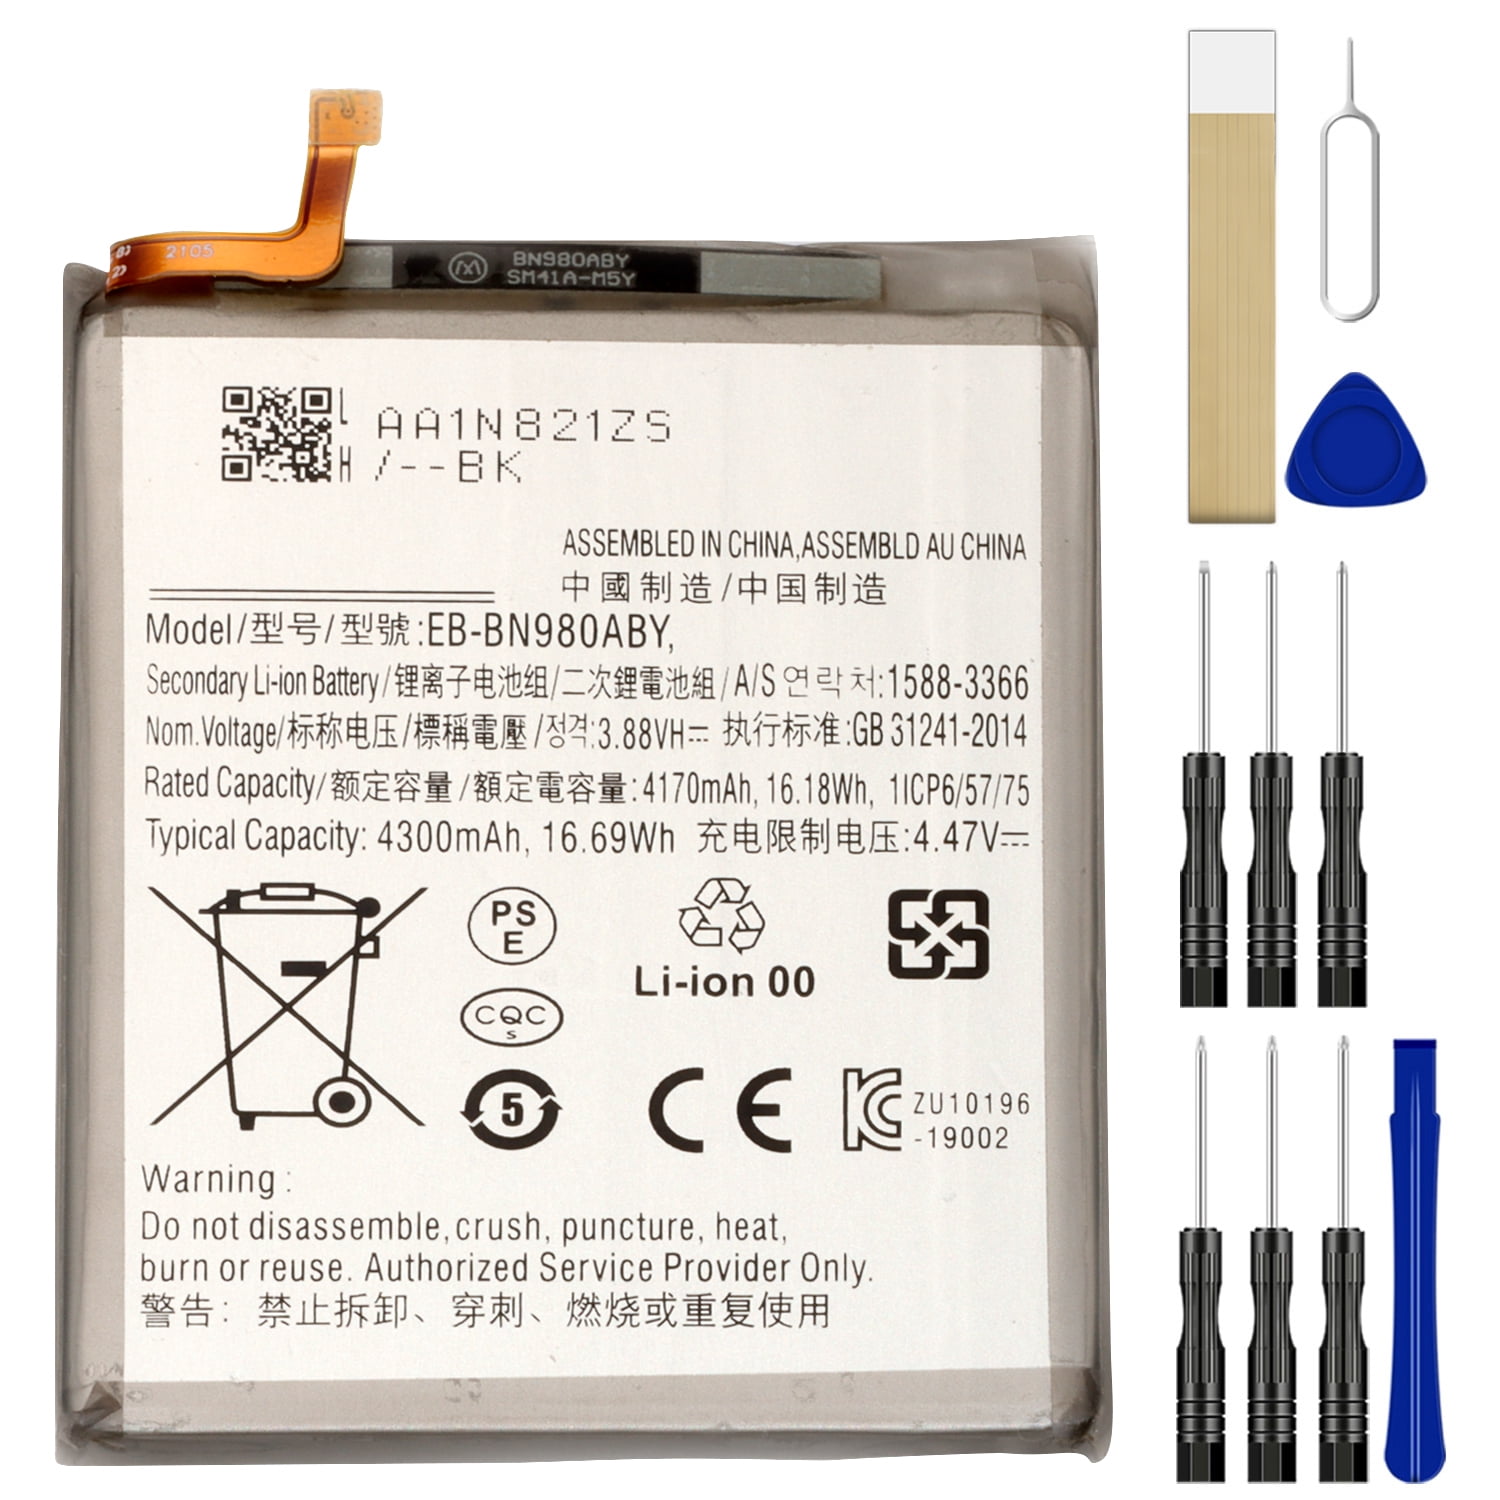
For your own safety, make sure to drain that battery below 25% before diving into your phone’s guts!
Ready to tackle the challenge of swapping out the earpiece speaker on your Samsung Galaxy Note20? Let’s do this! But first, a quick safety tip: make sure your battery is below 25% before diving in. This little precaution helps avoid any unexpected thermal surprises if the battery gets a bit too friendly during the repair. And hey, if your battery looks like it’s been hitting the gym and is swollen, take the right precautions. If you need help, you can always schedule a repair.
Step 1

First things first, give your phone a little nap by completely powering it off before diving into disassembly. Trust us, it needs its beauty rest!
Got a hair dryer, heat gun, or hot plate lying around? Feel free to use them, but remember to keep it cool—overheating can be a real party pooper for your phone’s screen, internal battery, and plastic rear cover. Let’s keep those parts happy!
– Let’s warm things up! Grab your trusty iOpener and heat up the left side of the rear cover for about a minute. You got this!
Tools Used

Step 2


Hey there! Be careful not to go too deep with that opening pick. Keep it at 5mm or less, or you might end up doing some damage. If you need help, you can always schedule a repair.
Depending on how old your phone is, this step might be a little tricky. Don’t worry, though! If you’re having trouble, just give the edge a little more heat and try again. You got this!
– Get ready to rock this rear cover off! Grab that suction cup and stick it right on the heated edge of the rear cover, as close to the edge as you can.
– Now for the fun part! Pull up on that suction cup with all your might, using a steady, firm hand. You’ll see a little gap open up between the rear cover and the frame.
– Time to slide in that opening pick into the gap, and we’re almost ready to get this thing open! If you need help, you can always schedule a repair.
Step 3


While you’re slicing through the sticky stuff around the edge of your phone, make sure to keep that pick no deeper than 5 mm. We want to avoid any unfortunate run-ins with the internal components!
– Gently glide the opening pick down the left edge, making your way to the bottom left corner to slice through that pesky adhesive.
– Keep the pick snugly in the bottom left corner to stop the adhesive from sticking back together.
Step 4


Still having trouble getting the rear cover off? Try slicing through the adhesive again with an opening pick – it might just do the trick. If you need help, you can always schedule a repair.
Now it’s time to bring in some reinforcements. Insert each new opening pick into the gaps created by the ones you’ve already got in each corner. This should help you make some progress.
– Keep on keepin’ on! Repeat the heating and cutting process for the remaining three sides of the rear cover. Just like a dance, we’re gonna go all the way around!
– As you move along, make sure to leave an opening pick in each corner. This will keep the adhesive from getting cozy and sealing itself back up again.
Step 5


– Time to get started – carefully lift the rear cover straight up to remove it. If you need help, you can always schedule a repair
Step 6

Heads up, those screws might be a little stubborn if they haven’t been removed before – they’re all cozy with some threadlocker!
Just like a good game of Tetris, make sure each screw goes back where it came from – you wouldn’t want to mix things up! And if you’re feeling a little lost, you can always schedule a repair.
– Grab your trusty Phillips screwdriver and get ready to unscrew! Carefully take out the six 4.0 mm screws that are holding the motherboard shield in place. You’ve got this!
Step 7


Hey there, the motherboard shield can be a little delicate, so be careful with those edges! They can be a bit sharp. Take your time and you’ll be good to go!
– Grab a trusty pair of tweezers and gently lift up that motherboard shield, flipping it back with confidence!
Tools Used

Step 8


Hey, be careful when you’re prying under the connector! Make sure you’re only lifting under the edge to avoid messing up the socket or anything nearby. You got this!
– Grab those tweezers and gently hold the motherboard shield out of the way. Now, with the pointed end of a spudger, carefully pry up that battery press connector like a pro!
– When it’s time to re-attach those press connectors, make sure to align them just right and press down on one side until you hear that satisfying click. Then, do the same on the other side. Remember, no pressing down in the middle! If it’s a bit off, those pins could bend and we definitely don’t want that. Keep it neat!

Step 9


– Alright, now we’re going to gently lift that wireless charging coil press connector. Using those trusty tweezers, hold the motherboard shield out of the way and use the pointed end of your spudger to carefully pry up the connector. No worries if it’s a bit snug, just be patient and give it a little love. If you need help, you can always schedule a repair.
Step 10


The wireless charging coil is gently held in place with a bit of light adhesive. No biggie!
– Get a good grip on that motherboard shield with your trusty fingers.
– Carefully peel back the wireless charging coil, just like unwrapping a present!
– Say goodbye to the wireless charging coil as you remove it.
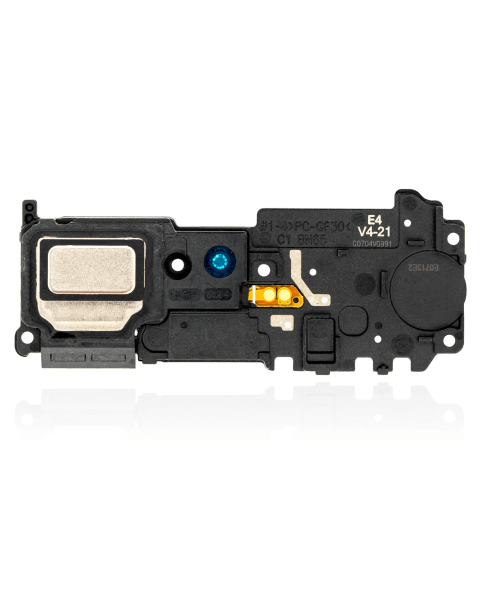
Step 11

– Let’s get started by removing the five 4.0 mm screws that hold the earpiece speaker in place. Grab your trusty Phillips screwdriver and get to work – you’re one step closer to fixing your device. If you need help, you can always schedule a repair
Step 12


The earpiece speaker attaches snugly to the frame at the top edge.
– Let’s get that earpiece speaker out! Slide the flat end of a spudger underneath the bottom edge.
– Gently pry up the earpiece speaker, just a little bit to loosen it from the frame. We don’t want to break anything, right?
Tools Used
Step 13


– Time to give that earpiece speaker a little vacation! Gently lift it up and out of its cozy spot.