Samsung Galaxy Note20 Battery Replacement Guide
Duration: 45 minutes
Steps: 24 Steps
For your own safety, make sure to drain that battery below 25% before diving into your phone disassembly adventure!
Let’s get this battery swap party started! This guide will help you replace the battery in your Samsung Galaxy Note20. Before you get started, make sure the battery’s charge is below 25% – that’s just good safety practice. It’s like giving your phone a little break before the big makeover! If the battery is swollen, be careful and if you’re not sure about anything, you can always schedule a repair.
Step 1

Turn off your phone before you get started! We don’t want any surprises during our repair, right?
If you’re using heat to loosen things up, go easy! A hairdryer, heat gun, or hot plate can be your best friend, but just be careful not to get too hot. The screen, battery, and back cover can get a little cranky with too much heat.
– Let’s get this party started! Grab your iOpener and warm up the left side of the rear cover for about a minute. You’ll be ready to rock in no time!
Tools Used

Step 2


Hey, be careful! Don’t push that opening pick more than 5mm into the phone. You might accidentally give the phone’s insides a little pinch, and we don’t want that! If you need a helping hand, you can always schedule a repair.
Depending on the age of your phone, this might be a bit tricky. Don’t worry, you got this! If you’re having trouble, just add a little more heat to the edge and give it another try. And remember, if you need help, you can always schedule a repair.
– Grab a suction cup and stick it to the warm edge of the rear cover, getting as close to the edge as you can.
– Give that suction cup a solid, steady pull to open up a little gap between the rear cover and the frame.
– Slide an opening pick into that gap and get ready to keep going!
Step 3


While you’re slicing through the sticky stuff around your phone’s edges, make sure not to plunge that pick deeper than 5 mm. We wouldn’t want you to accidentally poke something important inside!
– Let’s slide that opening pick along the left edge and work our way down to the bottom left corner. We’re gonna cut through that adhesive like butter!
– Now, leave that pick chilling in the bottom left corner so the adhesive doesn’t get all cozy and re-seal itself. We want it to stay open, right?
Step 4


If the rear cover is still hanging on after you’ve sliced through all four sides, give that adhesive another go with your trusty opening pick.
Feel free to slide in each new opening pick into the gaps made by the picks you already placed in the corners.
– Keep on keepin’ on with the heat and cutting routine, tackling those remaining three sides of the rear cover. It’s like a dance, except instead of a partner, you’ve got a trusty opening pick in each corner to keep things from sticking back together. You got this!
Step 5


– Carefully lift the rear cover straight up – it’s time to set it free and get a glimpse of what’s inside.
Step 6

If you haven’t tackled these screws before, they might put up a bit of a fight since they’ve got some threadlocker holding them tight. Don’t worry, just take your time!
As you dive into this repair adventure, keep an eye on those screws and remember where each one belongs. A little organization goes a long way!
– Grab your trusty Phillips screwdriver and tackle those six 4.0 mm screws holding down the motherboard shield. You’ve got this!
Step 7


Beware of the motherboard shield’s stealthy edges – they’re sharper than a ninja’s sword!
– Grab a trusty pair of tweezers and gently lift up that motherboard shield, flipping it back like a pro!
Tools Used

Step 8


Be careful to gently pry just under the edge of the connector to keep the socket and nearby parts safe and sound.
– Grab a trusty pair of tweezers to gently hold the motherboard shield out of your way. Now, with the sleek pointed end of a spudger, pry up that battery press connector like a pro!
– When it’s time to re-attach those press connectors, take it slow and steady. Start by lining it up just right, and give one side a little press until you hear that satisfying click. Then, repeat the honor on the other side. Remember, no pressing in the middle! Misalign it, and you risk bending the pins for good—yikes! If you need a hand, don’t hesitate to schedule a repair.

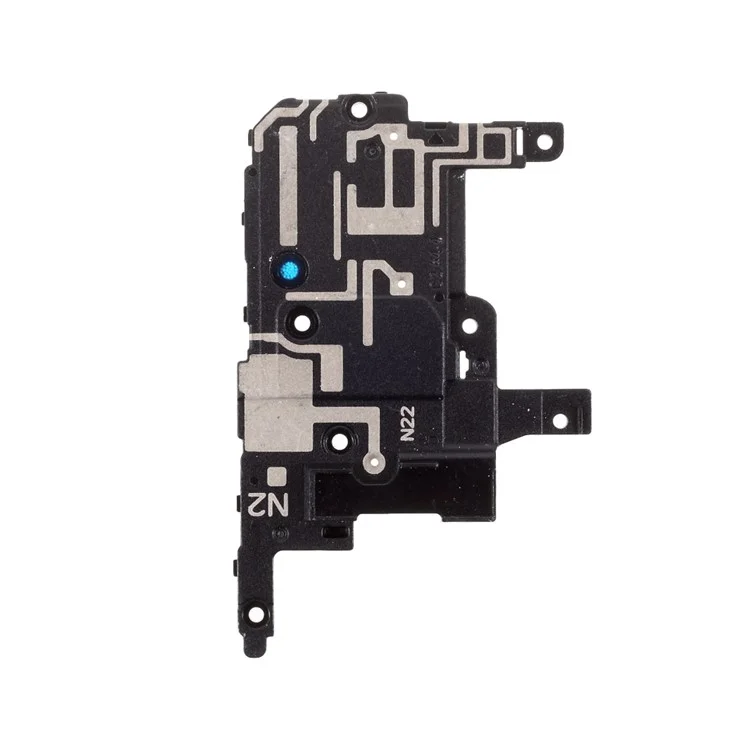
Step 9


– Grab a pair of tweezers and gently hold the motherboard shield out of the way. Now, with the pointed end of your trusty spudger, carefully pry up the wireless charging coil press connector. You’ve got this!
Step 10


The wireless charging coil is stuck to the device with a bit of adhesive, but don’t worry, it’s easy to remove. If you need help, you can always schedule a repair
– Give that motherboard shield a gentle grip with your fingers.
– Carefully peel the wireless charging coil away from the device, like unwrapping a present.
– Now, go ahead and remove the wireless charging coil with confidence!
Step 11

– Alright, time to give those screws the boot! Use a Phillips screwdriver to unscrew the five 4.0 mm screws holding the loudspeaker to the frame. It’s like a tiny party, and those screws are the uninvited guests – time to send them packing! If you need help, you can always schedule a repair.
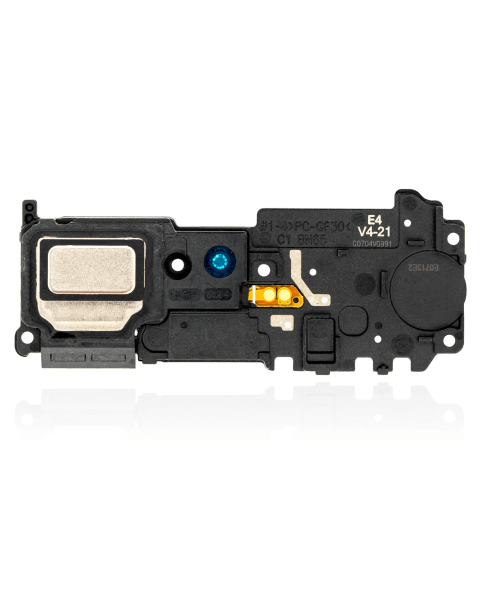
Step 12


– Let’s pop that speaker out! Slide the pointed end of your spudger under the loudspeaker near the top left screw hole.
– Gently pry up the loudspeaker using your spudger. We’re just giving it a little nudge to loosen it from the frame.
– Now grab your tweezers and give that speaker a lift! Time to say goodbye to the old speaker.


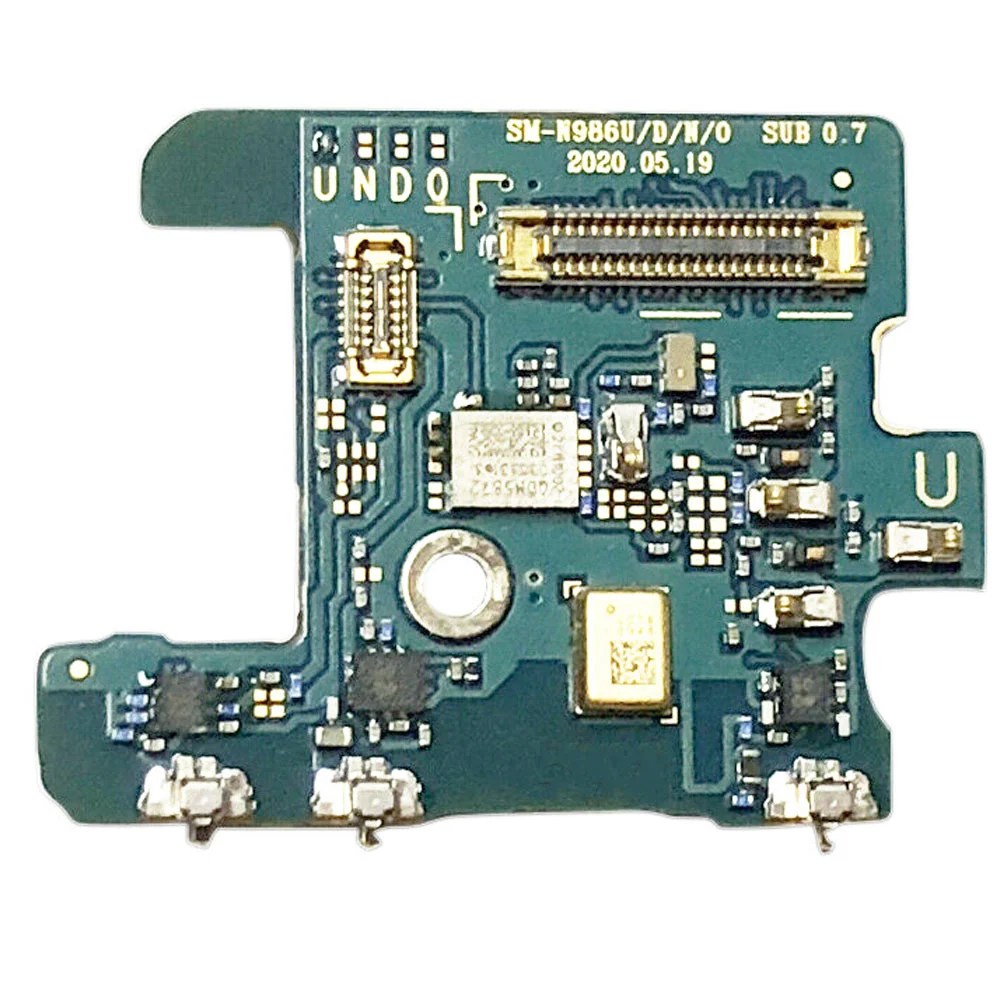
Step 14


– Now it’s time to disconnect the secondary interconnect cable from the daughterboard. Use the pointed end of a spudger to gently pry it loose. If you need help, you can always schedule a repair
Tools Used
Step 15


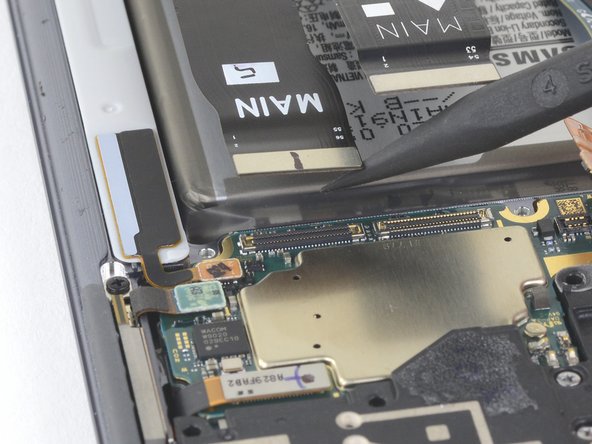
– Gently grab that spudger and use its pointed end to pop the secondary interconnect cable off the motherboard like a pro!
Tools Used
Step 16

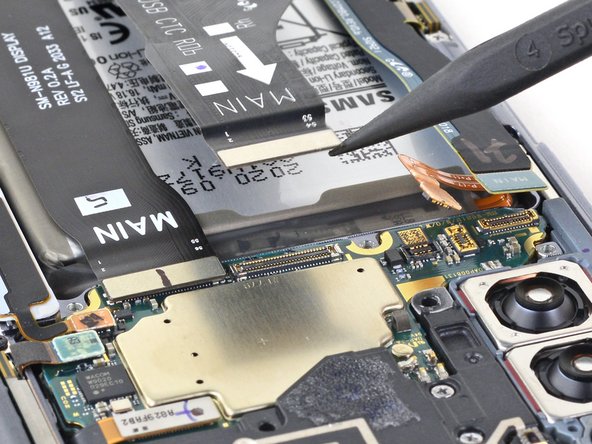
– Grab your trusty spudger and use its pointed end to gently pry away the main interconnect cable from the motherboard. You’ve got this!
Tools Used
Step 17

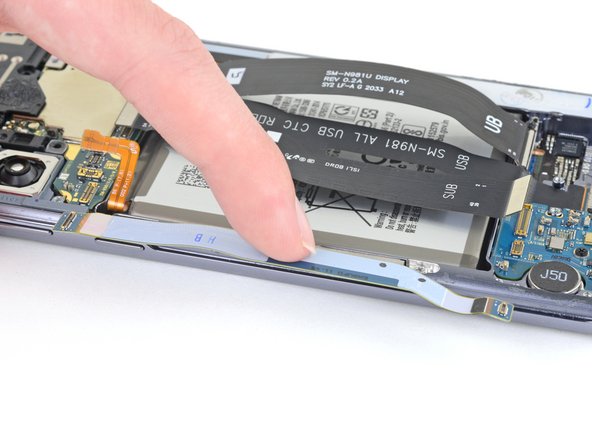
– Grab your spudger and use the pointed end to gently detach the display cable from the motherboard. You’ve got this!
Tools Used
Step 18

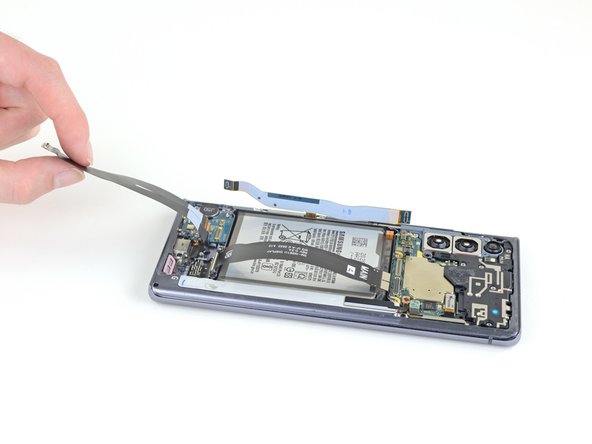
Hey there! Remember to be gentle with those ribbon cables. Excessive flexing can lead to cable damage, so be mindful while doing your fix-up magic!
The secondary interconnect cable is still hanging out with the phone via a ribbon cable. Just shimmy it out of the way a bit so you can get to the battery without any hassle.
– Now, let’s gently flip that secondary interconnect cable away from the battery. Think of it like giving it a little dance move!


Step 20
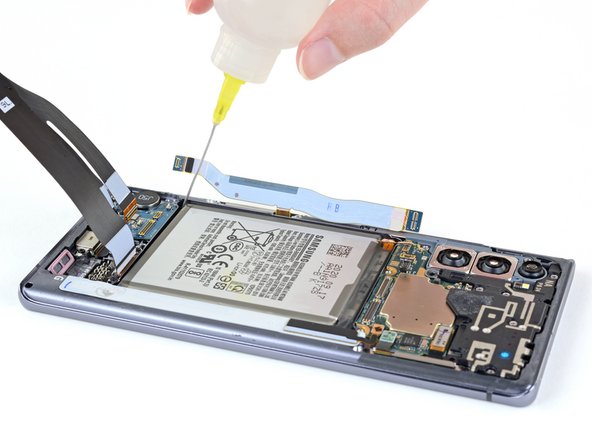

Hey, keep the spirits flowing, but maybe not on your phone’s screen! A little splash could be a big problem. If you’re worried, you can always schedule a repair.
– Drop 1-2 drops of high-concentration (90% or higher) isopropyl alcohol into the cozy corners of the battery. It’s like giving your battery a little spa treatment!
– Now, sit back and relax for two minutes while the isopropyl alcohol works its magic to loosen that sticky adhesive holding the battery in place.
Step 21


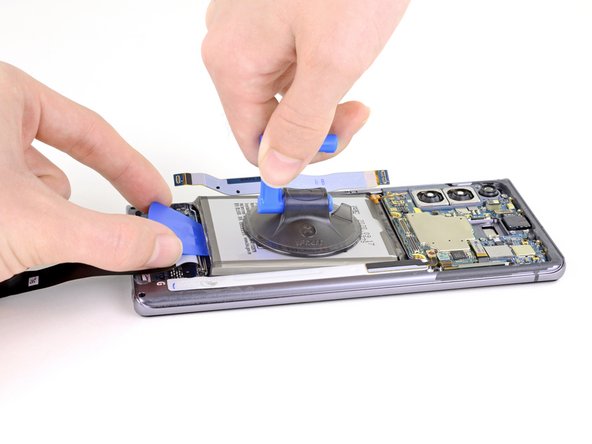
– Hey there! Let’s unlock the battery with some suction cup magic! Place the cup on the center of the battery and gently lift it away. If you need help, you can always schedule a repair!
Step 22


Be gentle with that battery! Avoid bending it, as this can cause it to leak harmful chemicals or even lead to a thermal event. If you’re not feeling confident, don’t worry – you can always schedule a repair
If the battery seems snug in its spot, don’t worry! Just add a couple more drops of isopropyl alcohol and give it a two-minute breather before you give it another go.
That adhesive holding the battery down is no joke! You might have to keep applying isopropyl alcohol and gently tug on the suction cup a few times to help persuade the battery to come out.
– Gently tug on the suction cup with a consistent pull to open up a little space between the bottom edge of the battery and the frame. Keep it steady and you’ll be on your way!
Step 23

Be careful not to insert the opening pick too far, or you might damage the fingerprint sensor hiding under the battery.
Don’t force the battery out – if it’s being stubborn, a few more drops of alcohol should help loosen the adhesive. Remember to treat the battery with care and avoid deforming or puncturing it with your pry tool. If you need help, you can always schedule a repair
– Time to get this repair started. Insert the point of an opening pick into the gap between the bottom edge of the battery and the frame – it’s the perfect spot to begin.
– Now, gently push the pick under the battery to cut through the adhesive and detach it from the frame. If you need help, you can always schedule a repair
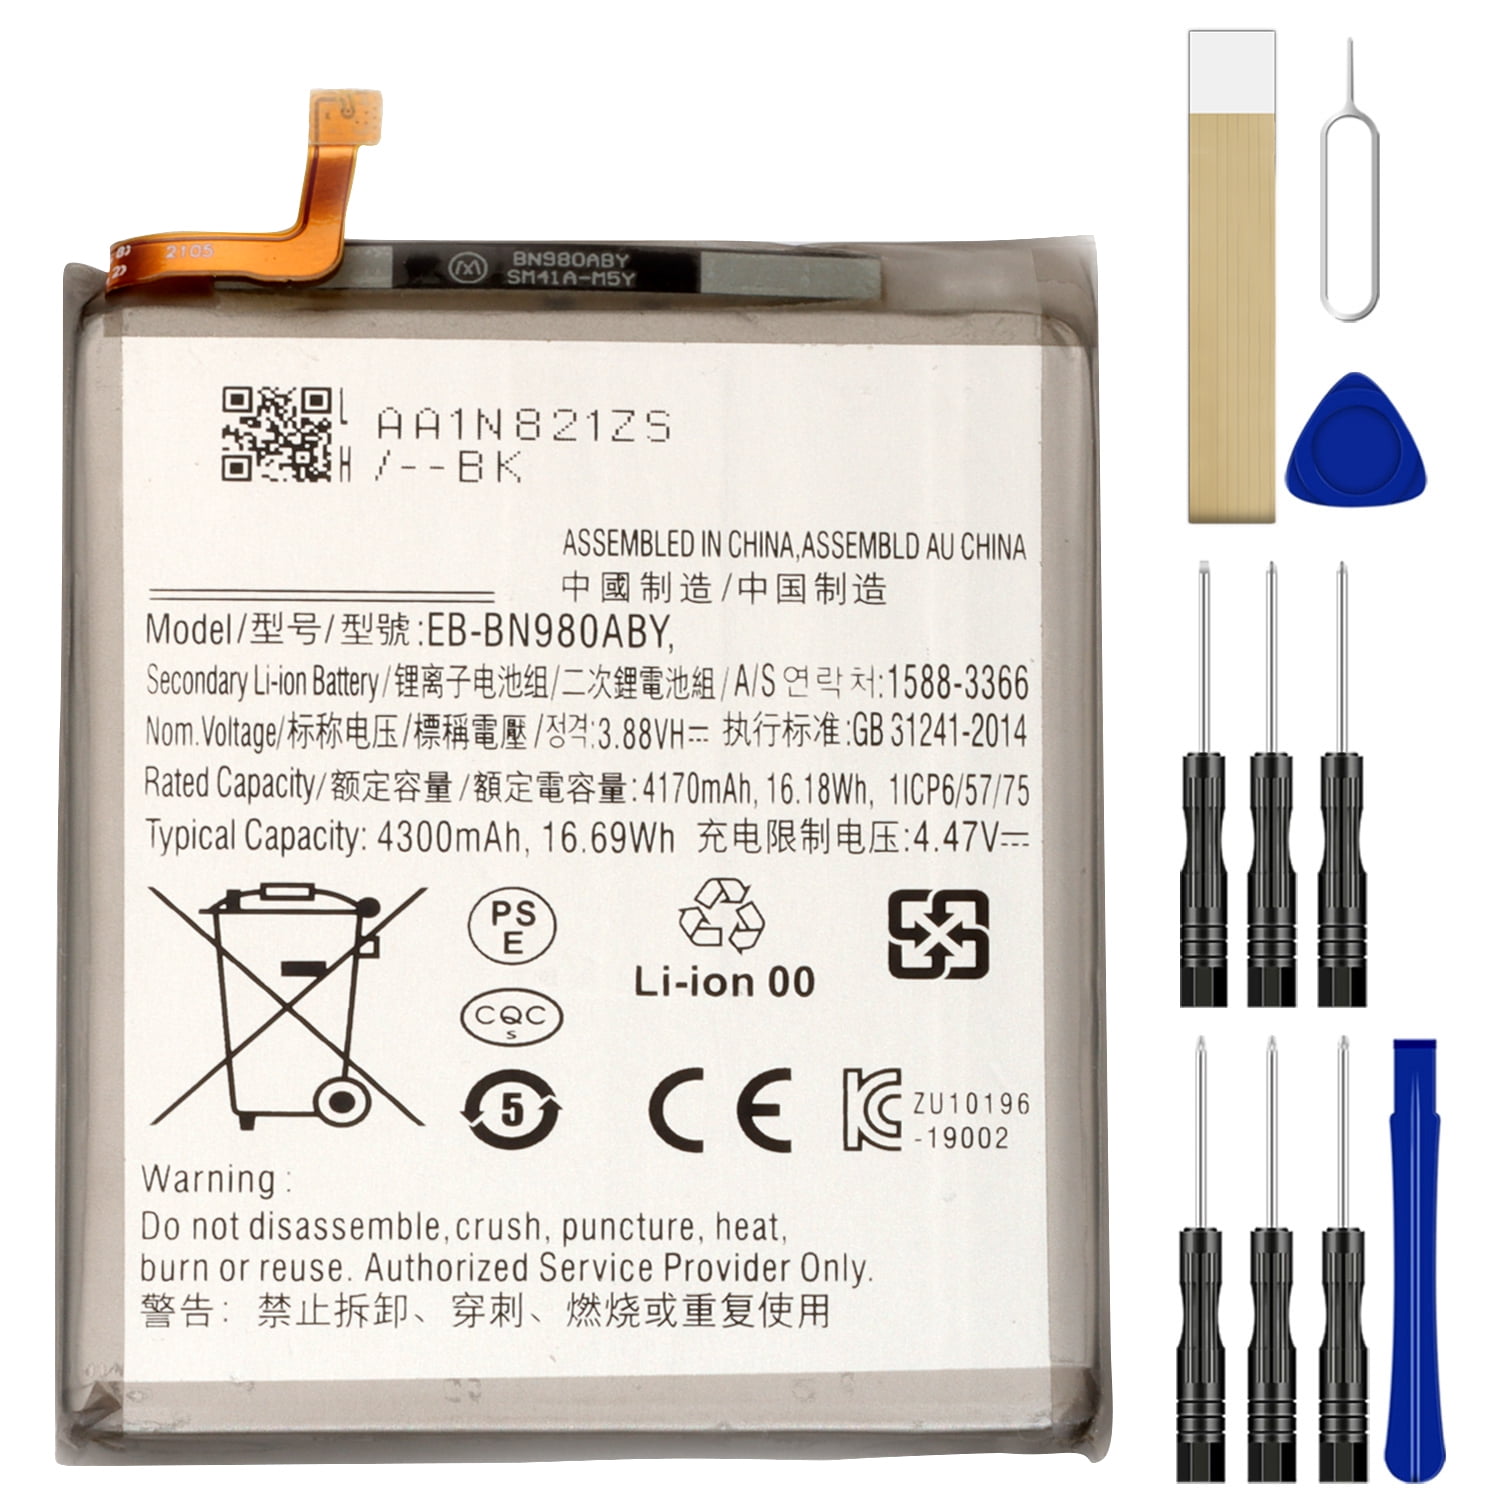
Step 24

Hey there, champ! Just a friendly reminder: once you’ve popped that battery out, it’s time to say goodbye. Reusing it can be a bit of a safety risk, so let’s keep things safe and sound! If you need help, you can always schedule a repair.
The battery will pop right out once the isopropyl alcohol works its magic on the adhesive. If you run into any trouble, don’t sweat it. Remember you can always schedule a repair!
– Give that suction cup a gentle tug to pop out the battery!
– Got any leftover alcohol solution hanging out in there? No worries! Just wipe it away or let it chill and air dry before you slide in that shiny new battery.
– When it’s time to put everything back together, don’t forget to ditch the old adhesive! Grab some stretch release