
Samsung Galaxy Note 4 Display Replacement Guide: DIY Repair Tutorial
Duration: 45 minutes
Steps: 15 Steps
If the frame is looking a little worse for wear or is bent out of shape
Ready to give your Galaxy Note 4 a fresh new look? This guide will walk you through replacing the display and touch panel. But wait—if your frame is looking a little worse for wear or has some bends, it’s a good idea to swap that out too! A new screen needs a solid foundation, and a damaged frame can lead to all sorts of problems, like uneven pressure and potential damage. Just a heads up: peeling the display away from the frame usually means it won’t survive the process, so make sure you’re all set to replace it. If you need help, you can always schedule a repair.
Step 1


– Slide a fingernail or your trusty plastic opening tool into the little groove to the left of the rear-facing camera.
– Carefully pry and twist that flexible rear cover off the back of your phone. You’ve got this!
Step 2

– Time to get started. Insert a fingernail or a trusty plastic opening tool into the recess in the bottom right corner of the battery, then gently lift upward to release it.
– Now that it’s loose, go ahead and remove the battery. If you need help, you can always schedule a repair
Step 3

A hair dryer, heat gun, or hot plate can also help loosen things up, but be careful not to get things too toasty! The screen and the battery are sensitive to heat. If you need help, you can always schedule a repair.
Feel free to give the iOpener a little love tap and reheat it a few times to warm up your phone just right! Just keep an eye on those instructions to make sure things don’t heat up too much.
– Grab your trusty iOpener and give the left side of your display a warm hug for about two minutes.
Tools Used

Step 4


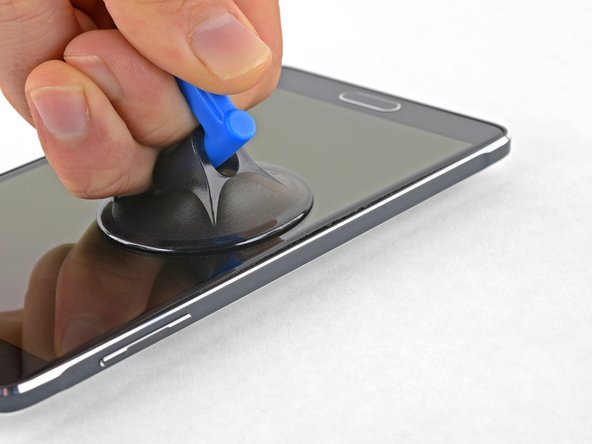
– Once your screen is feeling a bit toasty, grab a suction cup and stick it as close to the warm edge of your phone as you can manage.
– If your display is sporting some serious cracks, that suction cup might not want to cooperate. No worries! You can try using some strong tape to lift it, or if you’re feeling adventurous, superglue the suction cup in place and let it set for a bit before moving on.
– Now, give that suction cup a gentle pull and slide an opening pick underneath the display assembly, and you’re on your way!
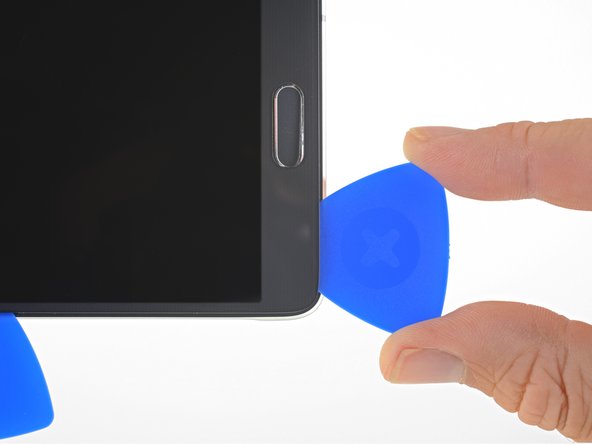
Step 5
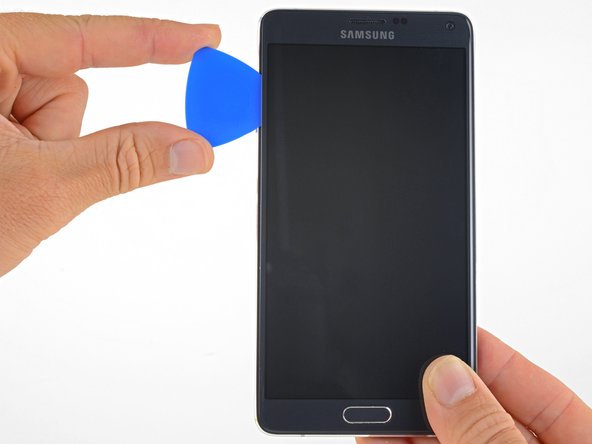
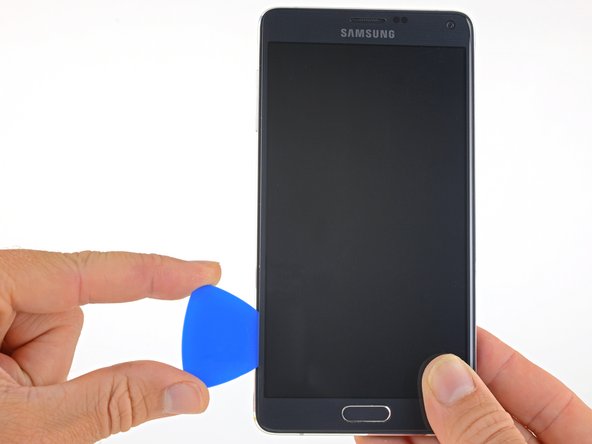

– Let’s get this party started by sliding the opening pick along the left edge of the display. This will help separate the adhesive holding it in place.
– If you hit a snag, don’t worry! Just reheat the iOpener and try again. It’s like a little warm hug for your phone.
– Keep that pick in place to prevent the adhesive from re-sticking. Grab another pick and we’re ready for the next step!
Tools Used
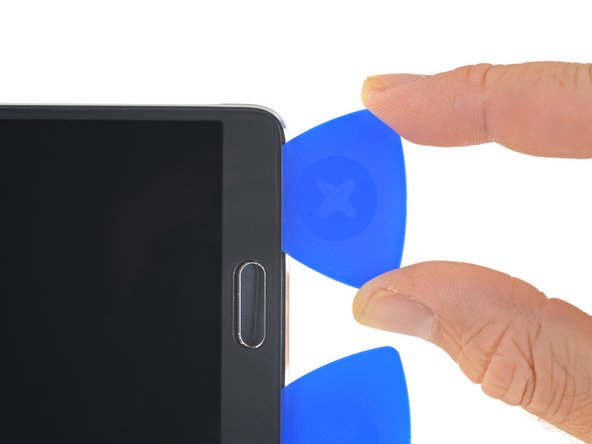
Step 6

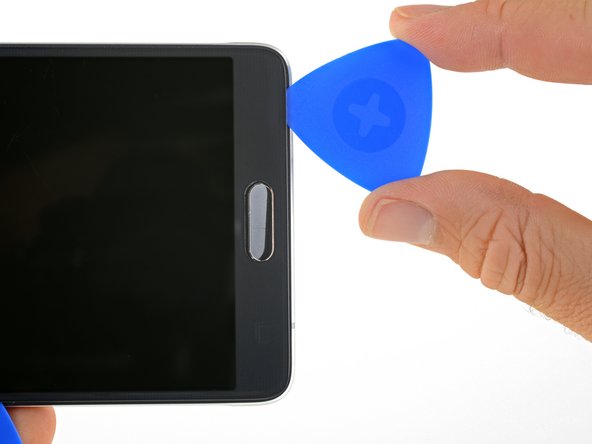

Just a heads-up! Only slide that pick in about 0.25 inches (6 mm) to avoid any mishaps with the home button or those fancy capacitive buttons at the bottom of the phone. We don’t want to mess up any of those important parts! If you need help, you can always schedule a repair.
– Let’s get this party started by warming up the phone’s bottom edge with a heated iOpener.
– Now, slide an opening pick along the bottom of the phone. It’s like a little dance for your phone!
Tools Used
Step 7

Slide that pick in nice and slow, like you’re at a fancy dinner party. You don’t wanna tear that delicate button ribbon cable under the display. If it’s giving you a hard time, give that iOpener another go!
– Slide an opening pick about 0.5 inches (12.5mm) into the left side of the bottom edge of your phone. It’s like giving your device a little friendly nudge!
– Once the pick has sliced through that adhesive, just leave it there. It’s doing its job by keeping the adhesive from sticking back together. You’re on the right track!
Tools Used
Step 8

Gently slide in the pick, taking your time to avoid any mishaps with the delicate capacitive button ribbon cable hiding below the display. If you’re having a tough time getting it in, feel free to give it another go with an iOpener.
– Alright, let’s get this phone open! Insert an opening pick about half an inch (12.5mm) into the right side of the bottom edge.
– Once that pick cuts through the adhesive, leave it in place to keep things from sticking back together. You’re doing great!
Tools Used
Step 9

Just a heads-up, keep the pick no deeper than 1 inch (25 mm) under the display to steer clear of the home button cable. If you need help, you can always schedule a repair.
Hey, those display and digitizer cables are chilling up near the top of the display. Just be mindful of them when you’re working with your pick, you don’t want to get too close for comfort. If you need help, you can always schedule a repair.
– Warm up a cozy iOpener and give some love to the right edge of your phone.
– Gently slide an opening pick along that right edge to help loosen up the adhesive hiding underneath.
– Keep that first pick snug in place to stop the adhesive from getting too comfortable again, and grab yourself a second pick to rock on to the next step!
Tools Used
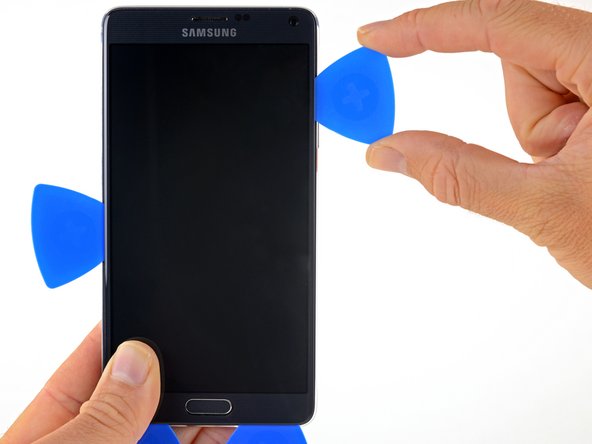
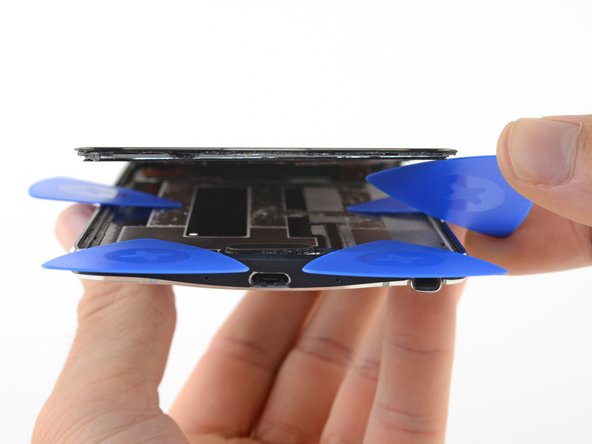
Step 10

Hey, take it easy! Don’t go Hulk on it or you might mess up the front sensors and speaker. If it’s still stuck, don’t worry. You can come back to it after the rest of the display is loose.
Insert the pick about 0.25 inches (6 mm) under the display – just a little ways in, and you’re on the right track. If you need help, you can always schedule a repair
– Carefully slide an opening pick under the top edge of the display to break free the adhesive lurking beneath.

Step 12
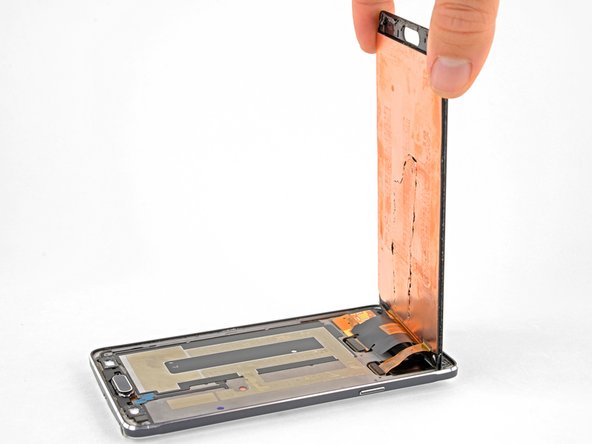

To keep things steady while you’re unplugging those cables, you can use the box the phone came in. You know, like a little display cradle. Pretty slick, right?
– Carefully lift the display to give yourself a nice view of the display and digitizer connectors. You’ve got this!
Step 13
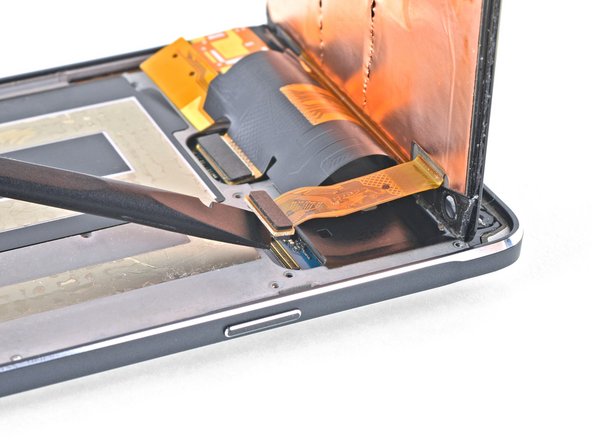

– Alright, time to give that display cable connector a little nudge! Use the flat end of your spudger to gently pry it straight up and out of its socket. It’s like giving it a high five, but with a tool! 😉 If you need help, you can always schedule a repair.
Tools Used

Step 14
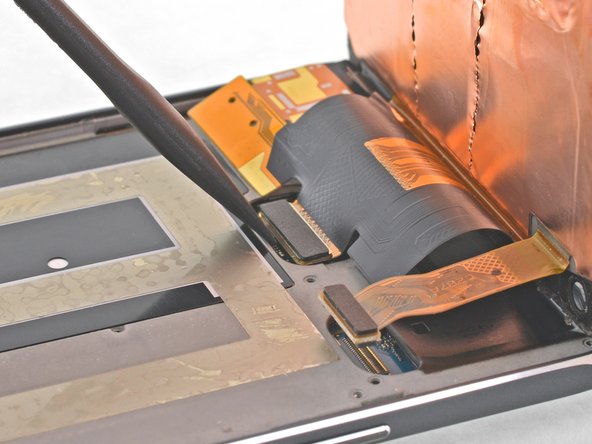
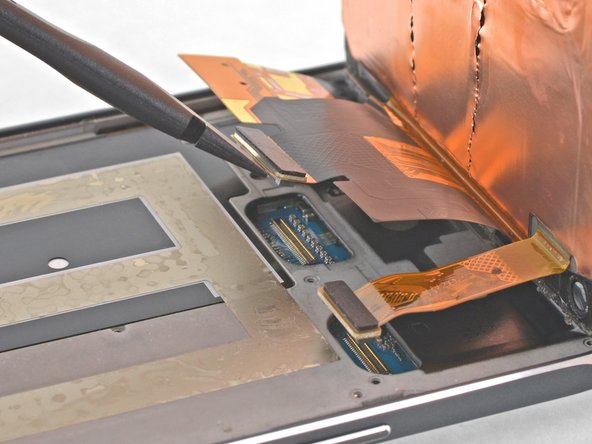
– Now, grab your trusty spudger and use the flat end to gently wiggle that digitizer cable connector straight up and out of its socket. Think of it like giving the connector a little high-five to say goodbye! If you need help, you can always schedule a repair.
Tools Used
Step 15

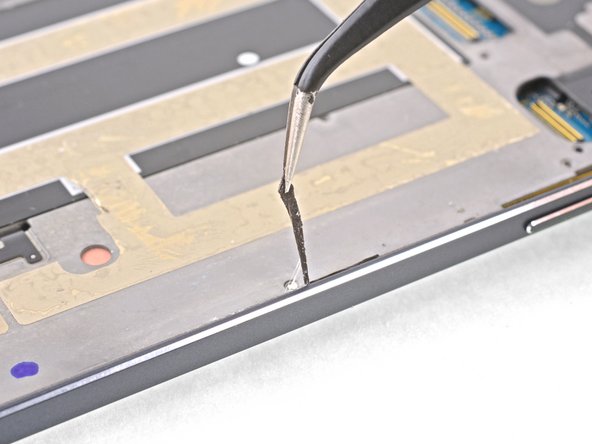
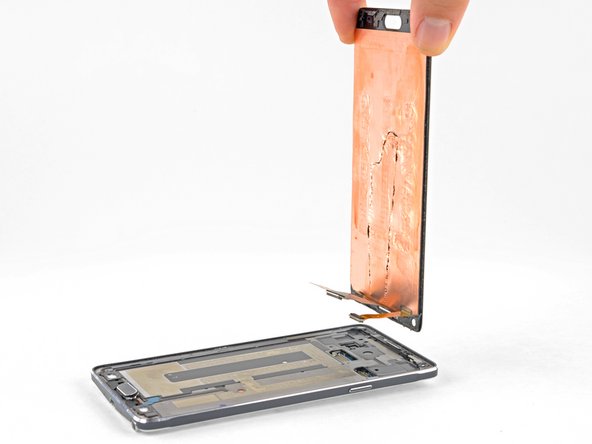
– Time to say goodbye to that old display! Carefully remove it from your device.
– Once the display is off, let’s clean up a bit. Get rid of any leftover glue and glass on the frame, and make those adhesion areas shine with 90% (or higher) isopropyl alcohol. Grab a lint-free cloth or a coffee filter and give it a good swipe, but remember, stick to one direction – no back and forth here!
– Now, let’s get that new screen on! The secret to a great hold is to use some custom-cut double-sided tape. Stick that tape on the back of the new screen, then gently feed the display cable through the frame. Align the screen just right, and press it into place like a pro!


