Samsung Galaxy S24 Ultra Front Camera Replacement Guide
Duration: 45 minutes
Steps: 29 Steps
Get ready to give your Samsung Galaxy S24 Ultra a little TLC by swapping out that front camera! Don’t worry, we’ve got your back with this easy-peasy guide. If you need help, you can always schedule a repair.
Step 1


Before you start, make sure your phone’s battery is below 25% charged. A fully charged lithium-ion battery can be a safety hazard, so it’s better to be safe than sorry. If your battery is swollen, take the necessary precautions to avoid any accidents. If you need help, you can always schedule a repair
– First things first, unplug any cables from your phone. We wouldn’t want any accidental zaps!
– Now, hold down the side key and volume down button – you got this! Then, select “Power off” to turn off your phone.
Step 2

– Warm up an iOpener and place it on the right side of the back cover for a couple of minutes.
Feeling like a pro? If you’re comfortable using a hair dryer, heat gun, or hot plate, go for it! Just remember, phones are sensitive to heat. Keep things chill and avoid overdoing it—you don’t want to accidentally toast the display or battery! If you’re feeling a little unsure, you can always schedule a repair.
Tools Used


Step 3

Having trouble getting that gap started? Try applying a bit more heat to loosen up the adhesive. Just be sure to follow the iOpener instructions so you don’t overdo it. If you need help, you can always schedule a repair
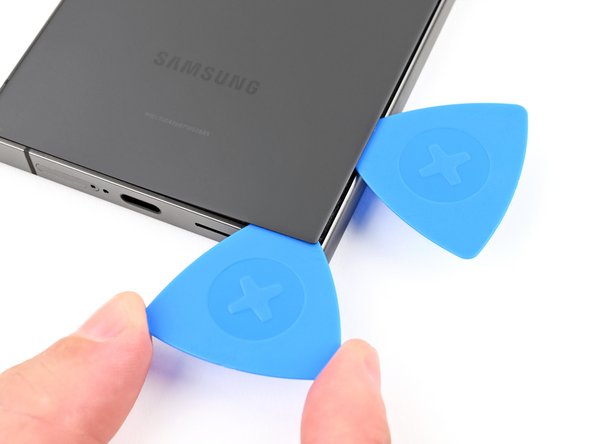
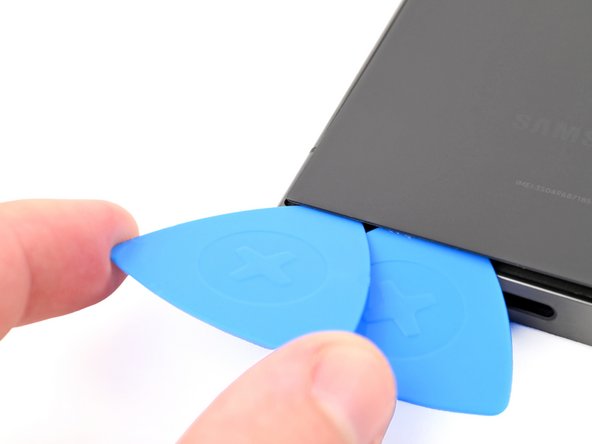
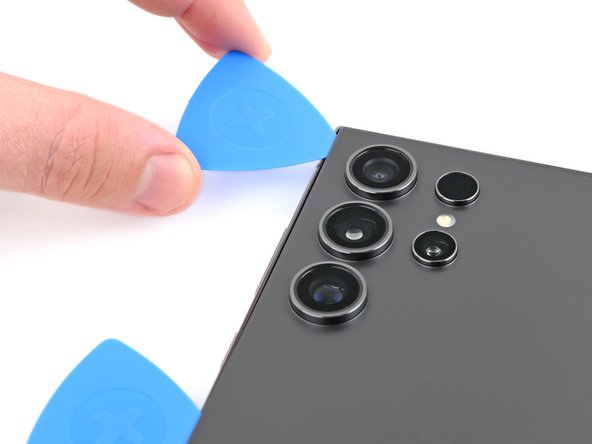
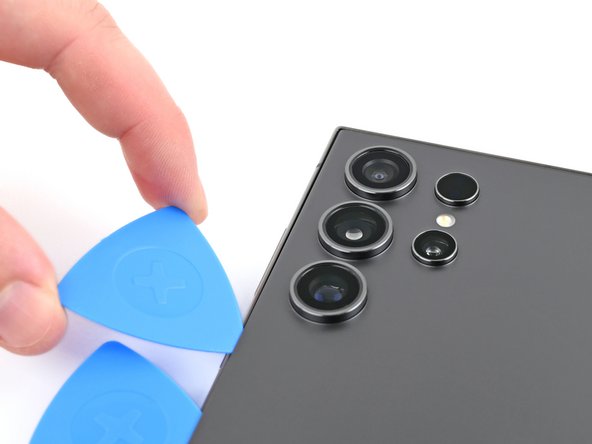
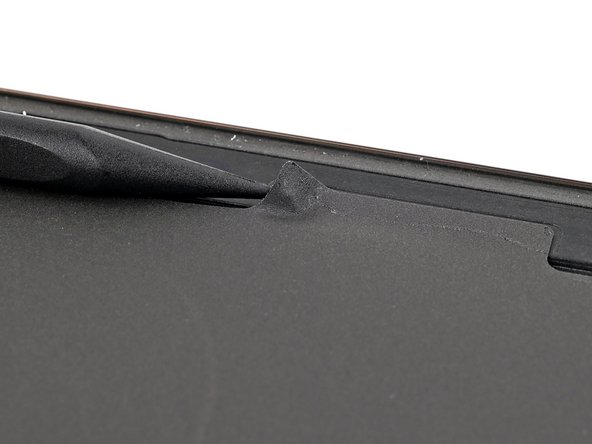
– First, apply a cool and suave handle to the back cover, positioning it like a suave secret agent near the center of the right edge. Next, channel your inner superhero and pull up that handle with a force that would make Thor jealous, creating a gap between the cover and the frame. Finally, slide in a smooth and stylish opening pick into this newfound gap, like a pro! If you need help, you can always schedule a repair.
Tools Used


Step 5

– Let’s warm things up! Apply a heated iOpener to the bottom edge of the back cover for two minutes. It’s like giving your phone a little spa treatment, but don’t worry, it’s not going to get a mani-pedi.
Tools Used
Step 6

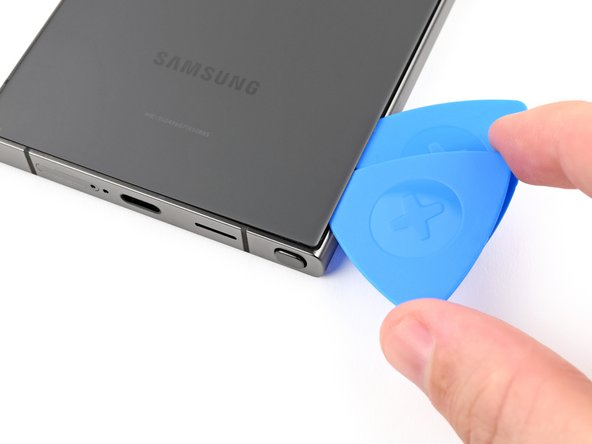
– Slide in a second opening pick right next to the first one, just a hair away from the bottom of the right edge.
– Now, give that opening pick a gentle twist around the bottom right corner to break free the adhesive!
Step 7

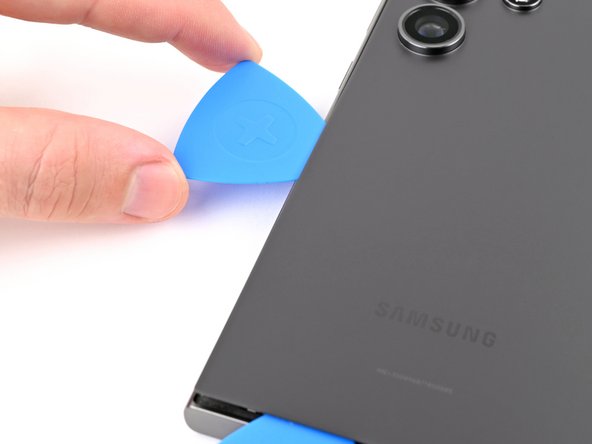
– Gently glide the opening pick along the bottom edge to break free the adhesive. You’re doing great!
– Keep that pick snugly in place near the bottom left corner to stop the adhesive from sticking back together. Nice work!
Step 8

– Warm up that trusty iOpener and give the left edge of the back cover a cozy two-minute hug.
Tools Used
Step 9

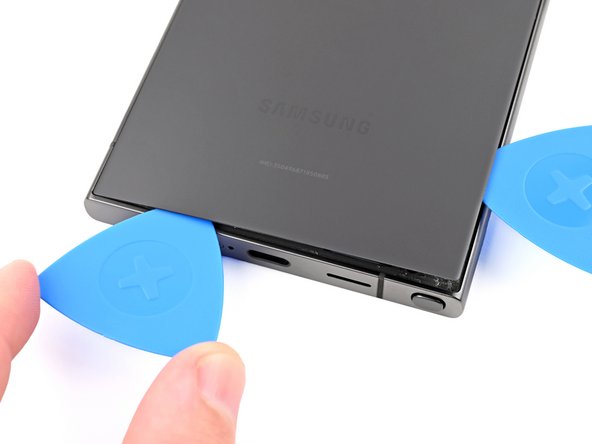
– Grab a third opening pick and slide it in next to the second one, right by the left side of the bottom edge. You’ve got this!
– Now, swing that opening pick around the bottom left corner to break free the adhesive. Keep it smooth and steady!
Step 10

Keep that pick to a maximum of 4 mm deep—your antenna cable will thank you for it!
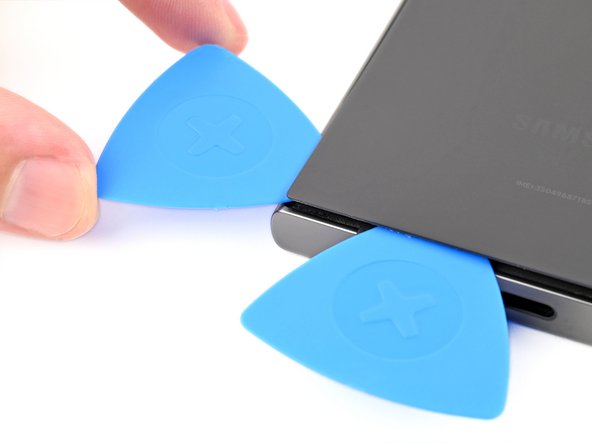
– Gently glide your opening pick along the left edge to break the adhesive seal, but make sure to stop just shy of the power button.
– Keep that pick snugly in place near the power button to stop the adhesive from making a comeback.
Step 11

– Let’s get this repair started! Apply a heated iOpener to the top edge of the back cover for about two minutes to loosen things up. If you need help, you can always schedule a repair
Tools Used
Step 12
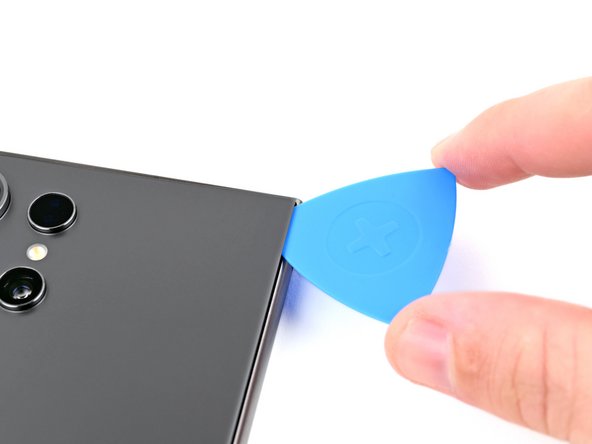


– Slide an opening pick into the little gap at the top of the right edge.
– Gently twist the opening pick around the top right corner to break free the adhesive.
Step 13
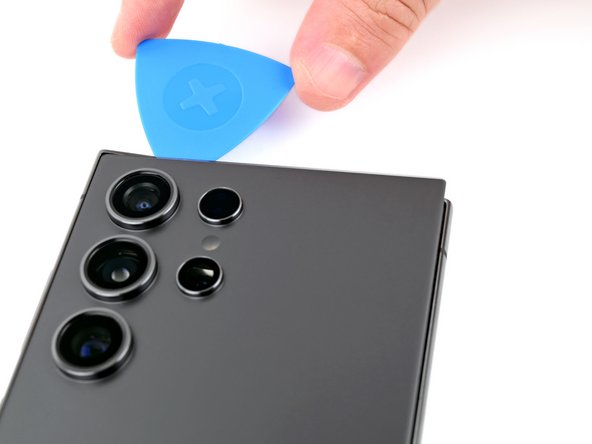

Keep that pick to a maximum of 4 mm, or you might accidentally give the sensor or camera a little too much love near the top edge!
– Let’s slide that pick along the top edge to separate the adhesive. Easy peasy!
Step 14

Be careful not to insert the pick more than 4 mm, or you might accidentally damage those fancy cameras. If you need help, you can always schedule a repair
Step 15


If the cover is still clinging to the frame, gently run an opening pick along the edges to loosen any stubborn adhesive that might have reattached itself.
Now’s a great time to power up your phone and give all the features a quick test before sealing things up. Just remember to turn your phone off completely before diving back in!
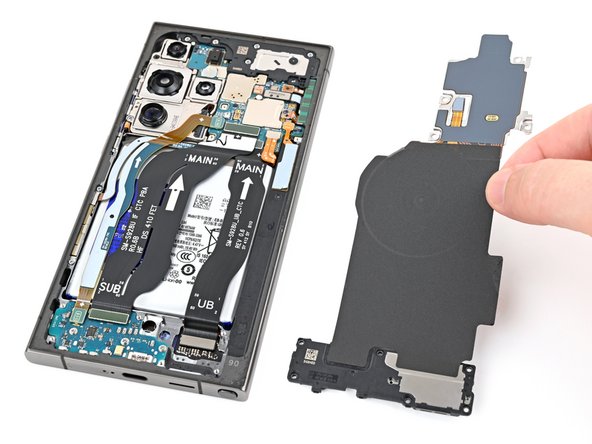
– Let’s get started by removing the back cover. Take a firm grip and gently pull it off.
– When you’re putting everything back together:
– Use a pair of tweezers or your fingers to carefully remove any leftover adhesive chunks. If it’s being stubborn, try applying some heat to help loosen it up.
– If you’re working with custom-cut adhesives, be sure to check out our guide for some helpful tips.
– And if you’re using double-sided tape, we’ve got a guide for that too. Just follow the steps and you’ll be all set. If you need help along the way, you can always schedule a repair.
Tools Used

Step 16

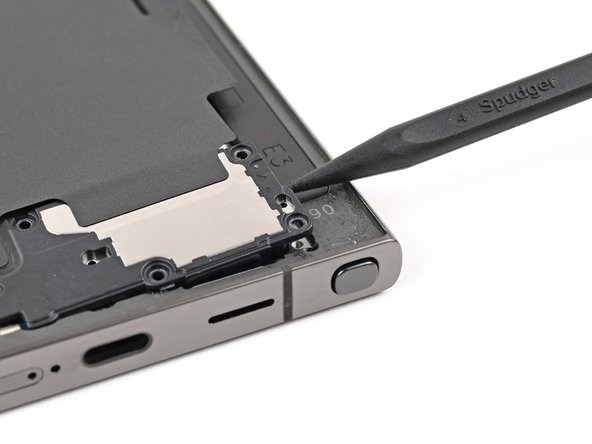
Look for the little arrow on the board next to each press connector—that’s your golden ticket to the perfect prying spot! Stick to that spot for each connector to keep those surface-mounted components snug and secure.
– Time to get started! Use a spudger to carefully pry up and disconnect the wireless charging coil press connector from the motherboard. Take your time and work gently to avoid any damage.
– Reconnecting press connectors is a breeze. Simply align the connector with its socket, and press down firmly with your fingertip – first on one side, then the other – until you hear it click into place. If it’s not cooperating, don’t force it. Just reposition and try again. If you need help, you can always schedule a repair with Salvation Repair.
Tools Used

Step 17

– Grab your trusty Phillips screwdriver and let’s tackle those ten 3.5 mm-long screws holding down the wireless charging coil and the loudspeaker. Here’s what we’ve got to deal with:
– Four screws keeping the wireless charging coil nice and secure.
– Six screws taking care of the loudspeaker.
Step 18

– Grab your trusty spudger and gently lift a corner of the tab for the wireless charging coil that’s sticking to the right edge of the frame. You’ve got this!
Tools Used
Step 19


– Time to get that tab separated from the frame! Use an opening pick to gently slide it apart. No need to force it, just a little encouragement. If you need help, you can always schedule a repair.
Step 20

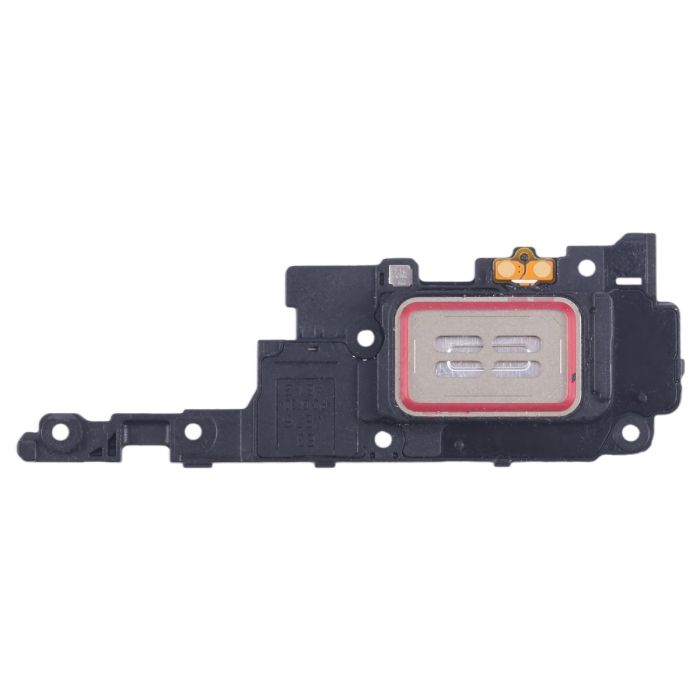
Check out the loudspeaker – you’ll notice an arrow engraved on it, which is like a secret hint showing you the best spot to pry it open.
– Let’s get that loudspeaker unclipped! Slide the tip of your spudger into the little gap between the right edge of the loudspeaker and the frame.
– Now, gently pry up to pop that loudspeaker loose from the frame. Easy peasy, right?
Tools Used
Step 21

– Time to give those wireless charging coils and speakers some freedom! Carefully detach them from the frame. It’s like giving them a little vacation.
– Now, let’s put things back together. When you’re putting the loudspeaker back in its place, give it a gentle squeeze around the edges to make sure it clicks into the frame before you tighten those screws. We want it snug as a bug in a rug!


Step 23

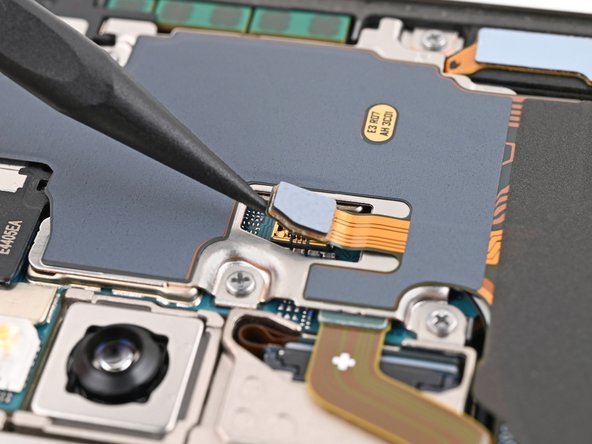
– Time to give that earpiece speaker connector a little nudge! Use a spudger to gently pry it up and disconnect it. If you need help, you can always schedule a repair.
Tools Used
Step 24

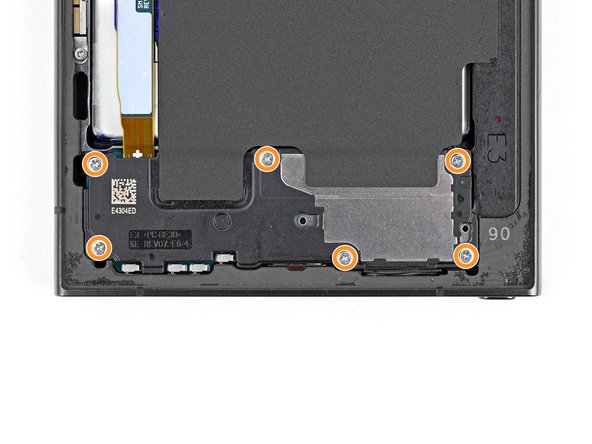
– Let’s get started by removing the five 3.5mm-long screws that hold the earpiece speaker in place – just grab your trusty Phillips screwdriver and you’re all set. If you need help, you can always schedule a repair
Step 25


– Hey, buddy! Here’s a fun way to remove that funky earpiece speaker. Slide that cool spudger in real low under its resting spot, yep under that fancy arrow! Pretty nifty, right?
– Now, you rock star! Gently lift up the spudger, and voilà! That speaker will come unclipped. Easy peasy!
– Alright, last but not least! Time for a bit of musical chairs. Tuck that earpiece speaker in real quick via the top edge, then press down and it’ll clip right back in. Great job!
Tools Used
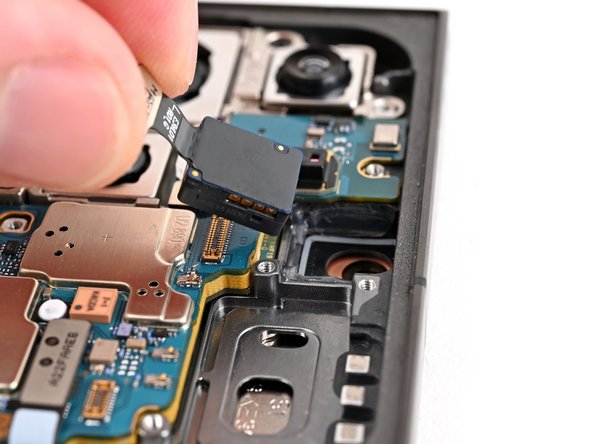
Step 26
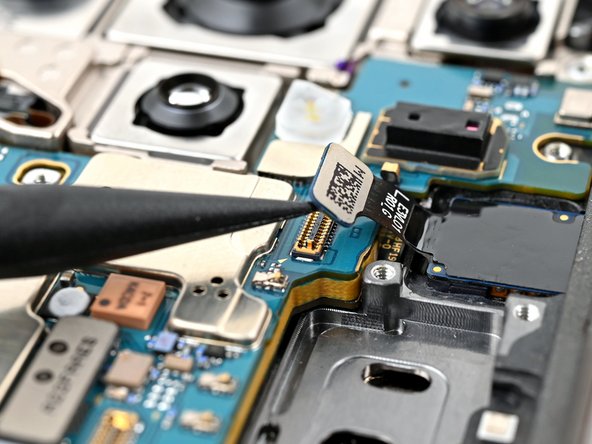

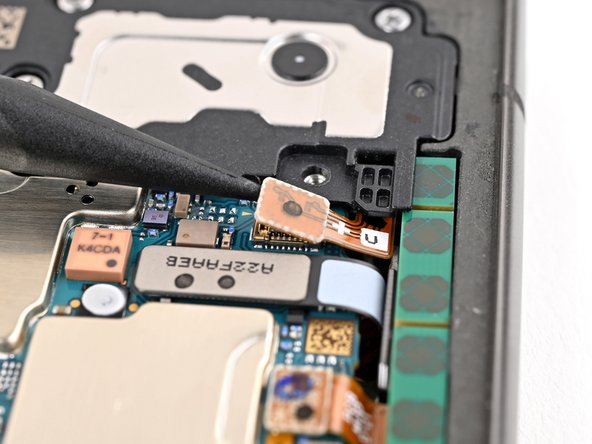
– Grab your trusty spudger and gently lift up to disconnect the front camera press connector. You’ve got this!
Tools Used
Step 27

You can also use a hair dryer, heat gun, or hot plate, but watch out! Don’t let things get too hot. The display and battery are pretty sensitive to heat. If you need help, you can always schedule a repair.
– Time to flip that phone over and let the screen bask in the spotlight! Face it up, folks.
– Warm up your iOpener and give the top edge of the screen a cozy two-minute hug—this will help to relax that sticky front camera adhesive.
– Now, give the phone another flip! We’re making the back of the front camera ready for its close-up.
Tools Used
Step 28
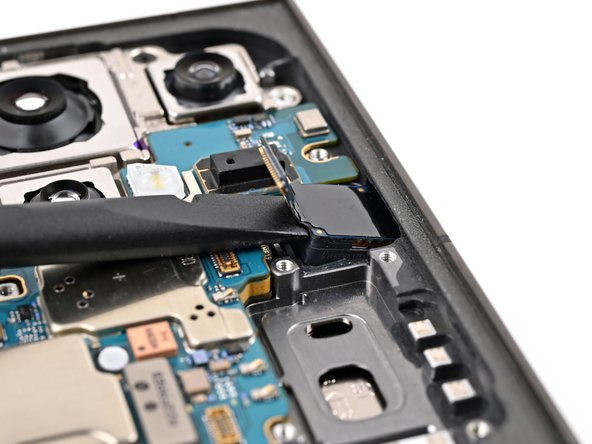
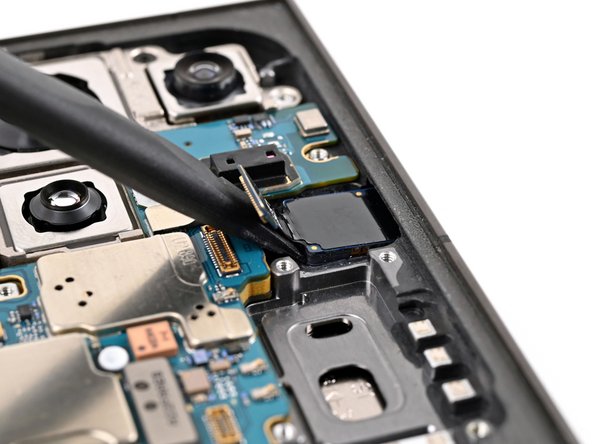
Be careful when removing the camera – the adhesive can be pretty stubborn. Take your time, and don’t be afraid to add a bit more heat if it feels stuck. Just remember to keep the sensor and lens together, and you’ll be golden. If you need help, you can always schedule a repair
If the camera doesn’t budge, don’t worry – just grab a SIM eject tool and gently scrape away the epoxy surrounding the camera. If you need help, you can always schedule a repair
– Time to give that front camera a little nudge! Use the flat end of your spudger to gently pry it out of its little home in the frame.
Tools Used